
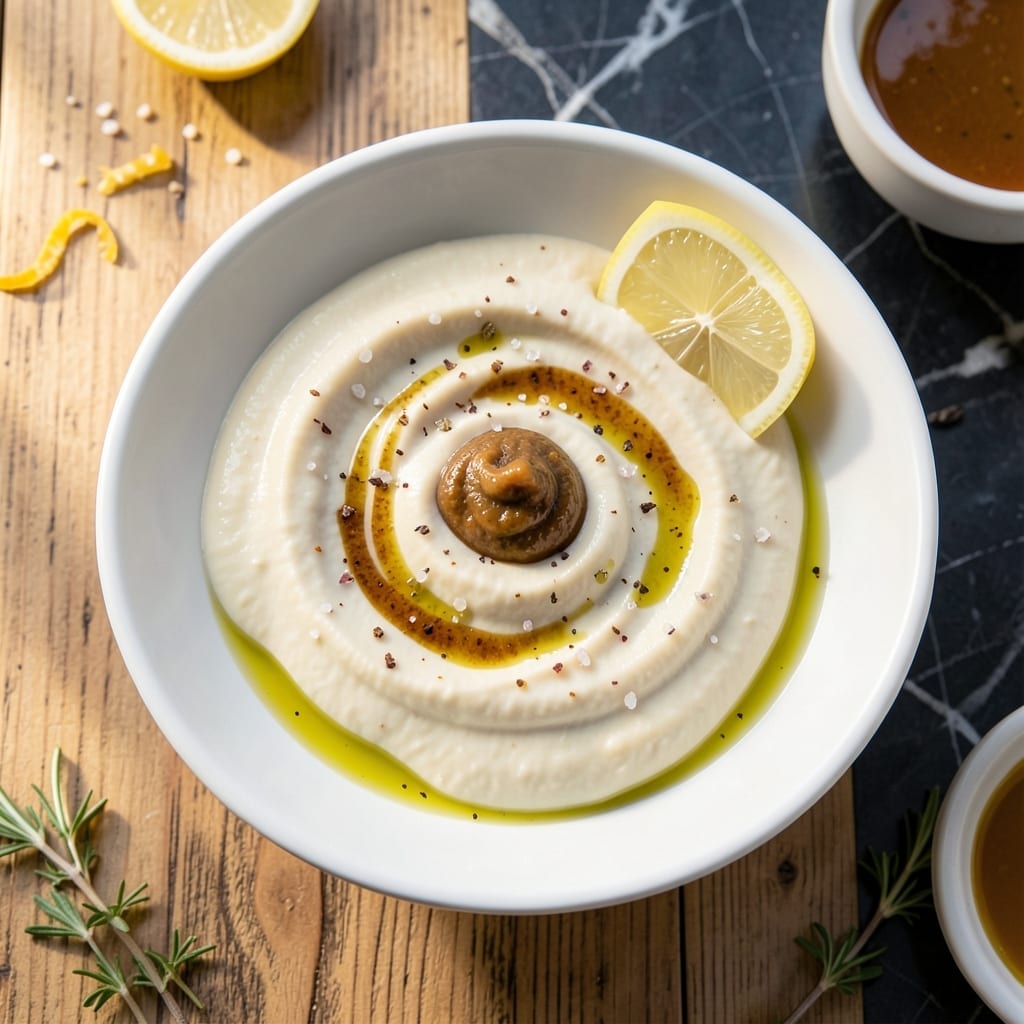
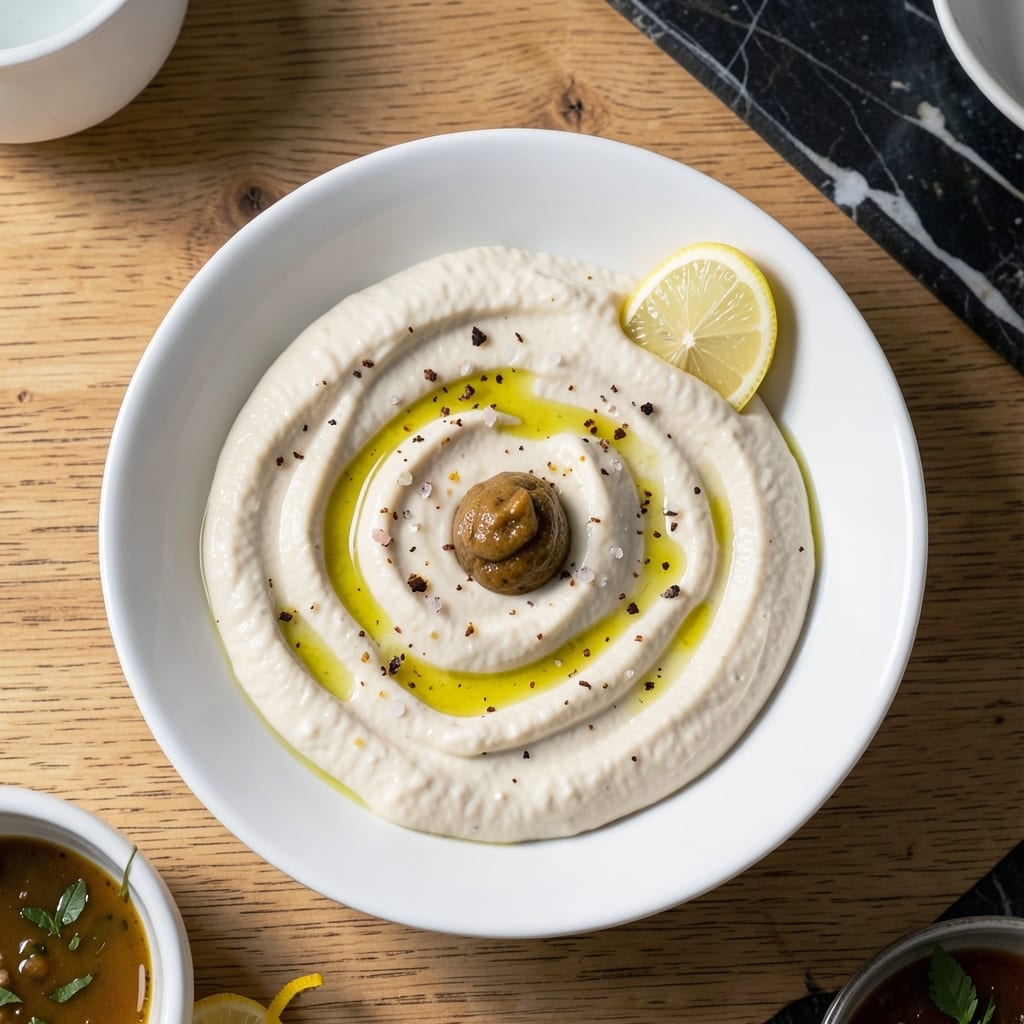
This aioli transforms basic mayonnaise into a garlicky, creamy sauce with just minutes of effort.
Perfect for sandwiches, seafood, or dipping, it delivers bold flavor with simple ingredients and no special tools.
Ingredients for Aioli Recipe with Mayo
Transform mayonnaise into a bold, garlicky sauce with just a few quality additions.
| Ingredient | Amount | Notes |
|---|---|---|
| Mayonnaise 🥣 | 1 cup | Full-fat for rich texture |
| Garlic Cloves 🧄 | 4 cloves | Freshly minced for bold flavor |
| Dijon Mustard 🟡 | 1 tbsp | Smooth, not whole grain |
| Lemon Juice 🍋 | 1 tbsp | Freshly squeezed preferred |
| Extra-Virgin Olive Oil 🫒 | 2 tbsp | High-quality for depth |
| Sea Salt 🧂 | ½ tsp | Fine grain for even distribution |
| Black Pepper 🌶️ | ¼ tsp | Freshly ground for best aroma |
| White Wine Vinegar 💧 | 1 tsp | Balances richness with acidity |
The mayonnaise base is critical—Duke’s or Hellmann’s deliver the right creaminess and stability. For garlic, fresh cloves are non-negotiable; pre-minced lacks the sharpness this sauce demands. Whole Foods or local farmers markets often carry the freshest heads with the highest oil content. The Dijon mustard acts as an emulsifier, so avoid substitutions that lack acidity or thickness.
Out of fresh garlic? Garlic powder at one-sixth the amount works in a pinch, though the flavor won’t be as vibrant. No Dijon? Yellow mustard plus a pinch of turmeric can mimic the tang. For a lighter version, Greek yogurt at half the quantity replaces mayonnaise, but texture will differ. Always taste and adjust salt last—the ingredients vary in sodium content.
This keeps 1 week in the fridge in an airtight container. The flavors meld and deepen over 24 hours, so make it ahead if possible. A thin layer of olive oil on top prevents browning. Not suitable for freezing—emulsion will separate.
Why You’ll Love This Recipe
- 5-Minute Magic: I just stir mayo, garlic, mustard, lemon, and oil—no cooking, no fuss, done before the oven preheats.
- Garlicky Zing: The raw garlic and Dijon pack a bright punch that cuts through fried or grilled foods like nothing else.
- Dip or Dress: I slather it on sandwiches at noon and use the same batch as a veggie dip by dinner.
- Stays Fresh: Honestly, it keeps in the fridge for a week, so I always have a flavor boost ready.
Step-by-Step Instructions for Aioli With Mayo
This straightforward method ensures a perfectly balanced, creamy emulsion every time.
Step 1: Prepare the Garlic Base
Mince the 4 cloves Garlic Cloves as finely as possible. For the smoothest texture, I recommend pressing the garlic through a garlic press or grating it on a microplane. This step ensures the garlic distributes evenly throughout the aioli without leaving large chunks.
The finer the garlic, the more its flavor will infuse into the mixture. If you see any large pieces, continue mincing until they’re nearly paste-like. This creates a more refined final product.
Step 2: Create the Flavor Foundation
In a medium bowl, combine the 1 cup Mayonnaise, minced garlic, 1 tbsp Dijon Mustard, 1 tbsp Lemon Juice, 2 tbsp Extra-Virgin Olive Oil, 0.5 tsp Sea Salt, 0.25 tsp Black Pepper, and 1 tsp White Wine Vinegar.
Whisk these ingredients together until fully incorporated. The Dijon mustard acts as both a flavor enhancer and a natural emulsifier, while the lemon juice and white wine vinegar provide the necessary acidity to balance the richness of the mayonnaise.
Step 3: Adjust and Refine the Emulsion
Taste the aioli and adjust the seasoning if needed. The Sea Salt and Black Pepper should be noticeable but not overpowering. If the mixture seems too thick, whisk in a few drops of water to achieve your desired consistency.
Let the aioli rest for 10-15 minutes at room temperature. This allows the flavors to meld together. You’ll notice the garlic becomes more pronounced while the acidity mellows slightly, creating a more harmonious blend.
Step 4: Serve or Store for Later Use
Transfer the aioli to a serving bowl or airtight container. If using immediately, give it one final whisk to ensure the emulsion remains stable. The aioli can be served right away, though I find the flavor deepens after 1-2 hours in the refrigerator.
For storage, keep the aioli refrigerated in an airtight container for up to 5 days. The surface may separate slightly over time—simply stir before use to restore the creamy texture. This versatile sauce works beautifully as a dip, sandwich spread, or sauce for grilled meats and vegetables.
Pro Tips For Making Aioli Recipe With Mayo
- Grate the Garlic: I learned this the hard way—minced garlic can leave bitter chunks, but finely grating it into the mayo blends smoothly and distributes the flavor evenly.
- Temper the Mayo: Let your mayonnaise sit at room temperature for 10-15 minutes before mixing; cold mayo seizes up and makes the aioli thick and unworkable.
- Skip the Blender: Sounds weird, but it works: folding everything by hand with a whisk gives you better control over the texture than a blender or food processor.
- Add Oil Last: After burning three batches of aioli, I finally figured out that drizzling the olive oil in at the end prevents it from separating or turning greasy.
Perfect Pairings for This aioli recipe with mayo
Side Dishes
This creamy aioli recipe with mayo pairs beautifully with crispy sides. Try it with golden fries or roasted potato wedges for a classic combo. For a lighter option, drizzle it over a fresh Caprese salad or use it as a dip for grilled asparagus. The rich, garlicky flavor elevates simple sides into standout dishes.
Drink Pairings
A refreshing sparkling lemonade or iced tea cuts through the aioli’s richness, balancing the meal. For a bold pairing, opt for a crisp Sauvignon Blanc or a light lager beer. These drinks cleanse the palate and enhance the aioli’s garlicky depth.
Complementary Flavors
Boost your dish with flavors that harmonize with aioli. Add a sprinkle of smoked paprika or a dash of lemon zest for brightness. For hearty meals, pair it with grilled chicken or seared shrimp. The aioli’s creaminess complements bold, savory, or tangy notes perfectly.
Nutrition Facts

- 6 Egg Cake Recipe with Oil: Light as Air With Buttery Moisture - October 4, 2026
- 4 Bean Casserole Recipe: One-Pan Heartiness With Smoky Paprika Depth - October 4, 2026
- 3-Ingredient Keto Mug Cake Recipe: Microwave Magic in 2 Minutes - October 4, 2026