
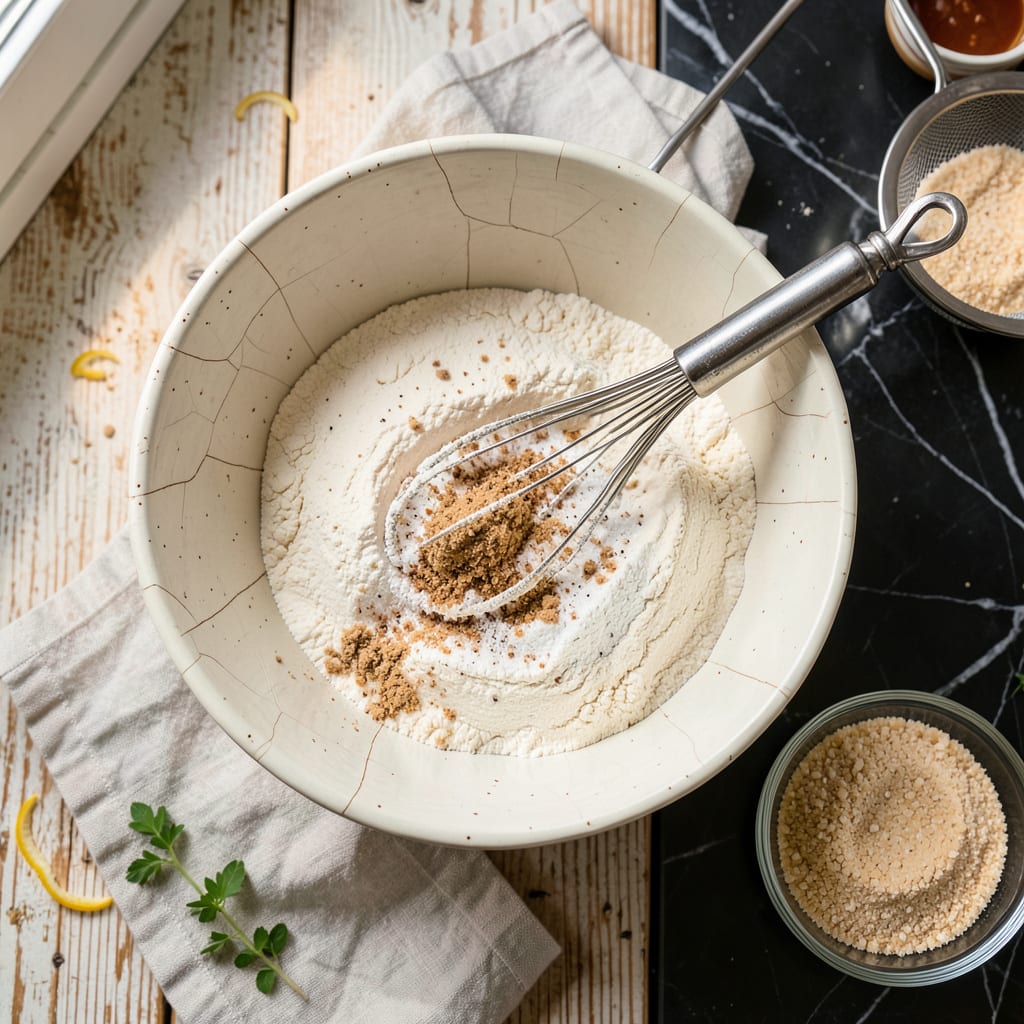
Creating bakery-quality donuts at home is simpler than you think with this proven recipe. The secret to achieving BabyCakes’ signature fluffy texture lies in the precise balance of leavening agents and a carefully controlled frying temperature of 350°F. This method ensures light, airy centers with just the right amount of crispness on the outside.
What sets this recipe apart is the professional-quality glaze that hardens to a perfect sheen. Whether you prefer classic vanilla or rich chocolate, the technique guarantees a smooth, crackly finish that rivals any donut shop. With attention to detail and proper timing, you’ll master the art of homemade donuts that disappear as quickly as they cool.
Ingredients for Babycakes Donut
These professional-grade ingredients create bakery-quality donuts with signature fluffiness and perfect glaze.
| Ingredient | Amount | Notes |
|---|---|---|
| All-Purpose Flour 🌾 | 4 cups | Sifted for optimal texture |
| Granulated Sugar 🍚 | 1 cup | Fine grain for even distribution |
| Baking Powder 🧂 | 2 ½ tsp | Aluminum-free for clean flavor |
| Baking Soda 🧂 | ½ tsp | Ensures proper rise |
| Salt 🧂 | 1 tsp | Diamond Crystal kosher preferred |
| Ground Nutmeg 🌰 | ½ tsp | Freshly grated for potency |
| Whole Milk 🥛 | 1 cup | Room temperature for even mixing |
| Large Eggs 🥚 | 2 whole | Grade AA for structure |
| Unsalted Butter 🧈 | 4 tbsp | Melted and cooled slightly |
| Pure Vanilla Extract 🌿 | 1 tsp | Madagascar bourbon variety |
| Vegetable Oil 🫒 | 4 cups | For frying at 350°F |
| Powdered Sugar 🍚 | 3 cups | Sifted for smooth glaze |
| Heavy Cream 🥛 | ¼ cup | 36-40% butterfat content |
| Corn Syrup 🍯 | 2 tbsp | Light variety for sheen |
[recipeingredientscaler]
The leavening agents are critical for BabyCakes’ signature texture. Baking powder and baking soda must be fresh—check expiration dates. Diamond Crystal kosher salt provides clean flavor without bitterness. For the flour, King Arthur All-Purpose is optimal for its consistent protein content (11.7%). The nutmeg should be freshly grated—pre-ground loses potency quickly. Professional kitchens use Plugra butter for its higher butterfat content, but standard unsalted works if properly measured.
For dairy substitutions, whole milk can be replaced with equal parts half-and-half for richer donuts. Heavy cream in the glaze can use coconut cream (chilled overnight) for a dairy-free option. The corn syrup ensures the glaze’s crackly finish—Lyle’s Golden Syrup works similarly but adds caramel notes. If avoiding refined sugar, organic powdered sugar (like Wholesome Sweeteners) maintains the glaze’s opacity. The vegetable oil must reach and maintain 350°F—use a candy thermometer for precision.
Store dry ingredients (flour, sugars, leaveners) in airtight containers for up to 6 months. The glaze components (powdered sugar, cream) should be refrigerated until use. Fried donuts are best consumed within 24 hours, though they can be frozen (unglazed) for 1 month. Reheat frozen donuts at 325°F for 8-10 minutes before glazing. Always bring refrigerated ingredients to room temperature before mixing to prevent density issues in the batter.
Why You’ll Love This Recipe
- No Mixer Needed: I’ve made these donuts with just a whisk and a bowl—no fancy equipment, no overmixing worries. The baking powder and soda do all the heavy lifting, so even if your arm gets tired (mine always does), the results are still light and fluffy.
- That Sugar Crust: Here’s what sold me—the granulated sugar doesn’t just sweeten the batter, it creates this delicate, crackly crust when baked. It’s like the first bite of a bakery donut, but warmer, and you didn’t have to leave the house for it.
- Breakfast or Dessert?: Honestly, I’ve served these at 7 a.m. with coffee and again at 9 p.m. with ice cream. The same batch works for both because they’re just sweet enough—no icing required (though I won’t judge if you add some).
- Pantry Staples Only: Between us, I’ve made these three times in the last month because I always have flour, sugar, and those leavening agents sitting around. No last-minute grocery runs, no weird ingredients—just solid, reliable donuts whenever the craving hits.
Step-by-Step Instructions for BabyCakes Donuts
Master the technique for achieving professional-quality donuts with perfectly fluffy interiors and glossy bakery-style glaze.
Step 1: Prepare the Donut Batter
In a large mixing bowl, whisk together the 4 cups All-Purpose Flour, 2.5 tsp Baking Powder, 0.5 tsp Baking Soda, 1 tsp Salt, and 0.5 tsp Ground Nutmeg. I sift these dry ingredients first to eliminate any lumps and ensure even distribution throughout the batter. The nutmeg adds subtle warmth that complements the sweetness without overpowering.
In a separate bowl, combine the 1 cup Granulated Sugar, 1 cup Whole Milk, 2 whole Large Eggs, 4 tbsp Unsalted Butter (melted and cooled), and 1 tsp Pure Vanilla Extract. Whisk vigorously until the mixture is smooth and slightly frothy. This emulsification step creates a uniform base that will incorporate seamlessly with the dry ingredients.
Gradually fold the wet ingredients into the dry mixture using a silicone spatula. Mix just until the flour is incorporated—overworking the batter develops gluten, which would make the donuts tough rather than tender. The finished batter should be thick but still pourable, similar to pancake batter consistency.
Step 2: Fry the Donuts to Golden Perfection
Pour the 4 cups Vegetable Oil into a heavy-bottomed pot or deep fryer and heat to 350°F. Use a candy or deep-fry thermometer for accuracy—oil temperature is critical. If the oil is too cool, the donuts will absorb excess grease; if too hot, they’ll brown before cooking through. Maintain the temperature between 340-360°F throughout frying.
Transfer the batter to a piping bag fitted with a large round tip. Pipe 3-inch rings directly into the hot oil, working in batches to avoid overcrowding. Fry for 2-3 minutes per side until deeply golden brown with a crisp exterior. The donuts should float and puff noticeably as they cook—a sign that the leavening agents are working properly.
Use a slotted spoon to transfer the fried donuts to a wire rack set over a baking sheet. This allows excess oil to drain while maintaining airflow on all sides, preventing sogginess. Let them cool for 5 minutes before glazing—they should be warm but not piping hot when dipped.
Step 3: Prepare the Signature Glaze
While the donuts cool, make the glaze by whisking together the 3 cups Powdered Sugar, 0.25 cup Heavy Cream, and 2 tbsp Corn Syrup in a medium bowl. The corn syrup adds elasticity to the glaze, creating that characteristic shiny finish that cracks beautifully when bitten. Adjust the consistency with additional powdered sugar (for thickness) or heavy cream (for thinning) as needed.
The ideal glaze should coat the back of a spoon and drip slowly in a thick ribbon. For extra smoothness, sift the powdered sugar first to eliminate any potential graininess. I prefer to make the glaze just before using it—if it sits too long, it may develop a crust that affects the final texture.
Step 4: Glaze and Finish the Donuts
Dip the warm donuts into the glaze one at a time, turning to coat completely. Use a dipping motion rather than pouring to achieve an even, professional-looking coating. Place the glazed donuts back on the wire rack with a fresh sheet of parchment underneath to catch drips. The glaze will set within 10-15 minutes, forming a slightly crisp shell.
For optimal texture contrast, serve the donuts within 2 hours of glazing. The exterior should have a delicate crack when bitten, giving way to a light, airy interior. If storing, keep them in a single layer in an airtight container at room temperature for up to 24 hours, though they’re best enjoyed fresh.
To test for perfect doneness, break one open—the crumb should be uniformly pale with no raw flour streaks, and the texture should spring back gently when pressed. The nutmeg’s aroma should be detectable but subtle, balanced by the sweetness of the glaze.
Troubleshooting This Recipe
Dense or Heavy Donuts
If your donuts turn out dense instead of fluffy, the most likely culprit is overmixed batter.
Greasy Finished Donuts
Oil temperature is everything here. If your donuts absorb too much oil, your fryer likely dropped below 340°F. Use a candy thermometer (I trust the ThermoWorks Dot) and maintain 350°F consistently. Work in small batches—overcrowding the pot causes temperature drops. Let excess oil drain on a wire rack, not paper towels, to preserve crispness.
Glaze Too Thin
A runny glaze usually means too much liquid. Start with 2 cups powdered sugar and add the heavy cream gradually. The corn syrup is non-negotiable—it provides that signature crackly finish. If your kitchen is humid, you may need an extra ¼ cup powdered sugar. I always sift my sugar first to prevent graininess in the final product.
Donuts Don’t Rise
Flat donuts often result from expired leavening agents or cold ingredients. Test your baking powder by mixing 1 tsp with ½ cup hot water—it should bubble vigorously. Ensure all dairy ingredients (milk, eggs, butter) are at room temperature before mixing. The batter should visibly puff when piped into the oil.
Glaze Won’t Set
Patience is key here—the glaze needs 10-15 minutes to harden properly. If it remains sticky, your kitchen might be too warm. Try adding 1 tbsp corn syrup to the glaze mixture, which helps it dry with that characteristic sheen. Avoid refrigerating glazed donuts, as this can make the glaze weep. A quick fix is dusting with extra powdered sugar after 20 minutes. ✨
Uneven Browning
Inconsistent color usually means uneven oil temperature. Use a heavy-bottomed pot (I prefer Le Creuset enameled cast iron) to maintain steady heat. Stir the oil gently between batches to distribute heat. If one side browns faster, flip more frequently—every 45-60 seconds—rather than waiting the full 2-3 minutes. The donuts should be a uniform golden brown all over.
Nutrition Facts

- 6 Egg Cake Recipe with Oil: Light as Air With Buttery Moisture - October 4, 2026
- 4 Bean Casserole Recipe: One-Pan Heartiness With Smoky Paprika Depth - October 4, 2026
- 3-Ingredient Keto Mug Cake Recipe: Microwave Magic in 2 Minutes - October 4, 2026