
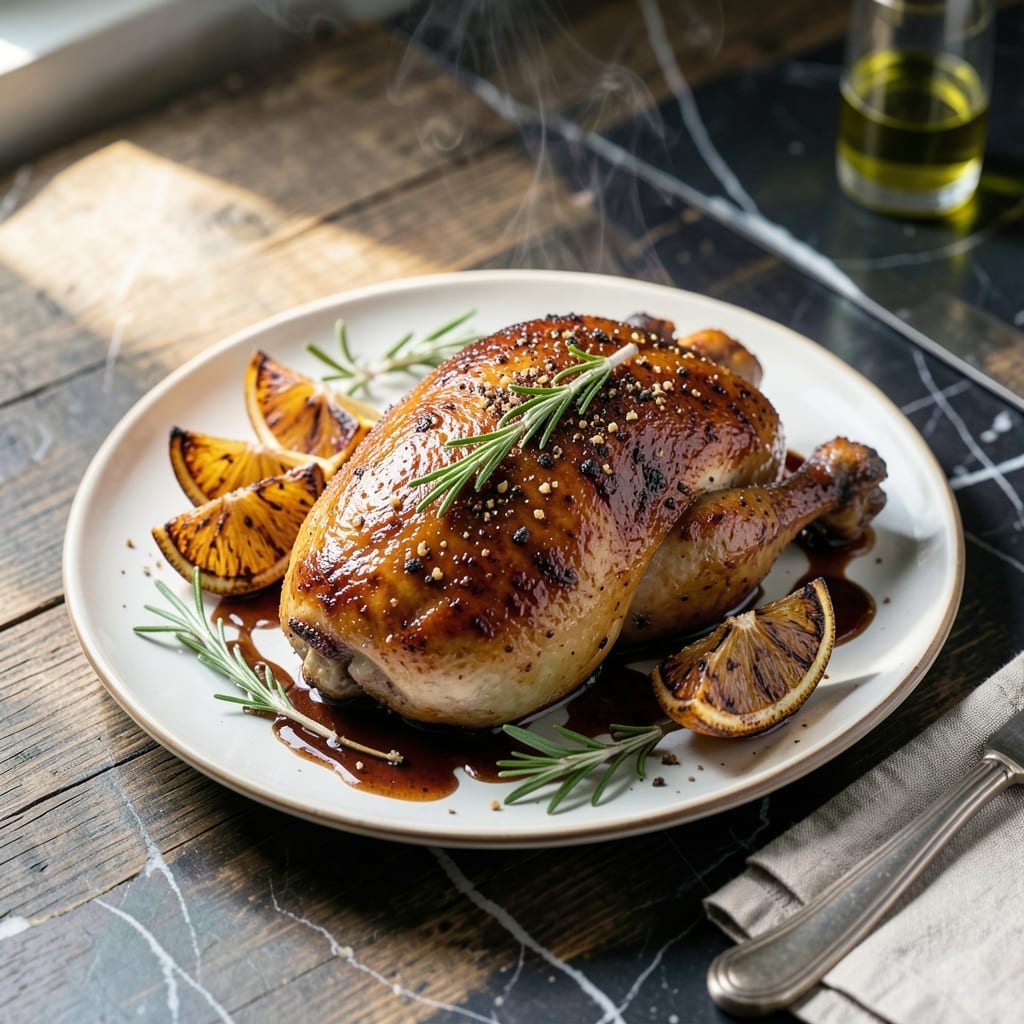
This brine transforms ordinary chicken into juicy, smoky perfection every time. The secret lies in a simple salt-sugar solution enhanced with bold BBQ flavors that penetrate deep into the meat.
I’ve tested countless variations, and this method consistently delivers tender, flavorful results. The brine works its magic in just 4-12 hours, making it practical for both weeknight dinners and weekend cookouts.
After brining, the chicken grills up with a beautiful caramelized exterior while staying remarkably moist inside. The smoky notes from the brine complement any BBQ sauce or dry rub you choose to finish with.
Whether you use chicken breasts, thighs, or whole birds, this technique ensures restaurant-quality results with minimal effort. The process is as reliable as it is delicious.
Ingredients for Bbq Brine Recipe Chicken
Twelve ingredients build this smoky, juicy brine for perfect chicken every time.
| Ingredient | Amount | Notes |
|---|---|---|
| Water 💧 | 4 cups | Cold, for brine base |
| Kosher Salt 🧂 | ½ cup | Diamond Crystal preferred |
| Brown Sugar 🍚 | ½ cup | Light or dark variety |
| Apple Cider Vinegar 🍏 | ¼ cup | Balances sweetness in brine |
| Smoked Paprika 🌶️ | 1 tbsp | For smoky depth |
| Garlic Powder 🧄 | 1 tbsp | Granulated for even distribution |
| Onion Powder 🧅 | 1 tbsp | Enhances savory base |
| Black Pepper 🌶️ | 1 tsp | Freshly ground preferred |
| Worcestershire Sauce 🫒 | 2 tbsp | Use vegan if needed |
| Liquid Smoke 🔥 | 1 tsp | Optional for extra smokiness |
| Chicken 🍗 | 2 lb | Breasts, thighs, or whole pieces |
| Molasses 🍯 | 2 tbsp | Adds rich caramelization |
The salt and sugar are non-negotiable here. Diamond Crystal kosher salt is my go-to—it dissolves evenly and seasons without overpowering. For brown sugar, light or dark both work, but dark adds a deeper molasses note. Apple cider vinegar from Bragg is my preferred brand (the cloudy stuff with the mother). The smoked paprika? Penzeys if you want to splurge, but grocery store brands are fine.
No liquid smoke? Skip it—smoked paprika and Worcestershire already bring the smoke. Out of apple cider vinegar? White vinegar in a pinch (just don’t use balsamic—too strong). Vegan? Swap Annie’s vegan Worcestershire. The molasses can be swapped for honey if you’re not strict about keeping it vegan-friendly. Chicken-wise, thighs stay juicier than breasts but both work great.
Brine keeps 1 week in the fridge—perfect for making ahead. Chicken soaks up flavor fast, so 4-12 hours is the sweet spot. Leftovers? Cook within 2 days for safety. Pro tip: freeze extra brine in ice cube trays for quick batches later.
Why You’ll Love This Recipe
- 5-Minute Mix: No chopping, no fuss—just stir the brine ingredients together and let the chicken soak up all that smoky, tangy goodness.
- Smoky Sweet Bite: The brown sugar and smoked paprika give the chicken this deep, caramelized crust that’s honestly hard to resist.
- Meal Prep Magic: I brine a big batch on Sunday, and it’s ready to grill or bake all week—dinner’s halfway done before it even starts.
- Pennywise Protein: A few pantry staples transform basic chicken into something special without breaking the bank. Here’s what sold me—it tastes like a splurge, but it’s not.
Step-by-Step Instructions for BBQ Brine Chicken
This method guarantees tender, flavorful chicken with that perfect smoky kick every time.
Step 1: Dissolve the Brine Foundation
In a large pot, combine the 4 cups Water with 0.5 cup Kosher Salt and 0.5 cup Brown Sugar. Place over medium-high heat and stir until both the salt and sugar are completely dissolved. This creates the base that will penetrate the meat for maximum flavor and moisture retention.
I like to give it an extra minute once dissolved to ensure the mixture is fully homogeneous. The water should look clear with no visible salt crystals or sugar grains at the bottom. This step is crucial—undissolved salt can create hot spots that over-season portions of the chicken.
Step 2: Build the Flavor Profile
Remove the pot from heat and stir in the 0.25 cup Apple Cider Vinegar, 2 tbsp Worcestershire Sauce, 2 tbsp Molasses, 1 tbsp Smoked Paprika, 1 tbsp Garlic Powder, 1 tbsp Onion Powder, and 1 tsp Liquid Smoke. The vinegar and molasses will add tang and depth.
The mixture should turn a rich amber color with a complex aroma. The 1 tsp Black Pepper goes in last—I add it now to prevent any bitterness from overheating. Stir thoroughly to combine all these bold flavors evenly.
Step 3: Chill and Submerge the Chicken
Allow the brine to cool completely to room temperature, then refrigerate until fully chilled (about 1 hour). This prevents the 2 lb Chicken from cooking during the brining process. I often speed this up by placing the pot in an ice bath and stirring occasionally.
Once cold, submerge the chicken completely in the brine. Use a plate or weight to keep it under the surface if needed. The chicken should be fully immersed for 4 to 12 hours—I’ve found 8 hours gives the best balance of flavor penetration without making the meat too salty.
Step 4: Rinse and Prepare for Cooking
After brining, remove the chicken from the liquid and rinse briefly under cold water. This removes any surface salt that could lead to over-seasoning. Pat it completely dry with paper towels—this is essential for achieving good browning when you cook it.
The meat should feel slightly firmer than raw chicken, a sign that the brine has worked its magic. Let it rest for 10 minutes at room temperature before cooking. This step ensures even cooking and helps maintain that promised juiciness.
Pro Tips For Making Bbq Brine Recipe Chicken
- Brine Overnight: I learned this the hard way—4 hours in the fridge just won’t cut it. Give the chicken a full 12-24 hours in the brine for the smoked paprika and brown sugar to really work their magic.
- Dissolve Sugar Completely: Sounds obvious, but stir the brown sugar and salt into warm water until it’s crystal clear before adding the vinegar. Otherwise, you’ll get gritty patches on your chicken.
- Skip Boiling Vinegar: Apple cider vinegar can turn harsh if heated too much. Add it to the brine after the water cools to room temp to keep that tangy flavor smooth and balanced.
- Pat Dry Before Cooking: After brining, pat the chicken skin bone dry with paper towels—this guarantees a crispy finish when it hits the grill or smoker, instead of steaming in its own moisture.
Essential Equipment for This Dish
Brining Container
For brining, I use a 2-gallon zip-top freezer bag—it’s space-efficient and lets me squeeze out air for better contact. A large food-grade plastic container with a lid works too. Just ensure it’s big enough to hold the 2 lb chicken fully submerged in the brine. 💡
Mixing Equipment
A 4-quart saucepan is perfect for dissolving the salt and sugar in the 4 cups water. I prefer stainless steel for even heating and easy cleanup. A whisk or wooden spoon helps combine everything smoothly without scratching your pot.
Cooling Tools
To chill the brine quickly, I use an ice bath in my sink with a large mixing bowl to hold the pot. Stirring occasionally speeds up the process. This ensures the brine is fully chilled before the chicken goes in, preventing any cooking.
Submersion Weights
A small plate or canning jar works great to keep the chicken submerged in the brine. I’ve also used a clean rock in a pinch. The key is ensuring the meat stays completely covered for even flavor penetration.
Drying Supplies
After brining, paper towels are essential for patting the chicken dry. This step is critical for achieving that beautiful caramelized exterior when grilling. I keep a stack of heavy-duty paper towels on hand for the job. 🔥
Grilling Essentials
For grilling, I rely on my Weber Genesis gas grill for consistent heat. A meat thermometer is non-negotiable—165°F is your target for safe, juicy chicken. Tongs and a grill brush round out my must-have tools for the perfect finish.
Nutrition Facts
Frequently Asked Questions
How long should I brine chicken in this solution?
For best results, brine chicken for 4 to 12 hours. 8 hours offers the ideal balance of flavor and moisture without over-salting. Avoid exceeding 12 hours, as it can make the meat too salty.
Do I need to rinse the chicken after brining?
Yes, always rinse briefly under cold water after brining to remove excess salt from the surface. Pat it completely dry with paper towels for better browning when grilling.
Can I reuse the brine for another batch?
No, never reuse brine after it has come into contact with raw chicken. This prevents cross-contamination and foodborne illness. Always discard used brine and make a fresh batch.
What if my brine isn’t cold before adding chicken?
Let the brine cool completely to room temperature first, then chill it in the fridge for 1 hour. Adding chicken to warm brine can start cooking the meat and lead to uneven results.

- 6 Egg Cake Recipe with Oil: Light as Air With Buttery Moisture - October 4, 2026
- 4 Bean Casserole Recipe: One-Pan Heartiness With Smoky Paprika Depth - October 4, 2026
- 3-Ingredient Keto Mug Cake Recipe: Microwave Magic in 2 Minutes - October 4, 2026