
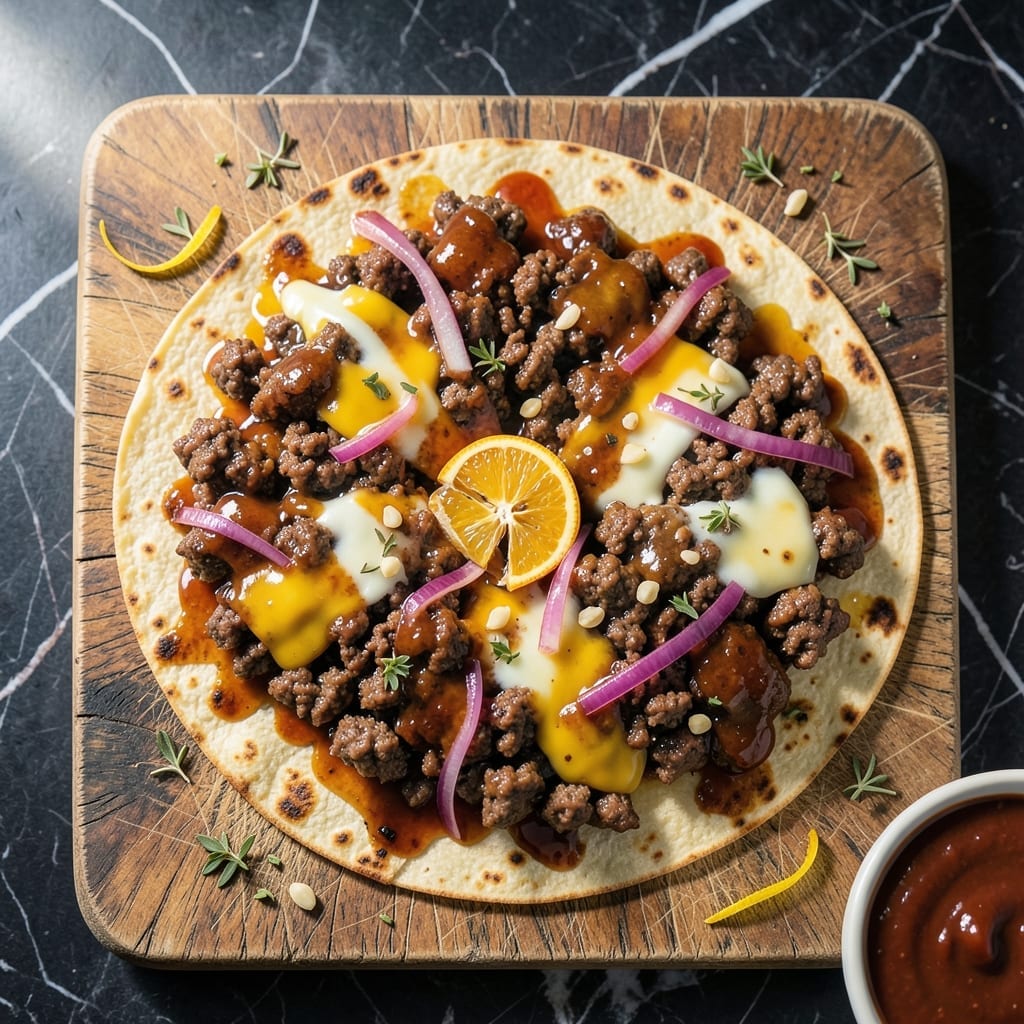
This recipe transforms simple ingredients into a tender beef and cheese fusion that redefines comfort food. The smoky barbecue flavor pairs perfectly with melted cheese, creating a quesadilla that’s irresistibly satisfying every time.
I’ve refined this method to ensure the beef stays juicy while the tortillas crisp to golden perfection. A quick sear and low heat are key to achieving that ideal texture without drying out the meat.
The BBQ sauce adds a tangy depth that balances the richness of the cheese, while the beef brings hearty, savory notes. It’s a crowd-pleasing dish that comes together in minutes.
Perfect for game day, weeknight dinners, or a quick lunch, this quesadilla delivers bold flavor in every bite. Here’s how to make it.
Ingredients for Bbq Quesadilla Recipe Beef
Ground beef, smoky BBQ sauce, and melty cheese come together for this comfort food classic.
| Ingredient | Amount | Notes |
|---|---|---|
| Ground Beef 🥩 | 1 lb | 80/20 lean-to-fat ratio preferred |
| BBQ Sauce 🍯 | 1 cup | Smoky, tangy variety recommended |
| Cheddar Cheese 🧀 | 2 cups | Shredded from block for best melt |
| Flour Tortillas 🌯 | 8 pieces | Large, burrito-sized preferred |
| Red Onion 🧅 | ½ whole | Thinly sliced for mild bite |
| Garlic Cloves 🧄 | 2 cloves | Minced for sauce infusion |
| Olive Oil 🫒 | 2 tbsp | For cooking beef and tortillas |
| Salt 🧂 | ½ tsp | Kosher or sea salt preferred |
| Black Pepper 🌶️ | ½ tsp | Freshly ground for best flavor |
| Worcestershire Sauce 💧 | 1 tbsp | Adds depth to beef mixture |
| Brown Sugar 🍚 | 1 tsp | Optional, for balancing acidity |
| Fresh Cilantro 🌿 | ¼ cup | Chopped for garnish |
The beef is the foundation here. 80/20 ground chuck gives you the best flavor and juiciness—leaner blends dry out too fast. Most grocery stores carry it, but Whole Foods or a local butcher will have the freshest options. Look for bright red color with good marbling. The tortillas need to be flexible to fold without cracking, so avoid the extra-thin varieties.
No BBQ sauce? Mix ketchup with a dash of liquid smoke and brown sugar for a quick substitute. Pepper Jack cheese adds a nice kick if you like heat. Vegetarian? Swap the beef for seasoned black beans or crumbled tempeh. The Worcestershire can be ommitted if needed, but add a splash of soy sauce to keep that umami depth.
Assemble right before cooking to keep the tortillas from getting soggy. Leftovers stay fresh for 2-3 days in the fridge—reheat in a dry skillet to recrispen. Freeze uncooked quesadillas between parchment for up to 3 months.
Why You’ll Love This Recipe
- 20-Minute Meal: I can get these from pan to plate before the kids finish arguing over who gets the last chip.
- That Smoky Cheese Pull: The sharp cheddar melts into the BBQ beef so every bite stretches with that perfect tangy-sweet kick.
- Game Day MVP: I set out a platter of these at parties and they’re always the first to disappear—no forks needed.
- Budget Stretcher: Ground beef and tortillas feed my whole family for less than takeout, and leftovers reheat like a dream.
Step-by-Step Instructions for BBQ Beef Quesadillas
Here’s the method. Straightforward, tested, works every time.
Step 1: Cook the Beef with Aromatics and Seasonings
Heat 1 tbsp Olive Oil in a large skillet over medium-high heat. Add the 1 lb Ground Beef, breaking it up with a wooden spoon. Cook for 5-6 minutes until browned and no pink remains.
Stir in the 0.5 whole Red Onion (thinly sliced), 2 cloves Garlic Cloves (minced), 0.5 tsp Salt, and 0.5 tsp Black Pepper. Cook for another 2-3 minutes until the onion softens. This builds the flavor base for your filling.
Add 1 tbsp Worcestershire Sauce, 1 cup BBQ Sauce, and 1 tsp Brown Sugar. Simmer for 3-4 minutes until the mixture thickens slightly and the beef is fully coated. The sauce should cling to the meat with a glossy finish.
Step 2: Prepare the Tortillas for Assembly
Lay out 4 pieces Flour Tortillas on a clean work surface. These will be your base. Lightly brush the remaining 1 tbsp Olive Oil on one side of each tortilla—this ensures crispy, golden-brown results when cooked.
Sprinkle about ½ cup Cheddar Cheese evenly over each unbrushed side of the tortillas. Reserve the remaining 2 cups Cheddar Cheese for the top layers. The cheese should cover the surface but leave a small border to prevent spillage during cooking.
Step 3: Assemble and Cook the Quesadillas
Divide the beef mixture evenly among the cheese-topped tortillas, spreading it to the edges. Sprinkle another ½ cup Cheddar Cheese over the beef on each quesadilla. Top with the remaining 4 pieces Flour Tortillas, oil-side up.
Heat a clean skillet or griddle over medium heat. Place one quesadilla in the pan and cook for 3-4 minutes per side until golden brown and the cheese is fully melted. Press down lightly with a spatula to ensure even contact with the pan.
Repeat with the remaining quesadillas, adding more oil to the pan if needed. You’ll know they’re ready when the cheese oozes slightly at the edges and the tortillas are crisp.
Step 4: Rest, Slice, and Garnish
Transfer each cooked quesadilla to a cutting board and let it rest for 2 minutes. This allows the cheese to set slightly, making it easier to slice without everything oozing out.
Cut each quesadilla into 4 wedges using a sharp knife or pizza cutter. The layers should hold together well, with the beef and cheese evenly distributed in each piece.
Garnish with the 0.25 cup Fresh Cilantro (chopped) before serving. The cilantro adds a fresh contrast to the smoky, savory flavors. Serve immediately while the quesadillas are hot and the cheese is still gooey.
Pro Tips For Making Bbq Quesadilla Recipe Beef
- Drain the Beef: After browning the ground beef, drain the excess fat completely—otherwise your quesadilla will turn soggy. I learned this the hard way when my first batch fell apart.
- Warm the Tortillas: Heat the flour tortillas for 10-15 seconds in a dry pan before assembling. This prevents them from cracking and helps the cheese melt more evenly.
- Skip the Overfilling: Resist the urge to stuff with too much beef or cheese. A modest layer—about 1/3 cup beef and 1/4 cup cheese per half—ensures it cooks through without spilling everywhere.
- Press While Cooking: Use a spatula to gently press down on the quesadilla as it cooks. This guarantees full contact with the pan, giving you that crispy, golden crust without flipping too soon.
Storing and Reheating This bbq quesadilla recipe beef
Refrigerator Storage
Let your quesadillas cool completely before storing—about 30 minutes at room temperature. Place them in a single layer in an airtight container with parchment paper between layers to prevent sticking. They’ll keep fresh for 2-3 days in the fridge. ❄️
Freezer Storage
For longer storage, wrap each quesadilla individually in plastic wrap, then place all wrapped quesadillas in a gallon freezer bag. Squeeze out excess air before sealing. They freeze well for up to 3 months without losing texture or flavor.
Oven Reheating
Preheat your oven to 375°F and place quesadillas directly on the rack or a baking sheet. Heat for 8-10 minutes until the cheese is bubbly and the tortillas are crisp. This method works best for reviving that just-cooked texture. 🔥
Skillet Reheating
For the crispiest results, reheat in a dry skillet over medium heat for 2-3 minutes per side. Press down lightly with a spatula to ensure even contact. This brings back the golden-brown crust and melty cheese.
Microwave Reheating
If you’re in a hurry, microwave individual wedges on a paper towel for 30-45 seconds. For best results, cover with another paper towel to trap steam. The tortillas may soften, but the filling stays warm and gooey.
Nutrition Facts
Frequently Asked Questions
Can I use leftover pulled beef?
Yes! Shredded or pulled beef works beautifully and saves time. Just warm it with 1 cup BBQ sauce for 5 minutes before assembling.
Why rest quesadillas before slicing?
Resting for 2 minutes lets the cheese set slightly, preventing messy spillage when you cut into wedges. The filling stays intact while still gooey.
How do I keep tortillas from tearing?
Warm tortillas briefly in a dry skillet or microwave for 10-15 seconds to make them pliable. Avoid overfilling—½ cup cheese per layer is ideal.
Can I make these ahead?
Assemble uncooked quesadillas, wrap tightly, and refrigerate for up to 24 hours. Cook just before serving for best texture and crispness.

- 6 Egg Cake Recipe with Oil: Light as Air With Buttery Moisture - October 4, 2026
- 4 Bean Casserole Recipe: One-Pan Heartiness With Smoky Paprika Depth - October 4, 2026
- 3-Ingredient Keto Mug Cake Recipe: Microwave Magic in 2 Minutes - October 4, 2026