
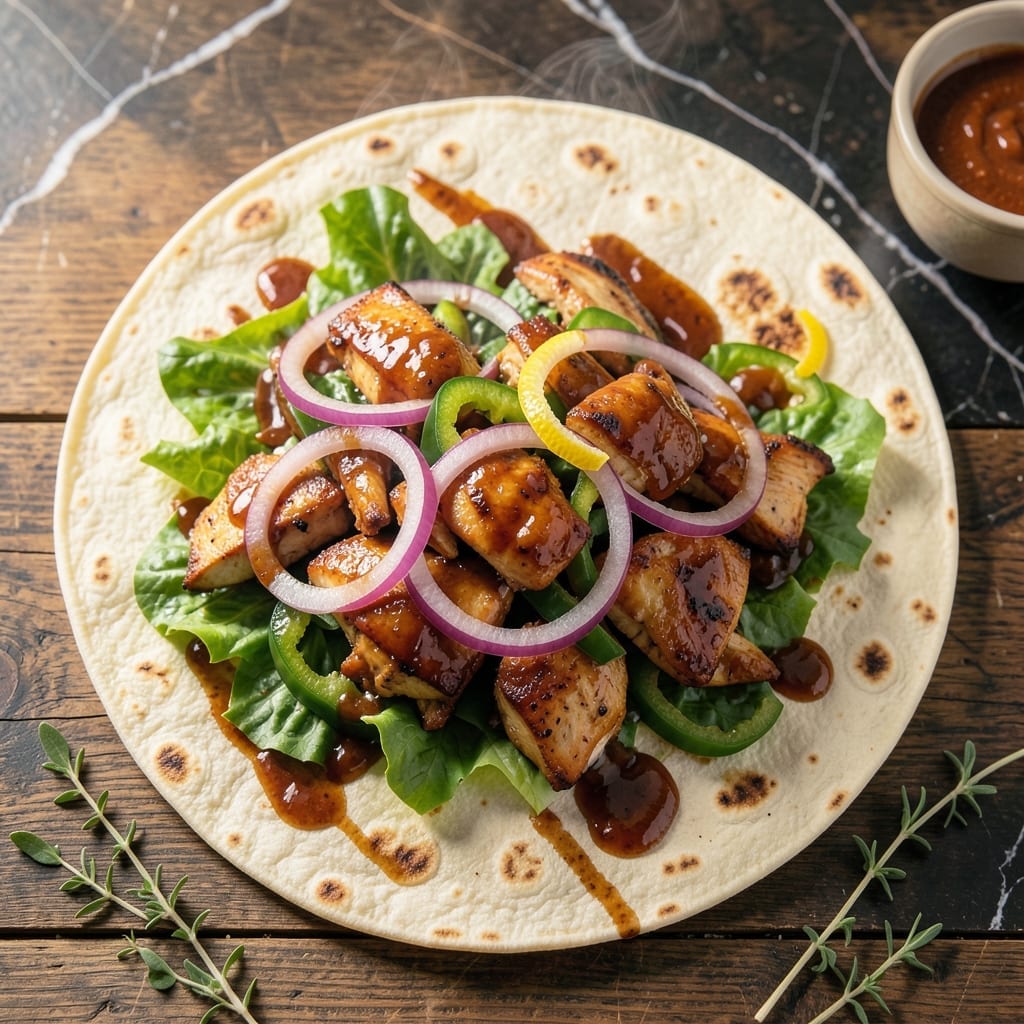
This handheld meal delivers restaurant-quality smoky flavor without the fuss of a full BBQ spread. The key is cooking the chicken low and slow to lock in juices while developing that signature barbecue bark.
I’ve perfected a method using simple ingredients that ensures tender, flavorful chicken every time. A quick sear finishes the process, adding a subtle char that elevates the dish beyond typical wrapped meals.
Assembling the wrap is where the magic happens—layering the chicken with crisp vegetables and a tangy sauce creates a balanced bite in every mouthful. The result is a satisfying, portable meal with no compromise on taste.
Serve with a side of pickles or coleslaw for a complete, crowd-pleasing experience. The process is straightforward, but the flavor is anything but ordinary.
Ingredients for Bbq Wrap Recipe Chicken
These quality ingredients create a handheld meal with restaurant-level smoky depth and satisfying texture.
| Ingredient | Amount | Notes |
|---|---|---|
| Boneless Skinless Chicken Thighs 🍗 | 1 ½ lb | Trimmed of excess fat |
| Barbecue Sauce 🍯 | 1 ½ cups | Divided for cooking and serving |
| Large Flour Tortillas 🌯 | 4 pieces | Burrito size preferred |
| Red Onion 🧅 | 1 whole | Thinly sliced |
| Green Bell Pepper 🌶️ | 1 whole | Seeded, thinly sliced |
| Romaine Lettuce 🥬 | 1 whole | Shredded for crunch |
| Extra-Virgin Olive Oil 🫒 | 2 tbsp | For searing chicken |
| Apple Cider Vinegar 🍏 | 1 tbsp | For tangy brightness |
| Light Brown Sugar 🍚 | 1 tbsp | For caramelization |
| Garlic Powder 🧄 | 1 tsp | For depth of flavor |
| Onion Powder 🧅 | 1 tsp | For aromatic base |
| Smoked Paprika 🌶️ | 1 tsp | For authentic smokiness |
| Kosher Salt 🧂 | 1 tsp | Diamond Crystal preferred |
| Freshly Ground Black Pepper 🌶️ | ½ tsp | To taste |
| Mayonnaise 🥛 | ½ cup | For creamy sauce base |
The chicken is the foundation here. Boneless, skinless thighs stay juicier than breasts during the low-and-slow cooking process that develops that signature bark. Most grocery stores carry them pre-trimmed, but Costco offers excellent quality at a better price point. Look for thighs with even thickness to ensure consistent cooking. The barbecue sauce should have a good balance of sweet, tangy, and smoky—Stubb’s Original or Sweet Baby Ray’s are reliable choices.
Short on time? Pre-cooked rotisserie chicken works in a pinch—just shred and warm it in the sauce. No bell pepper? Poblano or jalapeño adds a nice kick. The tortillas must be large (burrito size) to contain all the fillings—Mission brand holds up well. For a lighter option, whole wheat tortillas work but may tear more easily. The apple cider vinegar can be swapped with white vinegar if that’s what’s in your pantry.
Leftover wraps keep well wrapped tightly in foil for 2-3 days in the fridge. The chicken mixture can be made 2 days ahead and reheated with a splash of water to loosen the sauce. Assemble just before serving to prevent soggy tortillas. The vegetables hold up best when prepped fresh, but you can slice them a day in advance and store in airtight containers.
Why You’ll Love This Recipe
- 20-Minute Meal: I can get this from fridge to table faster than deciding what to order in. Just toss the chicken with BBQ sauce and let the oven do the work.
- Smoky, Sweet Bite: That first bite of caramelized BBQ chicken with the crunch of bell pepper and onion wrapped in a warm tortilla? Ridiculously good.
- Lunchbox Hero: Packed these for my husband’s work lunch last week—still warm at noon, no soggy tortillas, and he texted me for the recipe.
- Budget Stretcher: One pack of thighs makes six wraps. Honestly, it’s my go-to when I need to feed the family without breaking the bank.
Step-by-Step Instructions for BBQ Chicken Wraps
Execute these professional techniques to achieve perfectly balanced, smoky handheld meals every time.
Step 1: Season and Sear the Chicken Thighs
Pat the 1.5 lb Boneless Skinless Chicken Thighs dry with paper towels to ensure proper searing. In a small bowl, combine the 1 tsp Kosher Salt, 1 tsp Smoked Paprika, 1 tsp Garlic Powder, 1 tsp Onion Powder, and 0.5 tsp Freshly Ground Black Pepper. Rub this mixture evenly over all surfaces of the chicken.
Heat the 2 tbsp Extra-Virgin Olive Oil in a large skillet over medium-high heat until shimmering. Add the chicken and sear for 5-6 minutes per side until deep golden brown and cooked through to an internal temperature of 165°F. The spices should create a fragrant crust.
Step 2: Create the BBQ Sauce Base
While the chicken rests, reduce heat to medium and add 1 cup of the 1.5 cups Barbecue Sauce to the same skillet. Stir in the 1 tbsp Light Brown Sugar and 1 tbsp Apple Cider Vinegar, scraping up any browned bits from the chicken.
Let the mixture simmer for 2-3 minutes until slightly thickened and glossy. This creates a concentrated base that will coat the chicken beautifully. The vinegar adds necessary brightness to balance the sweetness of the sauce.
Step 3: Shred Chicken and Combine with Sauce
Shred the cooked chicken thighs using two forks, working against the grain to create tender, bite-sized pieces. Return the shredded chicken to the skillet with the sauce and stir to coat evenly. Cook for an additional 2 minutes over medium heat to allow the flavors to meld.
The chicken should be thoroughly coated with a glossy, thick sauce that clings to each piece. If the mixture seems dry, add a splash of water or additional barbecue sauce from the reserved 0.5 cup.
Step 4: Prepare Vegetables and Assemble Wraps
Thinly slice the 1 whole Red Onion and 1 whole Green Bell Pepper. Shred the 1 whole Romaine Lettuce into fine strips. In a small bowl, mix the 0.5 cup Mayonnaise with a pinch of salt and pepper to create a creamy spreading base.
Warm the 4 pieces Large Flour Tortillas slightly to make them pliable. Spread a thin layer of the seasoned mayonnaise on each tortilla, then layer with shredded romaine, sliced onions and peppers, and finally the saucy chicken mixture. Fold the sides in and roll tightly to create a secure wrap.
Step 5: Serve with Final Touches
Slice each wrap in half diagonally for easier handling. Drizzle with the remaining 0.5 cup Barbecue Sauce or serve it on the side for dipping. The wraps should hold their shape well, with the tortilla slightly charred from the warm filling.
The final product should offer a satisfying contrast of textures: crisp lettuce, tender chicken, and soft tortilla, all unified by the smoky-sweet barbecue flavor. Serve immediately while warm for the best experience.
Pro Tips For Making Bbq Wrap Recipe Chicken
- Sear Chicken First: Get a good char on those chicken thighs in a hot pan before saucing—about 4-5 minutes per side. I learned this the hard way after my first few wraps turned out soggy from stewing in sauce.
- Slice Veggies Thin: Cut the red onion and green bell pepper into thin strips, about 1/8-inch thick. They’ll soften faster and distribute better in the wrap without making it bulky.
- Warm the Tortillas: Heat the flour tortillas for 10-15 seconds per side in a dry pan before assembling. Sounds weird, but it works: they fold without cracking and hold the fillings better.
- Sauce at the End: Toss the cooked chicken and veggies in barbecue sauce just before wrapping, not during cooking. This keeps the sauce from burning and gives you better control over the flavor.
Pro Cooking Tips for bbq wrap recipe chicken
Low and Slow Cooking
For maximum tenderness, cook the chicken at 275°F in the oven for 45-60 minutes before searing. This develops the bark while keeping the meat juicy. I use a wire rack over a sheet pan to ensure even air circulation. 🔥
Searing Perfection
Pat the chicken completely dry before searing to achieve a deep golden crust. Use a cast iron skillet for even heat distribution. The internal temperature should reach 165°F—I check with a ThermoWorks instant-read thermometer.
Sauce Thickening
After combining the chicken with sauce, simmer for 2-3 minutes to reduce slightly. This ensures the filling isn’t watery. Add a 1 tsp cornstarch slurry if it needs extra thickening.
Tortilla Warming
Warm tortillas for 10-15 seconds per side in a dry skillet to make them pliable. Mission burrito-size tortillas hold up best. Avoid over-warming, or they’ll tear when folding.
Assembly Technique
Spread the mayo mixture to the edges of the tortilla to create a moisture barrier. Fold the sides in first, then roll tightly from the bottom. This prevents leaks during serving.
Resting Time
Let assembled wraps rest for 5 minutes before slicing. This allows the filling to set slightly, making them easier to handle and eat. 💡
Nutrition Facts
Frequently Asked Questions
Can I use chicken breasts instead of thighs?
Yes, but thighs stay juicier during cooking. If using breasts, reduce searing time to 4-5 minutes per side to prevent dryness. Brining the chicken first can help maintain moisture.
How do I keep the tortillas from tearing?
Warm tortillas briefly in a dry skillet for 10-15 seconds per side to make them pliable. Use burrito-size tortillas and avoid overfilling to prevent tears.
What’s the best way to reheat leftovers?
Wrap tightly in foil and warm in a 350°F oven for 10-12 minutes. For a crispier tortilla, unwrap and heat in a skillet for 1-2 minutes per side.
Can I make these ahead of time?
Prepare the filling up to 2 days ahead and store it in the fridge. Assemble wraps just before serving to avoid soggy tortillas. The chicken mixture reheats well with a splash of water.

- 6 Egg Cake Recipe with Oil: Light as Air With Buttery Moisture - October 4, 2026
- 4 Bean Casserole Recipe: One-Pan Heartiness With Smoky Paprika Depth - October 4, 2026
- 3-Ingredient Keto Mug Cake Recipe: Microwave Magic in 2 Minutes - October 4, 2026