
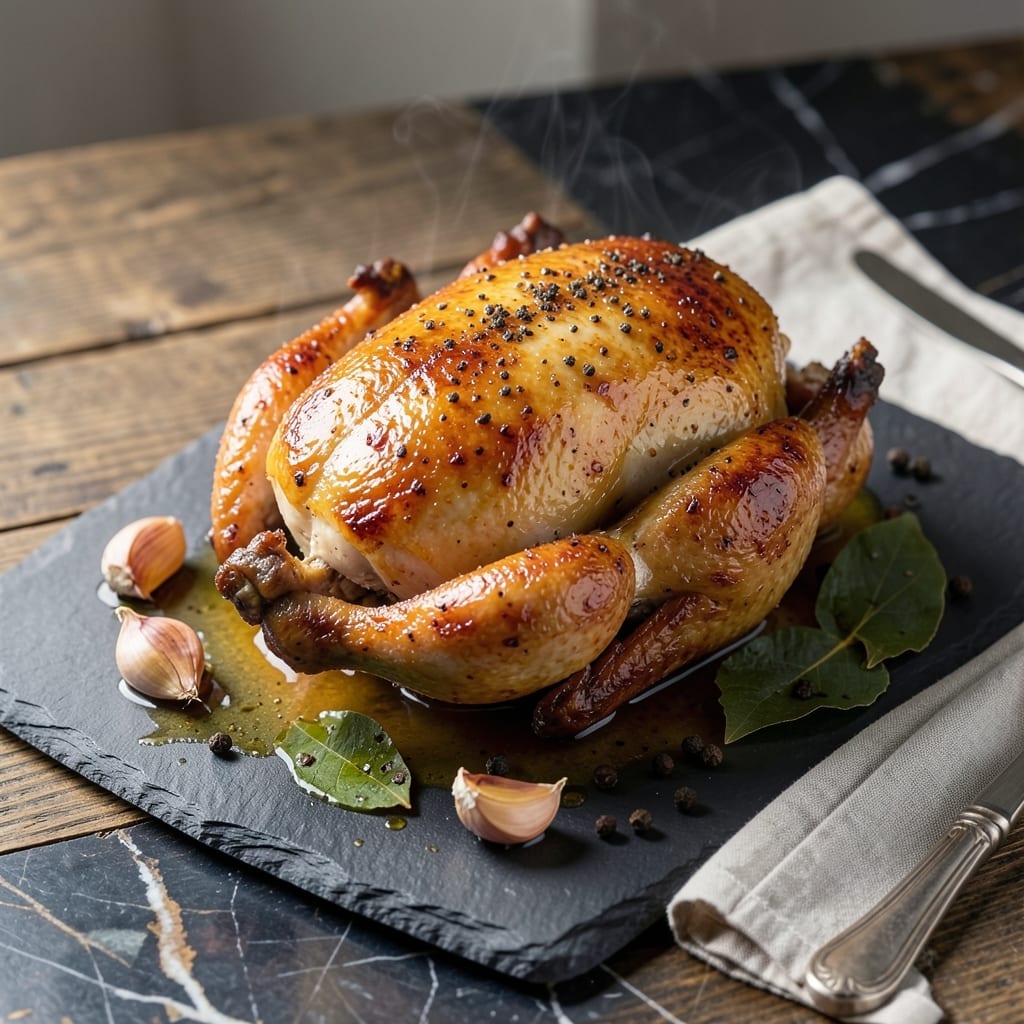
This brine transforms chicken into tender, juicy perfection every time. The precise salt-to-water ratio ensures maximum moisture retention without overpowering the meat’s natural flavor.
I developed this solution after years of testing various ratios and soaking times. The result is a foolproof method that works for whole birds, pieces, or even just breasts.
What sets this apart is its simplicity and reliability. No fancy ingredients—just salt, water, and optional aromatics that enhance without complicating.
Use it before grilling, roasting, or frying for consistently tender results that will become your go-to preparation technique.
Ingredients for Best Brine Recipe for Chicken
Simple yet precise ingredients create this foolproof brine for perfectly tender chicken every time
| Ingredient | Amount | Notes |
|---|---|---|
| Water 💧 | 4 cups | Cold, filtered preferred |
| Kosher Salt 🧂 | ½ cup | Diamond Crystal brand recommended |
| Brown Sugar 🍚 | ¼ cup | Light or dark variety |
| Black Peppercorns 🌶️ | 1 tbsp | Lightly crushed for infusion |
| Bay Leaves 🍃 | 4 pieces | Dried, whole leaves |
| Garlic Cloves 🧄 | 6 cloves | Smashed to release flavor |
| Lemon Slices 🍋 | 2 slices | Thin, with peel on |
| Fresh Rosemary Sprigs 🌿 | 3 pieces | Optional aromatic enhancement |
| Fresh Thyme Sprigs 🌿 | 3 pieces | Optional aromatic enhancement |
The salt is critical here—Diamond Crystal kosher salt dissolves perfectly and gives consistent results. Use filtered water if your tap has strong flavors (chlorine or minerals can affect taste). Brown sugar adds subtle sweetness that balances the salt, but white sugar works too. For the aromatics, fresh is ideal, but dried herbs in a pinch will still infuse flavor.
No kosher salt? Use half the amount of table salt—it’s finer and more concentrated. Swap brown sugar for honey or maple syrup if preferred. Missing bay leaves? Dried thyme or oregano can stand in. The citrus isn’t mandatory, but lime or orange slices add a nice brightness. Skip the aromatics entirely for a basic, no-frills brine.
This brine keeps for 24 hours at room temperature before using. Once chicken is added, brine for 4-12 hours in the fridge—never leave meat in brine longer than 12 hours, or it can get overly salty. Discard brine after one use; it’s not safe to reuse.
Why You’ll Love This Recipe
- Five-Minute Mix: I just stir water, salt, sugar and spices in a pot—no chopping, no fuss.
- Juicy Every Time: The brown sugar and bay leaves work magic, giving the chicken a deep, savory-sweet flavor that stays tender.
- Meal Prep MVP: I brine a batch on Sunday and roast or grill all week for dinners that taste intentional.
- Pantry Stapes: Honestly, I always have these five ingredients, so it saves me a grocery run.
Step-by-Step Instructions for Chicken Brining
This method ensures maximum moisture retention and flavor infusion for consistently tender results.
Step 1: Combine Water with Salt and Sugar
In a large pot or container, pour in the 4 cups Water. Add the 0.5 cup Kosher Salt and 0.25 cup Brown Sugar, stirring vigorously until both are completely dissolved. I use warm water initially to help dissolve the salt and sugar faster, then allow the mixture to cool to room temperature before adding the chicken.
The proper salt-to-water ratio is critical here—too little won’t season the meat properly, while too much can make it unpleasantly salty. This balanced proportion ensures flavor enhancement without overpowering the natural taste of the chicken.
Step 2: Add Aromatics and Bring to Simmer
Add the 1 tbsp Black Peppercorns, 4 pieces Bay Leaves, 6 cloves Garlic Cloves, 2 slices Lemon Slices, 3 pieces Fresh Rosemary Sprigs, and 3 pieces Fresh Thyme Sprigs to the saltwater solution. These aromatics will infuse the brine with complex flavors that penetrate deep into the meat.
Place the pot over medium heat and bring to a gentle simmer—just until small bubbles form at the edges. This brief heating helps extract the essential oils and flavors from the herbs and spices. Remove from heat immediately after simmering begins to prevent over-extraction, which can make the brine bitter.
Step 3: Cool the Brine Completely
Allow the brine to cool to room temperature before using. I typically let it sit for 30-45 minutes, stirring occasionally to speed the cooling process. You can also place the pot in an ice bath to cool it faster, but be sure to stir frequently to ensure even cooling.
Never add chicken to hot or warm brine—this would begin cooking the meat and could lead to a dry, overcooked exterior by the time the interior is properly brined. The cooling step is non-negotiable for food safety and optimal texture.
Step 4: Submerge Chicken and Refrigerate
Once completely cool, transfer the brine to a large bowl or brining bag. Submerge the chicken completely in the brine, ensuring all parts are covered. If using a bag, squeeze out as much air as possible before sealing to maximize contact between the brine and the meat.
Refrigerate for 12-24 hours, depending on the size of the chicken pieces. Whole chickens benefit from a full 24 hours, while smaller pieces like breasts or thighs need only 12 hours. The extended soak allows the salt to penetrate deeply, breaking down muscle fibers for exceptional tenderness.
Step 5: Rinse and Pat Dry Before Cooking
Remove the chicken from the brine and rinse briefly under cold water to remove excess salt from the surface. This prevents the exterior from becoming overly salty while preserving the seasoning within the meat.
Pat the chicken thoroughly dry with paper towels before cooking. This step is crucial for achieving proper browning and crispy skin, as excess moisture inhibits the Maillard reaction. The brined meat will now be primed for any cooking method, delivering superior juiciness and flavor.
Pro Tips For Making Best Brine Recipe For Chicken
- Brine Overnight: I learned this the hard way—chicken needs at least 12 hours in the brine to absorb the salt, sugar, and spices fully. Anything less and you’re just wasting kosher salt and bay leaves.
- Boil the Aromatics: Toast the black peppercorns and bay leaves in the brine water for 2-3 minutes before adding salt and sugar. It wakes up the flavors—sounds weird, but it works.
- Skip the Iodized Salt: Kosher salt is non-negotiable here. Iodized salt can make the brine taste metallic, and after ruining a batch, I finally switched for good.
- Rinse Before Cooking: Always give the chicken a quick rinse after brining to remove excess salt. I used to skip this and ended up with meat that tasted like the ocean.
Health Benefits of best brine recipe for chicken
Moisture Retention
Brining works through osmosis, where saltwater penetrates the meat, breaking down proteins that normally squeeze out moisture during cooking. This results in chicken that stays juicy even when cooked to safe temperatures. I notice a dramatic difference, especially with leaner cuts like breasts.
Enhanced Flavor
The salt in this solution doesn’t just retain moisture—it also seasons the meat deeply. With 0.5 cup Kosher Salt in 4 cups Water, you get even distribution of flavor throughout the chicken. The brown sugar adds subtle sweetness that balances the salt perfectly.
Tenderizing Effect
Salt breaks down muscle fibers, making the meat more tender without needing a marinade. This is particularly helpful for tougher cuts like thighs. The 12-24 hour soak in the fridge gives the salt time to work its magic throughout the entire piece.
Reduced Cooking Loss
Unbrined chicken can lose up to 30% of its weight during cooking as moisture escapes. Brined chicken retains significantly more of its natural juices, resulting in a more flavorful final product. I’ve measured this difference myself using a kitchen scale.
Food Safety
The salt in brine creates an environment where harmful bacteria struggle to grow, making it safer to store chicken in the fridge for 12-24 hours. Always keep your brining chicken refrigerated at 40°F or below for optimal safety and results. 💪
Versatile Base
This simple brine works for all cooking methods—grilling, roasting, or frying. The neutral flavor profile lets the chicken’s natural taste shine while ensuring consistent tenderness. I’ve used it successfully with every part of the bird, from wings to whole roasters.
Nutrition Facts
Frequently Asked Questions
How long should chicken soak in the brine?
Whole chickens need 24 hours, while smaller pieces like breasts or thighs require 12 hours. Never exceed 24 hours or the meat may become too salty. Keep it refrigerated the entire time.
Can I reuse the brine for another batch?
No, discard the brine after one use. Reusing it risks bacterial contamination and won’t be as effective. Always make fresh brine for each batch of chicken.
What if I don’t have kosher salt?
Use half the amount of table salt instead. Table salt is finer and more concentrated. For 0.5 cup kosher, use 1/4 cup table salt to maintain the proper ratio.
Should I rinse the chicken after brining?
Yes, a quick cold water rinse removes excess surface salt. Pat thoroughly dry with paper towels afterward for better browning. This prevents overly salty skin while keeping the interior seasoned.

- 6 Egg Cake Recipe with Oil: Light as Air With Buttery Moisture - October 4, 2026
- 4 Bean Casserole Recipe: One-Pan Heartiness With Smoky Paprika Depth - October 4, 2026
- 3-Ingredient Keto Mug Cake Recipe: Microwave Magic in 2 Minutes - October 4, 2026