
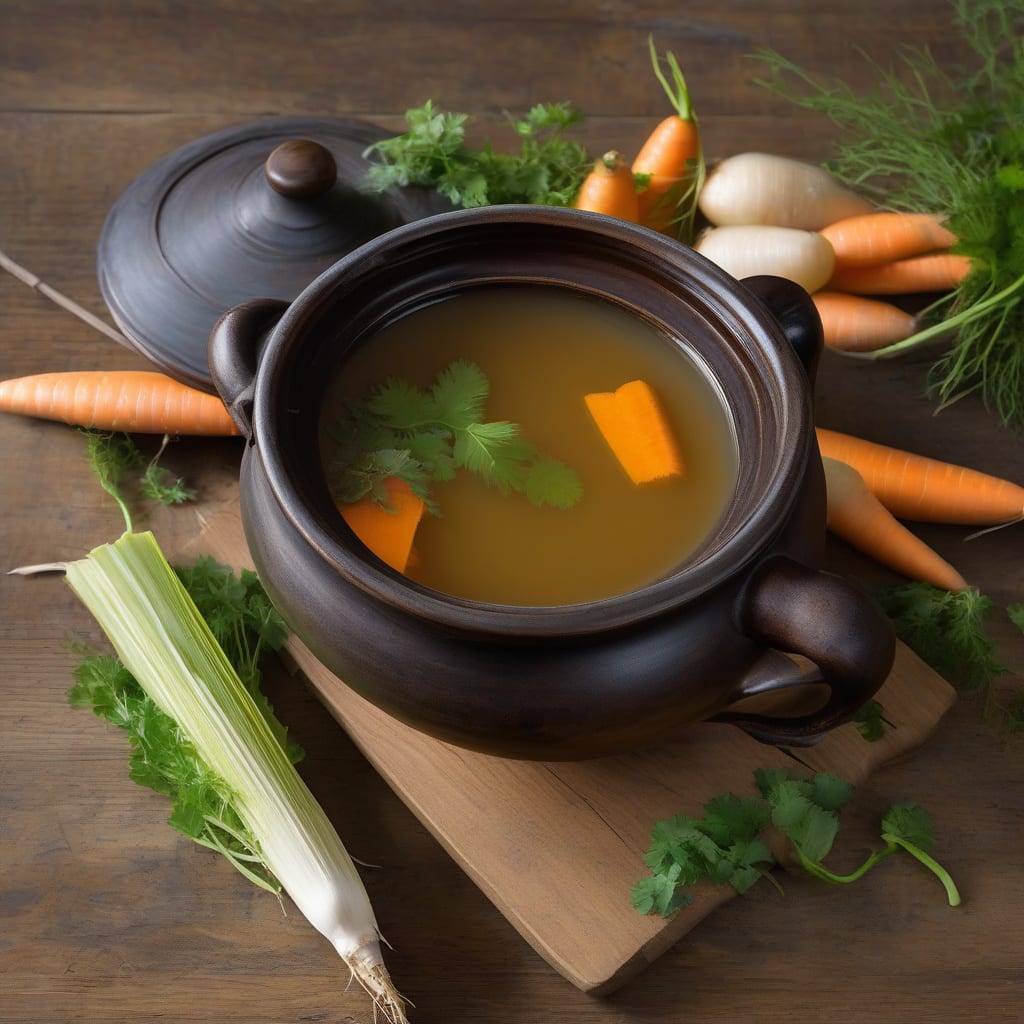
Making your own chicken broth from scratch is a game-changer for soups, sauces, and cooking grains. I use this homemade broth as a base for countless recipes, and it’s surprisingly easy to make.
This recipe delivers a rich and clear broth every time, thanks to a simple technique that removes impurities. The result is a clean, deep flavor that elevates any dish. Let’s get started!
Ingredients for Best Homemade Chicken Broth
These basic ingredients create a rich, clear chicken broth that’s better than store-bought.
| Ingredient | Amount | Notes |
|---|---|---|
| Chicken Bones 🍗 | 2 lb | Raw or roasted, preferably with cartilage |
| Carrots 🥕 | 2 whole | Peeled and roughly chopped |
| Celery Stalks 🥕 | 2 whole | Roughly chopped, including leaves |
| Onion 🧅 | 1 whole | Quartered, skin left on |
| Garlic Cloves 🧄 | 4 cloves | Smashed, not minced |
| Bay Leaves 🌿 | 2 whole | Fresh or dried |
| Black Peppercorns 🌶️ | 1 tsp | Whole, not ground |
| Water 💧 | 4 cups | Cold, filtered preferred |
The bones matter most here. Costco and Whole Foods have great options—look for organic or pasture-raised chickens if possible. You can use raw or roasted bones—roasted gives deeper flavor. If you’re using raw bones, consider browning them in the oven first for added richness.
No celery? No problem. The carrots and onion still provide great depth. Want more complexity? Penzeys has amazing dried bay leaves that keep forever. For peppercorns, Tellicherry are considered premium—they add a certain warmth to the broth. If you’re short on peppercorns, you can reduce to half the amount without major impact.
This broth keeps for 5 days in the fridge, freezes beautifully for 3-4 months. I portion it into 1-cup containers so I can grab just what I need. For longer storage, consider using ice cube trays—perfect for adding to sauces or soups.
❤️
Why You’ll Love This Recipe
- Quick Start: I can get this broth simmering in under 30 minutes, and it’s a total game-changer for busy weeknights when I need a nourishing base for dinner.
- Rich Flavor: The combination of chicken bones, caramelized onions, and roasted garlic cloves creates a depth of flavor that’s ridiculously good – it’s like a warm hug in a bowl.
- Meal Prep Master: I love making a big batch on the weekend and using it throughout the week as a base for soups, stews, and sauces – it’s my secret weapon for stress-free meal prep.
- Zero Waste: Using leftover chicken bones and veggie scraps means I’m reducing food waste and saving money – it’s a practical and budget-friendly way to create something amazing.
Step-by-Step Instructions for Homemade Chicken Broth
Creating rich, clear chicken broth is easier than you think with these precise steps.
Step 1: Prepare the Aromatics and Bones
Start by prepping all the vegetables according to the ingredients list. I like to keep everything rough and unpeeled where possible—the onion skin adds beautiful color to the broth. For the 2 lb Chicken Bones, you can use either raw or roasted bones—roasting first adds deeper flavor. Make sure to include bones with cartilage for that rich, velvety texture.
Next, roughly chop the 2 whole Carrots and 2 whole Celery Stalks, including the leaves for maximum flavor. Quarter the 1 whole Onion, leaving the skin intact. Smash the 4 cloves Garlic Cloves with the flat of your knife—this releases their flavor compounds without making the broth too pungent.
Step 2: Combine Ingredients and Cold Water
In a large stockpot (at least 8-quart capacity), combine the prepared 2 lb Chicken Bones, 2 whole Carrots, 2 whole Celery Stalks, 1 whole Onion, and 4 cloves Garlic Cloves. Add the 2 whole Bay Leaves and 1 tsp Black Peppercorns. Pour in the 4 cups Water—make sure it’s cold, as this helps extract collagen from the bones slowly.
The ratio of bones to water is crucial here: using 2 lb of bones with 4 cups of water gives you a concentrated broth that you can later dilute if needed. I prefer using filtered water for the cleanest flavor.
Step 3: Simmer Gently for Maximum Clarity
Place the stockpot over high heat and bring to a boil. Once boiling, immediately reduce the heat to maintain a bare simmer—you want to see just a few bubbles breaking the surface. Skim off any impurities that rise to the top during the first 10 minutes of simmering. This step is crucial for achieving that crystal-clear broth.
Continue to simmer gently for at least 4 hours, or up to 6 hours if you have the time. The longer, slower cooking extracts more collagen and results in a richer, more velvety broth. Keep an eye on the water level and top up with more cold water if necessary to maintain the original level.
Step 4: Strain and Cool Properly
After the simmering time is complete, remove the pot from the heat and let it cool slightly. Strain the broth through a fine-mesh sieve into a large container, discarding all the solids. For the clearest broth, don’t press on the solids—just let them drain naturally. If you notice any remaining impurities, you can strain it again through a cheesecloth-lined sieve.
Cool the broth to room temperature as quickly as possible, then refrigerate it. The fat will solidify on top, making it easy to remove before reheating. I like to portion the cooled broth into smaller containers for easier storage and future use.
Step 5: Store or Use Immediately
Once cooled and defatted, your homemade chicken broth is ready to use in recipes or store for later. You can refrigerate it for up to 5 days or freeze it for up to 6 months. When freezing, consider using ice cube trays for convenient portioning—this way you can easily grab just what you need for a recipe.
To reheat, gently warm the broth over low heat, being careful not to let it boil, which can cloud the broth. Season with salt to taste before using in your favorite recipes. This homemade broth forms the foundation of many delicious dishes, from soups to sauces.
👨🍳
Pro Tips For Making Best Homemade Chicken Broth
- Roast Your Bones: Roasting your chicken bones at 400°F for about 30 minutes before making the broth adds a rich, deep flavor that you won’t get from raw bones. I learned this the hard way—after burning three batches, I finally figured out that a good roast makes all the difference.
- Chop Veggies Uniformly: Make sure to chop your carrots, celery stalks, and onion into similar-sized pieces so they cook evenly. This isn’t the prettiest method, but it’s the tastiest, and it ensures that all the flavors meld together properly.
- Skim the Scum: Resist the urge to skip skimming the impurities that rise to the surface during the first 20-30 minutes of simmering—this step is crucial for a clear broth. After doing this a dozen times, I can tell you it makes a real difference in the final product.
- Simmer Slowly: Let your broth simmer for at least 6 hours on low heat; this slow cooking process extracts all the goodness from the bones and vegetables. I was skeptical until I tried it, and now I can confidently say it’s worth the wait.
Storing and Reheating This best homemade chicken broth
Refrigerator Storage Tips
After cooling your homemade chicken broth to room temperature, transfer it to airtight containers—I prefer glass with tight-fitting lids. Store in the refrigerator for up to 5 days. The fat will solidify on top, making it easy to remove before reheating. ❄️
Freezer Storage Strategies
For longer storage, consider freezing your broth. Use 1-cup or 2-cup containers, or even ice cube trays for convenient portioning. Frozen broth keeps for up to 4-6 months. When using ice cube trays, transfer the frozen cubes to a freezer-safe bag once solid. This makes it easy to grab just what you need.
Reheating Methods
To reheat refrigerated or frozen broth, gently warm it over low heat on the stovetop. Avoid boiling, as this can cloud the broth. For microwave reheating, use a microwave-safe container and heat in 30-second intervals, stirring between each interval, until warmed through. Be careful when removing from the microwave as containers can get very hot. 🔥
Defatting Techniques
Before using your reheated broth, remove any solidified fat. For small amounts, I simply spoon off the fat. For larger quantities, you can use a fat separator or chill the broth again to re-solidify the fat. This step ensures your final dish isn’t greasy.
Storage Containers Matter
Choose containers that are BPA-free and suitable for the storage method. For freezing, consider using glass containers with tight-fitting lids or heavy-duty freezer bags. When using bags, squeeze out as much air as possible before sealing to prevent freezer burn. Proper storage maintains the quality of your homemade broth.
Nutrition Facts
120kcal
Frequently Asked Questions
How long can I store homemade chicken broth?
You can store homemade chicken broth in the refrigerator for up to 5 days. For longer storage, freeze it for up to 4-6 months.
What’s the best way to defat chicken broth?
After cooling, refrigerate the broth and skim off the solidified fat. For larger quantities, use a fat separator or chill again to re-solidify the fat. This ensures your final dish isn’t greasy.
Can I use raw bones for chicken broth?
Yes, you can use raw bones, but roasting them first enhances the flavor.
How often should I skim the broth while it’s simmering?
Skim off impurities during the first 10 minutes of simmering. This helps achieve a clear broth. Continue to monitor and skim as needed throughout the cooking process.

- 6 Egg Cake Recipe with Oil: Light as Air With Buttery Moisture - October 4, 2026
- 4 Bean Casserole Recipe: One-Pan Heartiness With Smoky Paprika Depth - October 4, 2026
- 3-Ingredient Keto Mug Cake Recipe: Microwave Magic in 2 Minutes - October 4, 2026