
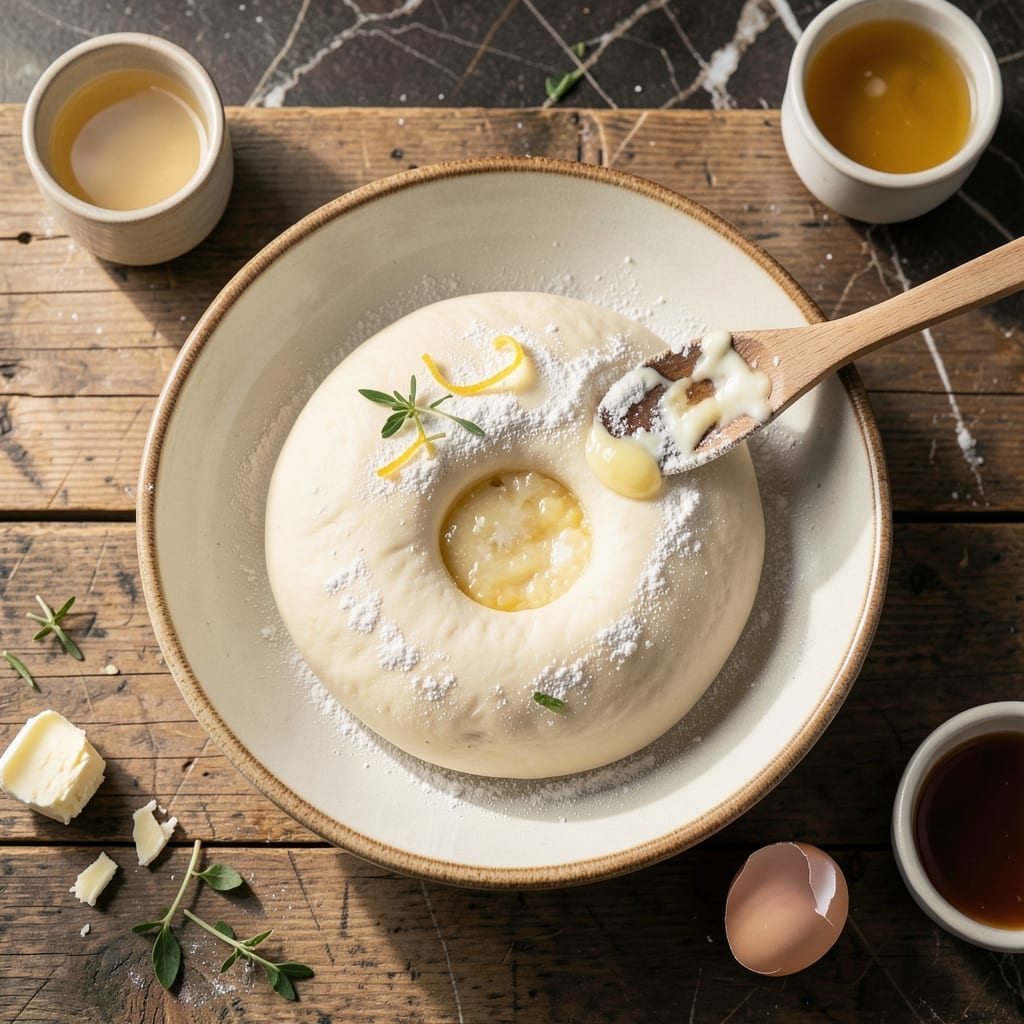
This pierogi dough recipe delivers the tender, elastic texture that makes the perfect foundation for any filling. Developed through years of testing, it creates a smooth, workable dough that won’t tear during rolling or boiling.
The secret lies in the precise ratio of flour to liquid and a proper resting period. This allows the gluten to relax, making the dough easier to roll thin without springing back. The result is a delicate yet sturdy wrapper for both sweet and savory fillings.
You’ll achieve consistently tender pierogi that hold their shape during boiling and develop a satisfying chew. The dough’s neutral flavor lets your chosen filling shine, whether it’s classic potato-cheese or sweet fruit compote.
This method ensures professional-quality results every time, with a texture that’s neither too dense nor too fragile.
Ingredients for Best Pierogi Dough
Eight simple ingredients create that perfect tender, elastic pierogi dough you’ve been chasing.
| Ingredient | Amount | Notes |
|---|---|---|
| All-Purpose Flour 🌾 | 3 cups | Plus extra for dusting surface |
| Warm Water 💧 | ¾ cup | About 110°F temperature |
| Sour Cream 🥛 | ½ cup | Full-fat for best texture |
| Unsalted Butter 🧈 | 4 tbsp | Melted and cooled slightly |
| Large Egg 🥚 | 1 whole | Room temperature preferred |
| Salt 🧂 | ½ tsp | Fine sea salt recommended |
| Vegetable Oil 🫒 | 1 tbsp | For dough elasticity |
| White Vinegar 🍶 | 1 tsp | Helps tenderize gluten |
The flour is your foundation—King Arthur or Gold Medal are my go-tos (the protein content is just right). Sour cream is the secret weapon here; full-fat Daisy or Breakstone’s gives that signature tenderness. Butter should be unsalted so you control the seasoning. If yours is salted, skip the added salt. Egg at room temp blends better into the dough (just set it in warm water for 5 minutes if you forgot).
Out of sour cream? Plain Greek yogurt at the same amount works in a pinch. No vinegar? Lemon juice at half the amount substitutes nicely. The oil isn’t just for moisture—it prevents sticking during rolling. For a richer dough, replace the oil with another 2 tbsp melted butter. Want to make ahead? The dough balls freeze beautifully for up to 2 months.
Wrap dough tightly in plastic—it’ll keep in the fridge for 2-3 days. For best results, let it come to room temp before rolling. The vinegar’s acidity helps relax the gluten, so don’t skip it (worth the extra minute).
Why You’ll Love This Recipe
- One Bowl Wonder: I mix everything in a single bowl—no fuss, no extra dishes, just flour, warm water, and sour cream coming together in minutes.
- Rich and Tender: The butter and egg make the dough so soft it practically melts, with that perfect chew I crave in every bite.
- Freezer Friendly: I batch-make a dozen, freeze half, and pull them straight from the freezer to boiling water when cravings hit.
- Pocket-Change Budget: Flour, water, and a few pantry staples is all it takes—honestly, this feeds my family for pennies per serving.
Step-by-Step Instructions for Pierogi Dough
This foolproof method guarantees tender, elastic dough that wraps your fillings perfectly every time.
Step 1: Mix the Wet Ingredients for Smooth Consistency
In a large mixing bowl, whisk together the 0.75 cup Warm Water, 0.5 cup Sour Cream, 4 tbsp Unsalted Butter, and 1 whole Large Egg until fully combined. The mixture should look smooth and creamy, with no visible separation.
Add the 1 tsp White Vinegar and 0.5 tsp Salt, then whisk for another 15 seconds to incorporate. The vinegar helps tenderize the gluten, ensuring your dough stays soft and pliable. Real talk: this small addition makes a huge difference in texture.
Step 2: Gradually Incorporate the Dry Ingredients
Add all 3 cups All-Purpose Flour at once to the wet mixture. Using a wooden spoon, stir just until the flour is mostly absorbed and you see a shaggy dough forming. Don’t overmix at this stage—you’ll work it more in the next step.
If the dough feels too sticky, resist the urge to add more flour. The 1 tbsp Vegetable Oil in the next step will help balance the texture. You want the dough slightly tacky but not wet—it should pull away from the sides of the bowl as you stir.
Step 3: Knead Until Silky Smooth
Drizzle the 1 tbsp Vegetable Oil onto a clean countertop and turn the dough out onto it. Knead for 8-10 minutes by hand, pushing the dough away with the heel of your palm and folding it back over itself repeatedly.
Here’s the thing—the dough will feel rough at first, but keep going. After about 5 minutes, it should start to smooth out. By the end, it’ll be soft, elastic, and slightly tacky but not sticky. If it sticks to your hands, dust with a bit of extra flour, but use a light touch.
Step 4: Rest for Optimal Elasticity
Shape the dough into a ball and place it in a lightly oiled bowl. Cover with a clean kitchen towel or plastic wrap and let it rest at room temperature for 30 minutes. This resting period allows the gluten to relax, making the dough easier to roll out.
Don’t skip this step (I learned the hard way)—it’s what transforms good dough into the best pierogi dough. After resting, the dough should feel smooth and springy when you press it gently with your finger.
Step 5: Roll and Cut for Perfect Wrappers
Divide the rested dough into 4 equal portions for easier handling. On a lightly floured surface, roll each portion to about ⅛-inch thickness. You want it thin enough to wrap fillings without being too delicate to handle.
Use a 3-inch round cutter to stamp out circles. Re-roll the scraps once to maximize your yield, but avoid overworking the dough. Each circle should hold its shape well—this means your dough has the perfect consistency for tender, pillowy pierogi.
Pro Tips For Making Best Pierogi Dough
- Use room-temp ingredients: Pull your egg, sour cream, and butter out 30 minutes early—cold ingredients make the dough tough and harder to roll.
- Knead just until smooth: Overworking the dough develops too much gluten, making it chewy instead of tender. Stop as soon as it comes together.
- Resist extra flour: I learned this the hard way—dusting too much flour on the counter while rolling makes the dough dry and dense. Use just enough to prevent sticking.
- Rest before rolling: Wrap the dough and let it sit for 20-30 minutes at room temp. It relaxes the gluten, making it easier to roll thin without springing back.
Essential Equipment for Perfect Results
Rolling Surface
A large, smooth surface is essential for rolling pierogi dough thinly. I use my maple wood cutting board—it provides the perfect non-slip surface. A clean countertop works too, just ensure it’s free of cracks or grout lines that could tear the dough. 💛
Precision Cutters
For uniform pierogi, invest in a 3-inch round cutter. I prefer stainless steel from Ateco—it cuts cleanly without dragging. A glass or biscuit cutter works in a pinch, but avoid plastic ones as they can stick to the dough.
Rolling Tools
A standard French rolling pin gives you the best control for thin, even dough. I’ve tried the adjustable ones, but nothing beats the feel of wood. For extra leverage, use a 24-inch pin—it covers more surface area with each roll.
Resting Setup
Let your dough rest in a lightly oiled bowl covered with a damp kitchen towel. The moisture prevents a skin from forming while allowing the dough to breathe. A plastic wrap alternative works, but I find towels give slightly better results.
Flour Management
Keep a fine-mesh sieve handy for dusting flour evenly. I use King Arthur’s for this—it distributes lightly without clumping. A pastry brush helps remove excess flour from the dough circles before filling.
Storage Containers
For dough not used immediately, airtight containers are key. I use Glasslock containers with silicone seals—they prevent drying while being easy to clean. Label with the date; dough keeps 2-3 days refrigerated.
Nutrition Facts
Frequently Asked Questions
Why does the dough need to rest for 30 minutes?
Resting allows the gluten to relax, making the dough easier to roll thin without springing back. This step ensures your pierogi wrappers stay tender and elastic during boiling.
Can I make the dough ahead of time?
Yes! Wrap the dough tightly in plastic and refrigerate for 2-3 days. For longer storage, freeze for up to 2 months. Let it come to room temperature before rolling.
What if my dough is too sticky?
Resist adding extra flour. Instead, lightly dust your surface and hands with flour while kneading. The dough should be slightly tacky but pull away from the bowl.
Can I substitute the sour cream?
Plain Greek yogurt works as a 1:1 substitute. The acidity helps tenderize the gluten, just like sour cream. Use full-fat for the best texture.

- 6 Egg Cake Recipe with Oil: Light as Air With Buttery Moisture - October 4, 2026
- 4 Bean Casserole Recipe: One-Pan Heartiness With Smoky Paprika Depth - October 4, 2026
- 3-Ingredient Keto Mug Cake Recipe: Microwave Magic in 2 Minutes - October 4, 2026