
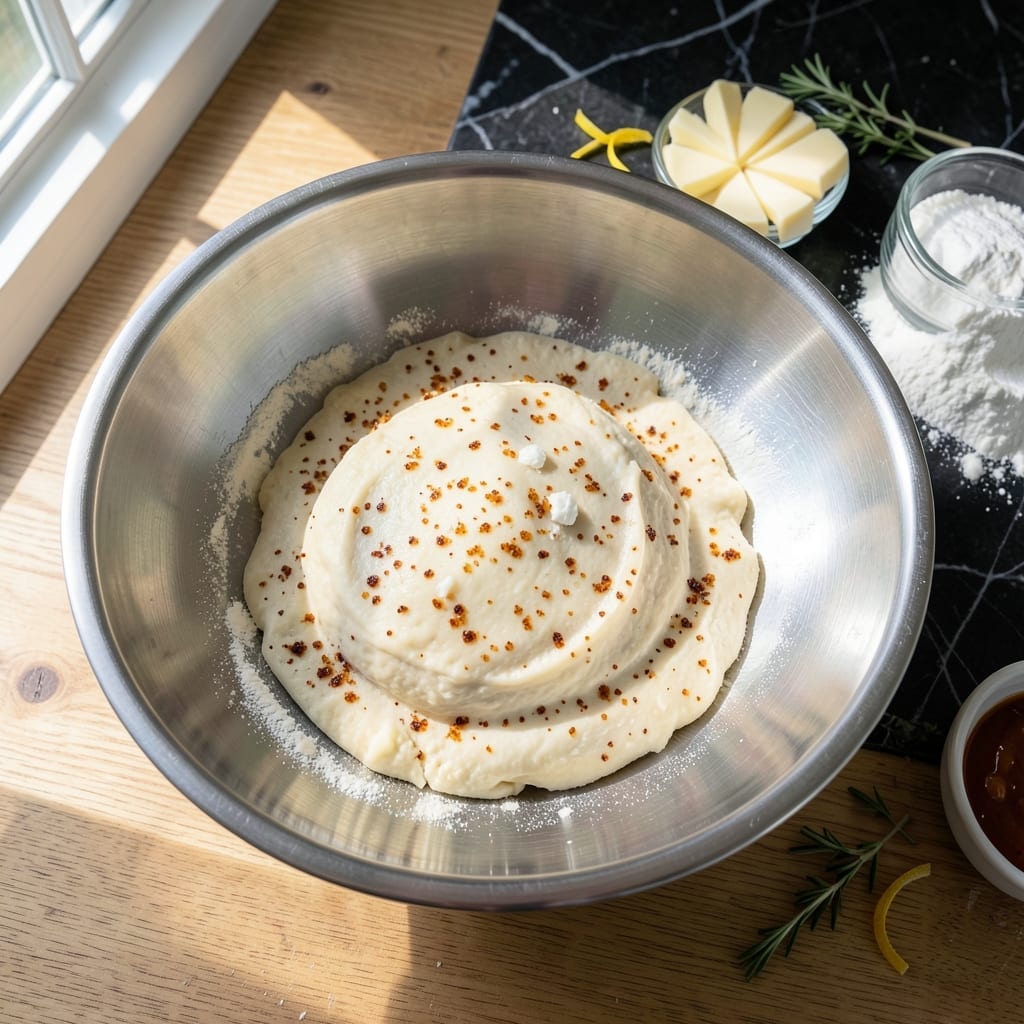
This recipe delivers the flaky, golden crust that defines perfect pies. I’ve tested countless methods to achieve that ideal texture where layers separate cleanly with every bite.
The secret lies in cold ingredients and minimal handling. Using ice water and chilled butter prevents the fat from melting too soon, creating those coveted flaky layers that make all the difference.
With just a few simple steps, you’ll have a crust that’s tender, crisp, and reliable every time. It’s the foundation for both sweet and savory pies that impress without fail.
Let this be your go-to base for any pie recipe in your collection. The results speak for themselves.
Ingredients for Better Homes and Gardens Pie Crust
Cold butter and minimal handling create those flaky layers everyone loves in a pie crust.
| Ingredient | Amount | Notes |
|---|---|---|
| All-Purpose Flour 🌾 | 2 ½ cups | Spoon and level, don't scoop |
| Unsalted Butter 🧈 | 1 cup | Cold, cut into 1/2-inch cubes |
| Vegetable Shortening 🧈 | ¼ cup | Cold, for extra flakiness |
| Ice Water 💧 | ⅓ cup | Plus 1 tbsp as needed |
| Salt 🧂 | 1 tsp | Fine table salt |
| Granulated Sugar 🍚 | 1 tbsp | Optional, for sweet pies |
| White Vinegar 💧 | 1 tbsp | Or lemon juice for tenderness |
| Large Egg 🥚 | 1 whole | For egg wash, optional |
| Heavy Cream 🥛 | 1 tbsp | For egg wash alternative |
The butter temperature is non-negotiable here. Land O’Lakes or Kerrygold unsalted are my go-tos—cut into cubes and freeze for 15 minutes before starting. Flour matters too: King Arthur all-purpose gives consistent results (the good stuff, not the bargain bin). Shortening adds stability—Crisco is the classic choice. Don’t skip the vinegar; it inhibits gluten formation for a more tender crust.
No shortening? Use all butter—just know it’ll shrink a bit more when baking. Out of ice water? Chill regular water with ice cubes for 5 minutes. For a richer crust, swap the egg wash for heavy cream. The sugar is optional but recommended for fruit pies. If you’re making a savory pie, omit it entirely (or add a pinch of black pepper instead).
Dough keeps in the fridge for 2 days or in the freezer for 3 months. Wrap it tightly in plastic—double-layer for freezing. Thaw overnight in the fridge before rolling. Baked crusts stay fresh at room temp for 1 day (cover loosely with foil).
Why You’ll Love This Recipe
- No-Fuss Mixing: I just dump the flour, butter, shortening, and ice water in one bowl—no fancy gadgets, no stress.
- Buttery Layers: That combo of cold butter and shortening gives me flaky, golden crust every single time.
- Endless Options: Sweet or savory, holiday pies or weeknight pot pies, this crust handles it all.
- Pantry Staples: All-purpose flour and basic ingredients mean I can make this anytime without a special grocery trip.
Step-by-Step Instructions for Flaky Pie Crust
Here’s my foolproof method for achieving those perfect, tender layers every baker dreams of.
Step 1: Cut in the Cold Fats
In a large bowl, whisk together the 2.5 cups All-Purpose Flour, 1 tsp Salt, and 1 tbsp Granulated Sugar until evenly combined. This ensures your base is uniform before adding the fats.
Add the 1 cup Unsalted Butter (cut into ½-inch cubes) and 0.25 cup Vegetable Shortening to the flour mixture. Using a pastry cutter or your fingers, work the fats into the flour until the mixture resembles coarse crumbs with some pea-sized pieces remaining. The key here is keeping everything cold—cold fat equals flaky layers.
I like to work quickly at this stage to prevent the butter from melting. If your kitchen is warm, you might even want to chill the bowl for 5 minutes between steps to keep the temperature down.
Step 2: Add the Liquid Ingredients
Create a well in the center of your flour-fat mixture. Pour in the 0.33 cup Ice Water and 1 tbsp White Vinegar. The vinegar might seem unusual, but it tenderizes the gluten for a more delicate crust. Using icy water is crucial—it keeps the butter from melting prematurely.
With a fork, gently mix the liquid into the dry ingredients just until the dough starts to come together. You’ll notice it begins to pull away from the sides of the bowl. Don’t overmix—you want to see some dry spots. This prevents tough pie crust by avoiding overdevelopment of gluten.
At this point, the dough should hold together when pressed but still look slightly shaggy. If it seems too dry, add the extra 1 tbsp of ice water, but only if absolutely necessary.
Step 3: Form the Dough and Chill
Turn the dough out onto a lightly floured surface and gently shape it into a disc about 1 inch thick. Handle the dough as little as possible to maintain those flaky layers. The less you work it, the better your final texture will be.
Wrap the disc tightly in plastic wrap and refrigerate for at least 1 hour, or up to 2 days. This chilling step is non-negotiable—it allows the gluten to relax and the fats to firm up. You’ll know it’s ready when the dough feels firm to the touch.
I’ve found that chilling overnight often yields the flakiest results, as it gives the flour more time to fully hydrate.
Step 4: Roll and Fit the Crust
On a lightly floured surface, roll out the chilled dough to about ⅛-inch thickness, or about 2 inches larger than your pie plate. To prevent sticking, I like to roll from the center outward, turning the dough a quarter turn after each pass.
Carefully transfer the rolled dough to your pie plate. Gently press it into the bottom and up the sides, being careful not to stretch the dough. Trim the edges, leaving about a ½-inch overhang. Fold this under and crimp the edges with your fingers or a fork for that classic pie crust look.
For a single-crust pie, prick the bottom all over with a fork to prevent air bubbles. If you’re making a double-crust pie, repeat the rolling process for the top crust. At this point, the crust is ready for filling or blind baking.
Step 5: Add the Finishing Touches
For a golden finish, whisk together the 1 whole Large Egg and 1 tbsp Heavy Cream to create an egg wash. Brush this lightly over the crust just before baking. This gives your pie that beautiful, professional shine.
Bake according to your pie recipe’s instructions, but keep an eye on the edges—they often brown faster than the rest. If they start to get too dark, cover them with a pie shield or strips of aluminum foil.
The crust is done when it’s golden brown all over and pulls away slightly from the edges of the pan. You’ll hear it sizzle as it bakes—that’s the sound of flaky layers forming.
Pro Tips For Making Better Homes And Gardens Pie Crust
- Chill Your Fat: Keep your butter and shortening ice cold until the last second—I learned this the hard way after my first three crusts came out tough as cardboard. Cut it into small cubes and pop it back in the fridge between steps if your kitchen’s warm.
- Use Ice Water: Literally fill a glass with water and ice cubes, then measure from that. Sounds tedious, but warm water makes the gluten develop too much, and nobody wants a chewy crust.
- Don’t Overwork It: Mix just until the dough comes together—it’ll look shaggy, and that’s perfect. After ruining a batch by over-kneading, I finally figured out that pie dough isn’t bread dough.
- Rest Before Rolling: Give the dough a solid 30 minutes in the fridge after mixing. I was skeptical until I tried it, but it rolls out smoother and doesn’t shrink as much when baking.
Wine and Beer Pairings for This Dish
Sweet Wine Pairings
For fruit pies like apple or cherry, I love serving a Moscato d’Asti from Italy. Its light effervescence and honeyed stone fruit notes complement the buttery crust beautifully. The slight sweetness balances tart fillings without overpowering them. 🍷
Rich Dessert Wines
A late-harvest Riesling from Washington State pairs wonderfully with this crust, especially for pecan or pumpkin pies. The wine’s caramel and citrus flavors echo the dessert’s richness. Chateau Ste. Michelle makes an excellent version.
Beer Options
Try a Belgian-style dubbel like Chimay Red with chocolate or nut pies. Its dark fruit and spice notes contrast nicely with the flaky layers. For lighter pies, a hefeweizen with banana and clove esters works surprisingly well. 🍺
Sparkling Alternatives
For a festive touch, serve with Prosecco or Champagne. The bubbles cleanse your palate between bites of rich pie. I particularly enjoy La Marca Prosecco with berry-filled desserts.
Coffee Pairings
A medium roast coffee with caramel notes enhances the buttery crust. Try Starbucks Caramel Flavor or a local roaster’s version. The slight bitterness cuts through the richness beautifully.
Nutrition Facts
Frequently Asked Questions
Why is cold butter important for pie crust?
Cold butter creates flaky layers by melting in stages during baking. If warm, it blends into the flour, resulting in a tough, dense crust instead of light, separate layers.
Can I use a food processor for the dough?
Yes, pulse the flour and cold fats until crumbly, then add liquid. Be careful not to over-process—stop when the dough just starts to clump. Overworking develops gluten, making the crust tough.
How do I prevent a soggy bottom crust?
Blind-bake the crust for 10-12 minutes before adding wet fillings. Also, sprinkle 1-2 tbsp of breadcrumbs or crushed cornflakes on the crust before filling to absorb moisture.
What’s the best way to store leftover pie?
Cover loosely with foil and keep at room temperature for 1 day. For longer storage, refrigerate for up to 3 days or freeze for 2 months. Reheat in a 300°F oven to revive crispness.

- 6 Egg Cake Recipe with Oil: Light as Air With Buttery Moisture - October 4, 2026
- 4 Bean Casserole Recipe: One-Pan Heartiness With Smoky Paprika Depth - October 4, 2026
- 3-Ingredient Keto Mug Cake Recipe: Microwave Magic in 2 Minutes - October 4, 2026