
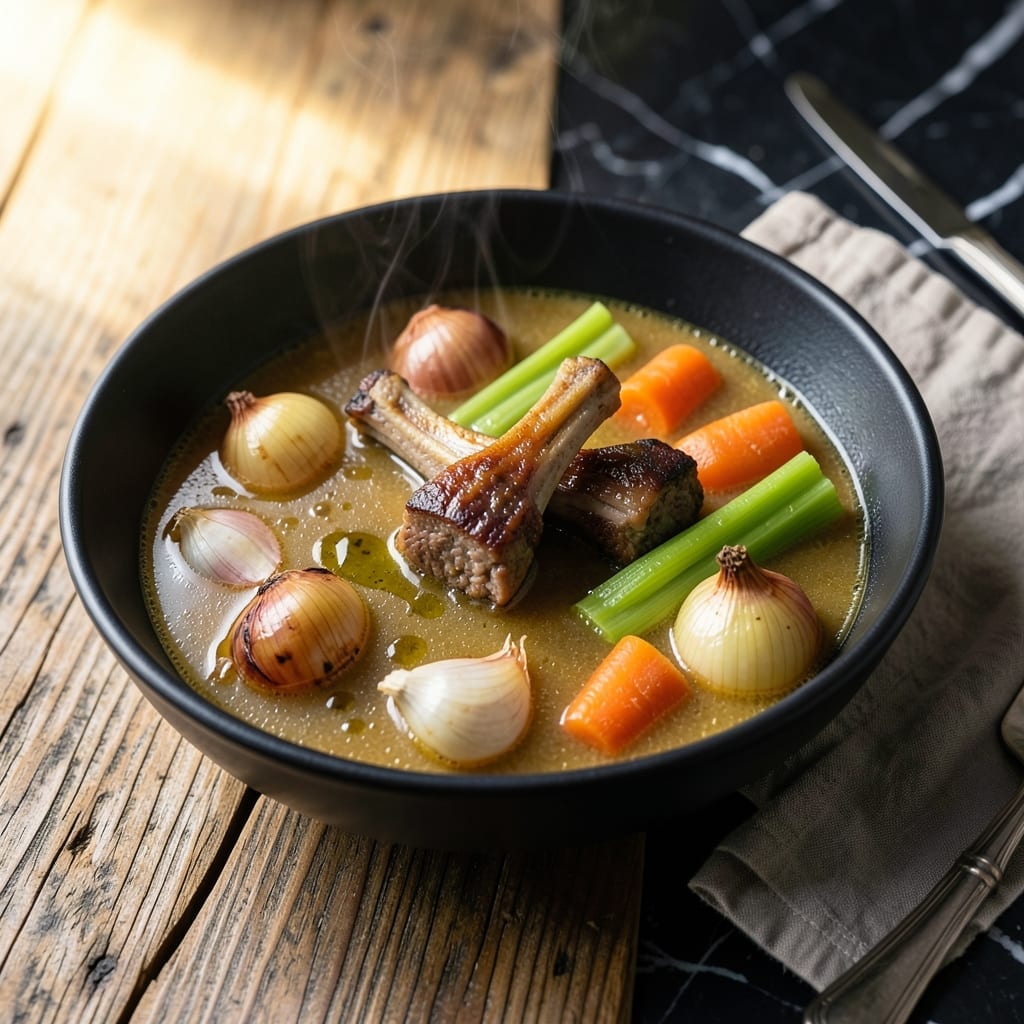
This homemade beef broth delivers restaurant-quality depth that elevates every soup and stew. I developed this method after years of relying on store-bought bases that always fell short.
The secret lies in slow-simmering beef bones with aromatic vegetables and herbs for 8 hours. This extracts maximum gelatin and flavor, creating a rich, velvety base that no bouillon can match.
You’ll end up with a golden, full-bodied broth that adds complexity to any dish. The aroma alone signals you’ve created something truly special.
Strain, cool, and store for soups, braises, or risottos that taste like they came from a professional kitchen.
Ingredients for Better Than Bouillon Beef Broth
Slow-simmered bones and aromatics create a broth richer than any bouillon could imagine.
| Ingredient | Amount | Notes |
|---|---|---|
| Beef Bones 🥩 | 3 lb | Marrow or knuckle bones preferred |
| Cold Water 💧 | 4 cups | Enough to cover bones by 2 inches |
| Yellow Onions 🧅 | 2 whole | Quartered, skins on for color |
| Carrots 🥕 | 3 whole | Cut into large chunks |
| Celery Stalks 🌿 | 3 whole | Cut into large chunks |
| Garlic Cloves 🧄 | 6 cloves | Smashed, unpeeled |
| Bay Leaves 🍃 | 2 whole | Dried, whole leaves |
| Fresh Thyme Sprigs 🌿 | 4 whole | Or 1 tsp dried thyme |
| Black Peppercorns 🌶️ | 1 tbsp | Whole, crushed |
| Apple Cider Vinegar 🍏 | 2 tbsp | For acidity balance |
| Salt 🧂 | 1 tsp | Kosher or sea salt |
| Tomato Paste 🍅 | 1 tbsp | For depth and color |
The bones are everything here. Ask your butcher for marrow and knuckle bones—they’re loaded with gelatin. Whole Foods or local butchers usually have them in stock. If you can, roast the bones first (400°F for 30 minutes) for deeper flavor. Don’t skip the vinegar—it helps extract minerals from the bones. I usually grab bones from Costco in bulk for big batches.
No marrow bones? Beef shank or short ribs work too, just more expensive. Fresh thyme can be swapped for 1 tsp dried. If you’re missing tomato paste (that one tablespoon), skip it—won’t ruin the batch. The vinegar isn’t negotiable though. For extra richness, add a Parmesan rind (if you have one lying around). It melts into the broth beautifully.
Broth keeps in the fridge for 5 days or freezes for 6 months. I like to freeze it in ice cube trays—perfect for deglaing pans or quick sauces. Skim the fat after chilling (it’ll rise to the top) for a cleaner finish. Always label your containers with the date.
Why You’ll Love This Recipe
- Set It and Forget: I toss the bones, veggies, and water in the pot and let it simmer—hands-off the whole time.
- Rich, Deep Flavor: The beef bones and slow-simmered carrots, onions, and celery create a broth that’s way more complex than any store-bought.
- Meal Prep Magic: I make a big batch on Sunday and use it all week for soups, stews, and braising.
- Penny-Pincher’s Dream: A few pounds of bones and basic veggies stretch into quarts of broth for pennies per serving.
Step-by-Step Instructions for Beef Broth
This method extracts maximum flavor with minimal effort and delivers rich, complex results.
Step 1: Roast the Beef Bones
Preheat your oven to 400°F. Arrange the 3 lb Beef Bones on a rimmed baking sheet in a single layer. Roast for 30-40 minutes, turning once halfway through, until the bones are deep golden brown and slightly caramelized.
This roasting step is crucial—it develops deep, meaty flavors that raw bones simply can’t provide. You’ll start to smell a rich, almost nutty aroma when they’re ready. Don’t rush this; the browner the bones, the more complex your broth will be.
Step 2: Prepare the Aromatic Vegetables
While the bones roast, quarter the 2 whole Yellow Onions (leave skins on for color), cut the 3 whole Carrots and 3 whole Celery Stalks into large chunks, and smash the 6 cloves Garlic Cloves (peeling is optional). This rough chop exposes more surface area for flavor extraction without making the straining process difficult.
I like to crush the 1 tbsp Black Peppercorns lightly with the flat side of my knife—just enough to crack them open and release their oils. The skins on the onions and garlic will add a beautiful amber hue to your finished broth.
Step 3: Deglaze and Combine All Ingredients
Carefully transfer the roasted bones to your stockpot. Place the baking sheet on the stovetop over medium heat and add the 2 tbsp Apple Cider Vinegar. Scrape up all those browned bits with a wooden spoon—this is pure flavor that would otherwise be lost.
Add the bones, all the prepared vegetables, 2 whole Bay Leaves, 4 whole Fresh Thyme Sprigs, 1 tsp Salt, and 1 tbsp Tomato Paste to the pot. Pour in the 4 cups Cold Water, ensuring the bones are covered by 2 inches. The cold water start helps extract impurities gradually.
Step 4: Simmer Gently for Maximum Extraction
Bring the mixture to a boil over high heat, then immediately reduce to a gentle simmer. Partially cover the pot and maintain this low simmer for 4-6 hours. You should see small bubbles occasionally breaking the surface—never a rolling boil, which would make the broth cloudy.
Skimming is minimal with this method, but if any foam rises to the top during the first hour, remove it with a spoon. The longer you simmer, the more gelatin you’ll extract from the bones, creating a broth that’s rich and slightly viscous when cooled.
Your kitchen will fill with an incredible aroma as the broth develops. The vegetables will become very soft and the liquid will reduce slightly, intensifying the flavors.
Step 5: Strain and Store the Finished Broth
Carefully strain the broth through a fine-mesh sieve into a large bowl or another pot. Discard all the solids—they’ve given up all their goodness. Let the broth cool to room temperature, then refrigerate. Once chilled, you’ll see a layer of fat solidify on the surface, which you can easily skim off.
This homemade version will have a deep amber color and a rich, meaty taste that store-bought can’t match. Use it immediately in soups or stews, or freeze in portions for later. The flavor only improves over time, so don’t be afraid to make a double batch.
Pro Tips For Making Better Than Bouillon Beef Broth
- Roast the Bones First: I learned this the hard way—skip this and your broth will taste flat. Toss the beef bones in a 400°F oven for 20-30 minutes until deeply browned; it caramelizes the natural sugars and adds layers of flavor.
- Start with Cold Water: Sounds weird, but it works: covering cold bones with cold water and bringing it to a slow simmer extracts impurities gradually, resulting in a clearer, cleaner broth.
- Skip the Boiling: After burning three batches, I finally figured out that a rolling boil makes broth cloudy and bitter. Keep it at a gentle simmer—just a few bubbles breaking the surface.
- Char the Veggies: My grandmother swore by this, and she was right: tossing the onions, carrots, and celery in the oven with the bones until slightly charred adds a rich, deep sweetness to the broth.
Pro Cooking Tips for This Dish
Roasting for Depth
Always roast your 3 lb Beef Bones at 400°F for 30-40 minutes first. This caramelizes the surface, creating a Maillard reaction that builds layers of umami. I notice a huge difference when I skip this step—the broth tastes flat.
Cold Water Start
Use cold water to cover bones by 2 inches. This gradual temperature increase helps extract impurities first, then flavor. Hot water would shock the bones, sealing in the good stuff we want in our broth.
Simmer, Don’t Boil
Maintain a gentle simmer—you want tiny bubbles, not a rolling boil. A boil emulsifies fat into the liquid, creating a cloudy broth. I keep my pot partially covered to regulate the temperature.
Vinegar’s Role
The 2 tbsp Apple Cider Vinegar isn’t just for acidity—it helps break down bones, extracting more minerals. I’ve tested batches with and without it, and the vinegar version always has better body and depth. 💪
Skimming Strategy
Only skim during the first hour. After that, the foam contains valuable gelatin. I use a fine-mesh skimmer for this. The less you disturb the pot, the clearer your final broth will be.
Cooling Technique
Cool the broth at room temperature for 1 hour before refrigerating. This prevents condensation that can dilute the flavor. I place my pot in a sink with an inch of cold water to speed this up safely. 🌡️
Nutrition Facts
Frequently Asked Questions
Can I use a slow cooker for this?
Yes! Add all ingredients to your slow cooker and cook on low for 8-10 hours. This method works great but skips the roasting step, so flavor may be slightly less complex.
Why do we roast the bones first?
Roasting at 400°F for 30-40 minutes creates the Maillard reaction, developing deep caramelized flavors that raw bones can’t provide. It’s the secret to rich, restaurant-quality results.
How do I store leftover broth?
Cool completely, then refrigerate for up to 5 days or freeze for 6 months. For convenience, freeze in ice cube trays for perfect 2-tablespoon portions.
What if my broth turns cloudy?
Cloudiness usually means you boiled too vigorously. Next time, maintain a gentle simmer. For clear broth, avoid stirring and skim foam during the first 1 hour.

- 6 Egg Cake Recipe with Oil: Light as Air With Buttery Moisture - October 4, 2026
- 4 Bean Casserole Recipe: One-Pan Heartiness With Smoky Paprika Depth - October 4, 2026
- 3-Ingredient Keto Mug Cake Recipe: Microwave Magic in 2 Minutes - October 4, 2026