
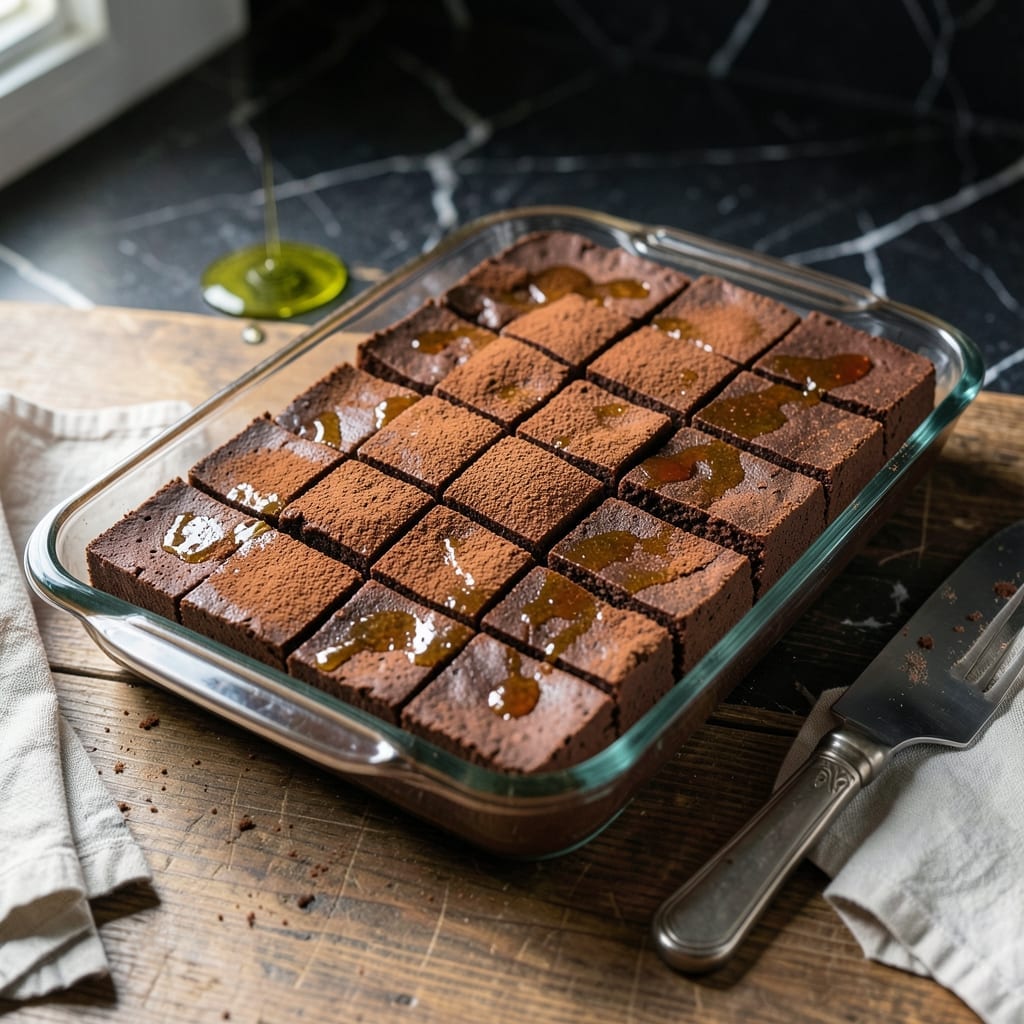
I still remember my grandmother’s kitchen at Christmas, the air thick with the scent of sugar and cocoa as she stirred her famous fudge. This recipe brings back that same nostalgia—rich, creamy, and impossibly smooth without any fancy equipment.
The secret is patience and a good candy thermometer. You’ll cook the sugar mixture to just the right temperature, then let it cool before beating it into submission. That’s what creates those melt-in-your-mouth squares we all crave.
No shortcuts here, just old-fashioned technique that’s stood the test of time. The result is a batch of fudge so velvety, you’ll swear it came from a candy shop.
Perfect for gifting or keeping all to yourself. This one’s worth the effort.
Ingredients for Betty Crocker Old Fashioned Fudge
Rich cocoa, sweet sugar, and creamy milk come together for that nostalgic old-fashioned taste.
| Ingredient | Amount | Notes |
|---|---|---|
| Granulated Sugar 🍚 | 4 ½ cups | Fine white granulated preferred |
| Unsweetened Cocoa Powder 🟤 | ¾ cup | Dutch-process for richer flavor |
| Whole Milk 🥛 | 1 ½ cups | Full-fat for creaminess |
| Unsalted Butter 🧈 | ½ cup | Cubed for even melting |
| Light Corn Syrup 🧴 | ½ cup | Helps prevent crystallization |
| Salt 🧂 | ¼ tsp | Fine table salt |
| Vanilla Extract 🌿 | 2 tsp | Pure vanilla for best flavor |
| Pecans 🌰 | 1 cup | Chopped, optional for texture |
The cocoa powder makes all the difference here. Hershey’s Special Dark is my go-to for that deep, chocolatey flavor—you can find it in the baking aisle at any Walmart or Kroger. The milk needs to be whole for that velvety texture (trust me, skim just won’t cut it). If you’re making a double batch, grab a 4-pound bag of sugar—it’s usually cheaper per pound that way.
No corn syrup? Honey or agave at a 1:1 ratio works, but your fudge might be slightly grainier. Swap the pecans for walnuts or almonds if that’s what you’ve got. Want it extra rich? Replace one-quarter cup of milk with heavy cream. And if you’re out of vanilla, a pinch of cinnamon adds a nice warmth (not the same, but still good).
Store in an airtight container at room temperature for up to 2 weeks. It freezes beautifully for 3 months—just thaw overnight in the fridge. Cut into squares before storing to make serving easier (and to stop yourself from eating the whole batch in one sitting).
Why You’ll Love This Recipe
- One Bowl Magic: I love that I can make this with a single saucepan and a wooden spoon—no fancy equipment needed.
- Rich Chocolate Fix: The cocoa powder and butter create that deep, velvety chocolate flavor I crave in every bite.
- Holiday Staple: Honestly, this fudge is my go-to for gift-giving, potlucks, or just treating myself on a cozy night in.
- Pantry Friendly: Between us, I always have these ingredients on hand, so I can whip up a batch whenever the craving hits.
Step-by-Step Instructions for Old Fashioned Fudge
This classic method delivers rich, creamy fudge that melts in your mouth every time.
Step 1: Combine and Dissolve the Dry Ingredients
In a heavy-bottomed 4-quart saucepan, combine the 4.5 cups Granulated Sugar and 0.75 cup Unsweetened Cocoa Powder. I use a whisk to break up any lumps in the cocoa and ensure even distribution. This prevents clumping when the liquid ingredients are added.
Gradually stir in the 1.5 cups Whole Milk until the mixture is smooth and free of dry pockets. The sugar should be completely dissolved before moving to the next step—this is critical for smooth fudge texture. I like to use a silicone spatula to scrape the bottom of the pan and catch any undissolved sugar.
Step 2: Cook the Mixture to the Soft Ball Stage
Add the 0.5 cup Unsalted Butter, 0.5 cup Light Corn Syrup, and 0.25 tsp Salt to the saucepan. Place over medium heat and stir constantly until the butter is fully melted and the mixture begins to boil. This usually takes 5-7 minutes.
Once boiling, stop stirring and let the mixture cook undisturbed until it reaches the soft ball stage (234-240°F on a candy thermometer). I brush down the sides of the pan with a pastry brush dipped in hot water to prevent sugar crystals from forming. This step can take 15-20 minutes—be patient and resist the urge to stir.
Step 3: Cool and Beat the Fudge
When the mixture reaches the correct temperature, remove it from heat and let it cool undisturbed for 10-15 minutes. You’ll know it’s ready to beat when it feels lukewarm if you touch the surface with your fingertip (about 110°F). If you beat it while too hot, the fudge won’t set properly.
Add the 2 tsp Vanilla Extract and the 1 cup Pecans (if using), then begin beating the mixture vigorously with a wooden spoon. The fudge will start to thicken and lose its glossy appearance after 5-10 minutes of steady beating. This is when it’s ready to pour into the pan.
Step 4: Set and Cut the Fudge
Pour the thickened fudge into a greased 9×13-inch baking pan. I use a silicone spatula to spread it evenly and smooth the top. Let it cool at room temperature for 2-3 hours until completely set. Don’t be tempted to refrigerate it—this can cause the fudge to become grainy.
Once fully set, use a sharp knife to cut the fudge into 1-inch squares. For clean cuts, I dip the knife in hot water and wipe it dry between each slice. Store the fudge in an airtight container at room temperature, where it’ll keep for up to 2 weeks. Each square should have a smooth, velvety texture that melts beautifully on your tongue.
Pro Tips For Making Betty Crocker Old Fashioned Fudge
- Use a Candy Thermometer: I learned this the hard way—guessing the soft-ball stage (234-238°F) leads to grainy or undercooked fudge. Clip the thermometer to the pan and don’t walk away.
- Sift the Cocoa: Unsweetened cocoa powder clumps like crazy. Sifting it first guarantees a smooth texture instead of those annoying little bitter pockets in your finished fudge.
- Skip the Stirring: Resist the urge to stir once the mixture starts boiling. Stirring can cause sugar crystals to form on the pan sides, which ruins the smoothness of your fudge.
- Butter the Pan First: Before pouring the fudge to set, grease the pan with a thin layer of unsalted butter—about 1 teaspoon, spread evenly. This makes cutting and removing the squares way easier.
Common Mistakes When Making Perfect Results
Sugar Crystallization
One of the most common issues is sugar crystals forming on the sides of your pan. I always brush them down with a pastry brush dipped in hot water during cooking. Even one rogue crystal can cause grainy fudge by triggering chain crystallization. 💡
Inaccurate Temperature
Using a cheap or uncalibrated candy thermometer is a recipe for disaster. I recommend a digital thermometer like the ThermoWorks Candy for precision. Undercooking results in soft fudge, while overcooking makes it hard and crumbly.
Premature Beating
Beating the mixture too soon is a classic mistake. Let it cool to 110°F first—this usually takes 10-15 minutes. If you start beating while it’s too hot, your fudge will stay liquid and never set properly.
Stirring While Boiling
Once the mixture starts boiling, resist the urge to stir. Stirring at this stage can cause sugar crystals to form, leading to grainy texture. Instead, gently swirl the pan if needed to check the temperature.
Skipping the Cooling
Pouring hot fudge directly into the pan is a sure way to get a runny mess. The cooling phase is crucial for achieving that perfect creamy texture. I set a timer to ensure I don’t rush this step.
Overbeating the Mixture
When beating the cooled mixture, stop as soon as it thickens and loses its gloss. Overbeating can cause the fudge to seize up and become hard. It should take 5-10 minutes of steady beating to reach the right consistency. 🔥
Nutrition Facts
Frequently Asked Questions
Why does my fudge turn out grainy?
Graininess usually comes from sugar crystallizing. Prevent it by brushing down pan sides with hot water and avoiding stirring once boiling begins. A candy thermometer ensures you hit 234-240°F precisely.
Can I substitute marshmallow fluff for corn syrup?
No, they serve different purposes. Corn syrup prevents crystallization, while marshmallow fluff adds texture. Stick to the recipe for best results, or use honey or agave as a 1:1 swap.
How do I know when it’s ready to beat?
Test by touching the surface—it should feel lukewarm, around 110°F. If too hot, the fudge won’t set. Wait 10-15 minutes after removing from heat.
How long does it keep at room temperature?
Stored in an airtight container, it stays fresh for up to 2 weeks. For longer storage, freeze for up to 3 months and thaw overnight in the fridge.

- 6 Egg Cake Recipe with Oil: Light as Air With Buttery Moisture - October 4, 2026
- 4 Bean Casserole Recipe: One-Pan Heartiness With Smoky Paprika Depth - October 4, 2026
- 3-Ingredient Keto Mug Cake Recipe: Microwave Magic in 2 Minutes - October 4, 2026