
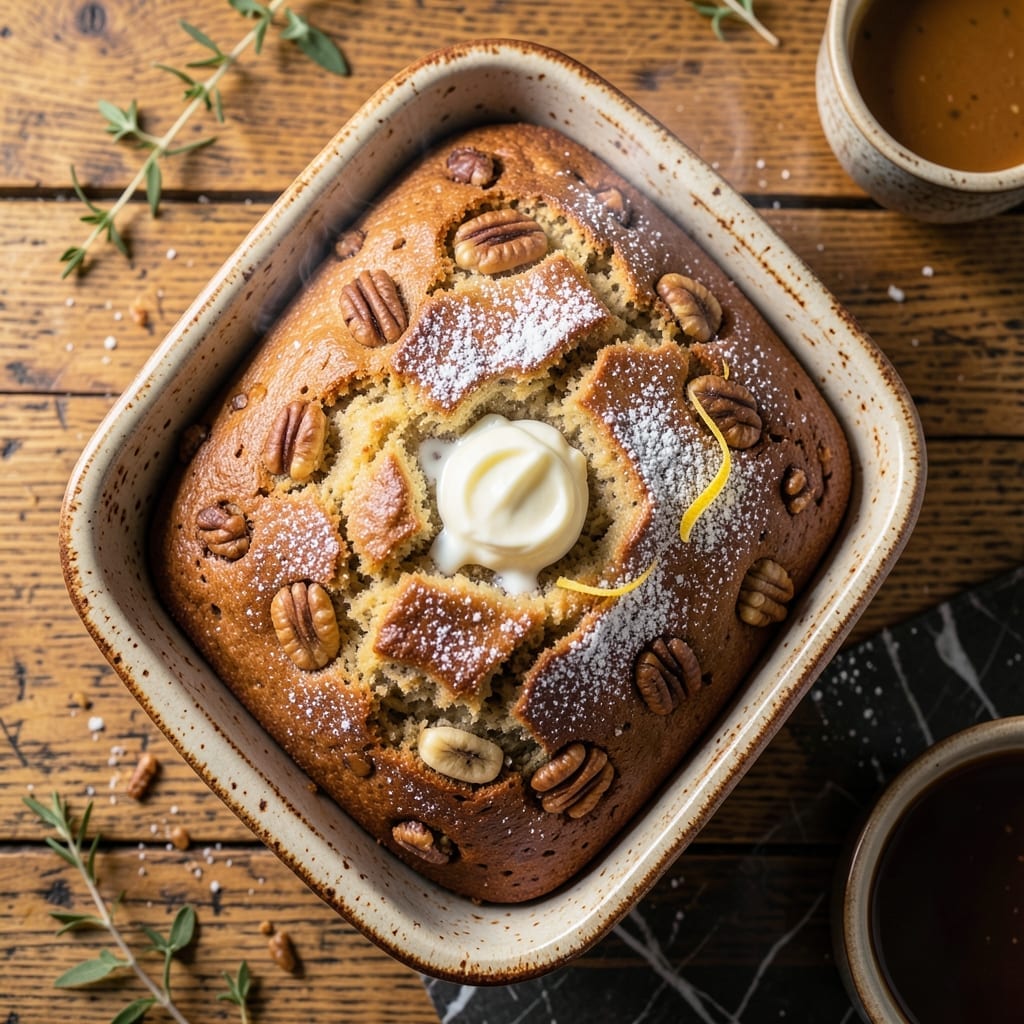
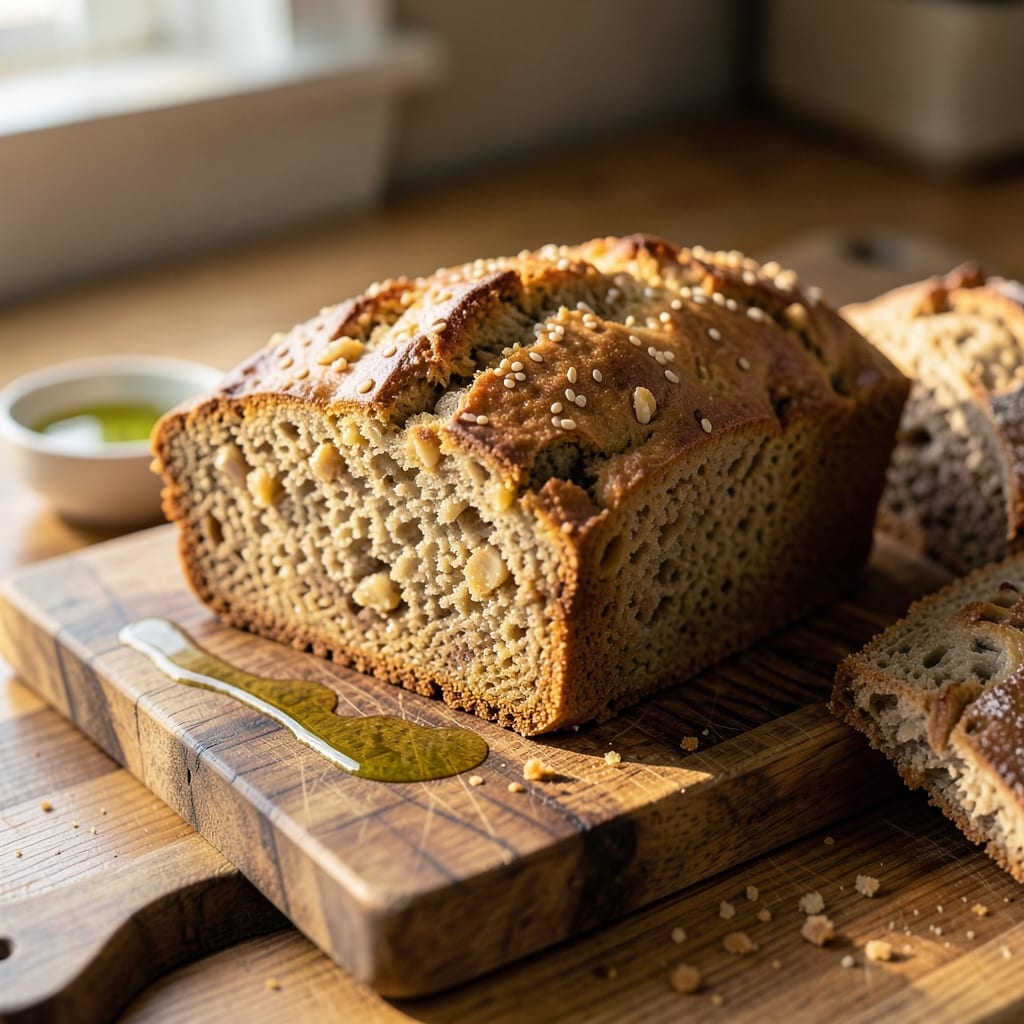
This timeless recipe brings the comforting aroma of a neighborhood bakery right to your kitchen. The perfect balance of ripe bananas and toasted nuts creates a moist, tender loaf every time.
With just a few pantry staples and 1 hour of baking, you’ll achieve that classic old-fashioned taste that never goes out of style. The secret lies in not overmixing the batter.
Ingredients for Betty Crocker’s Recipe for Banana Nut Bread
Pantry staples and a few ripe bananas make this classic loaf come alive.
| Ingredient | Amount | Notes |
|---|---|---|
| Ripe Bananas 🍌 | 3 whole | Very brown, soft, and speckled |
| All-Purpose Flour 🌾 | 1 ½ cups | Sifted for lighter texture |
| Granulated Sugar 🧈 | ¾ cup | White or light brown works |
| Unsalted Butter 🧈 | ½ cup | Melted and cooled slightly |
| Large Eggs 🥚 | 2 whole | Room temperature for even mixing |
| Baking Soda 🧂 | 1 tsp | Ensures proper rise |
| Salt 🧂 | ½ tsp | Balances sweetness |
| Ground Cinnamon 🌿 | 1 tsp | Adds warm spice |
| Vanilla Extract 💧 | 1 tsp | Pure for best flavor |
| Chopped Walnuts 🌰 | ¾ cup | Toasted for extra crunch |
| Milk 🥛 | ¼ cup | Any kind works fine here |
[recipeingredientscaler]
The bananas are the soul of this loaf. Look for heavily speckled, almost black ones—they’re sweeter and mash easier. Most grocery stores have them marked down in the produce section. I grab mine from Kroger or Walmart, but any supermarket works. The flour doesn’t need to be fancy—all-purpose from the baking aisle is perfect. Just sift it if it’s lumpy (worth the extra minute).
No walnuts? Pecans or almonds work just as well—toast them first for that bakery smell. Out of buttermilk? Regular milk with a teaspoon of vinegar gets you close. Brown sugar can swap for white, but it’ll make the bread a bit denser. The cinnamon is optional, but I always add it (trust me on this one).
This bread stays moist for 3-4 days wrapped in foil at room temp. Freeze slices for up to 3 months—perfect for sudden cravings. Toast revives day-old loaves beautifully (don’t skip this part).
Why You’ll Love This Recipe
- One Bowl Wonder: I just dump the ripe bananas, sugar, and eggs in a single bowl—no fancy mixers, no fuss.
- Warm Spiced Comfort: That buttery richness with the natural sweetness of overripe bananas makes every bite feel like home.
- Breakfast or Dessert: Honestly, it’s just as good with my morning coffee as it is warmed up with vanilla ice cream after dinner.
- Budget-Friendly Stretch: Between us, this recipe turns those brown, forgotten bananas into something the whole family fights over—no waste, all win.
Step-by-Step Instructions for Banana Nut Bread
This classic method delivers that nostalgic bakery aroma with minimal effort.
Step 1: Mash the Bananas and Prep Wet Ingredients
Grab those 3 whole Ripe Bananas and mash them in a large bowl until mostly smooth with a few small lumps remaining. I like to use a fork for this—it gives me better control over the texture.
Add the 0.5 cup Unsalted Butter (make sure it’s melted and cooled slightly), 0.75 cup Granulated Sugar, 2 whole Large Eggs, and 1 tsp Vanilla Extract. Mix well until everything is fully combined and the sugar starts to dissolve. This wet mixture forms the base of your bread’s rich, moist texture.
Step 2: Combine Dry Ingredients Separately
In a medium bowl, whisk together the 1.5 cups All-Purpose Flour, 1 tsp Baking Soda, 0.5 tsp Salt, and 1 tsp Ground Cinnamon. I always sift my flour first for a lighter texture, but if you’re in a hurry, just whisk vigorously to break up any lumps.
The baking soda is what gives this bread its proper rise, while the cinnamon adds that warm, comforting spice that makes every slice irresistible. Don’t skip the salt—it balances all that sweetness perfectly.
Step 3: Merge Wet and Dry Mixtures
Pour the dry ingredients into the wet mixture and stir just until combined. You’ll notice the batter is thick and slightly lumpy—that’s exactly what you want. Overmixing at this stage creates a tough, dense bread.
Now fold in the 0.75 cup Chopped Walnuts and 0.25 cup Milk. The milk loosens the batter just enough to incorporate all ingredients smoothly. I always reserve a few walnuts to sprinkle on top before baking for extra crunch and visual appeal.
Step 4: Bake to Golden Perfection
Pour the batter into a greased 9×5-inch loaf pan and smooth the top with a spatula. Bake in a preheated 350°F oven for 55-65 minutes, or until a toothpick inserted in the center comes out clean with maybe a few moist crumbs clinging to it.
About halfway through baking, you’ll start to smell that incredible aroma filling your kitchen. The bread is done when the top is deep golden brown and springs back when lightly pressed. If the top begins to brown too quickly, tent the pan with foil.
Step 5: Cool and Slice for Serving
Let the bread cool in the pan for 10 minutes, then transfer it to a wire rack to cool completely. I know it’s tempting to slice right away, but waiting at least 30 minutes makes for cleaner slices and better texture.
Once cooled, slice and serve. Each piece should have a tender crumb studded with walnuts, with that perfect balance of banana sweetness and cinnamon warmth. This bread keeps well wrapped at room temperature for up to 3 days, though it’s so good it rarely lasts that long.
Pro Tips For Making Betty Crocker’S Recipe For Banana Nut Bread
- Mash Bananas Well: I learned this the hard way—lumpy bananas mean uneven texture. Use a fork and mash until nearly smooth, about 1-2 minutes of vigorous stirring.
- Soften Butter Properly: After ruining a loaf with melted butter, I now leave it out for exactly 1 hour to reach room temperature—soft enough to dent but not greasy.
- Test with a Toothpick: Resist the urge to pull it early. The bread is done when a toothpick inserted in the center comes out clean, usually around 55-65 minutes at 350°F.
- Add Nuts Last: Fold in the nuts after the batter is already mixed to avoid overworking the flour—this keeps the bread tender instead of dense.
Essential Equipment for betty crockers recipe for banana nut bread
Must-Have Tools 🍳
To bake Betty Crocker’s banana nut bread to perfection, start with a 9×5-inch loaf pan—this is non-negotiable for even baking. A sturdy mixing bowl (preferably stainless steel or glass) ensures your ingredients blend smoothly. Don’t forget a whisk or electric mixer for creaming butter and sugar effortlessly.
A rubber spatula helps scrape every last bit of batter, while a cooling rack prevents soggy bottoms. Measuring cups and spoons are essential for precision, especially with leavening agents like baking soda.
Nice-to-Have Upgrades ✨
For convenience, a stand mixer (like the KitchenAid Classic) saves time and effort. A digital kitchen scale ensures accuracy with ingredients like nuts or flour. Silicone loaf pan liners make removal a breeze and reduce cleanup.
A toothpick or cake tester helps check doneness without overbaking, while a pastry brush adds a professional touch if you glaze the bread.
Budget Alternatives 💡
No loaf pan? Use a muffin tin for mini banana nut breads—adjust baking time accordingly. Swap a stand mixer for a hand mixer or even a wooden spoon and some elbow grease. Parchment paper works as a DIY liner for easy release.
For measuring, repurpose a standard drinking glass (1 cup) or tablespoons from your cutlery drawer. Baking is flexible, so improvise with what you have!
Nutrition Facts

- 6 Egg Cake Recipe with Oil: Light as Air With Buttery Moisture - October 4, 2026
- 4 Bean Casserole Recipe: One-Pan Heartiness With Smoky Paprika Depth - October 4, 2026
- 3-Ingredient Keto Mug Cake Recipe: Microwave Magic in 2 Minutes - October 4, 2026