
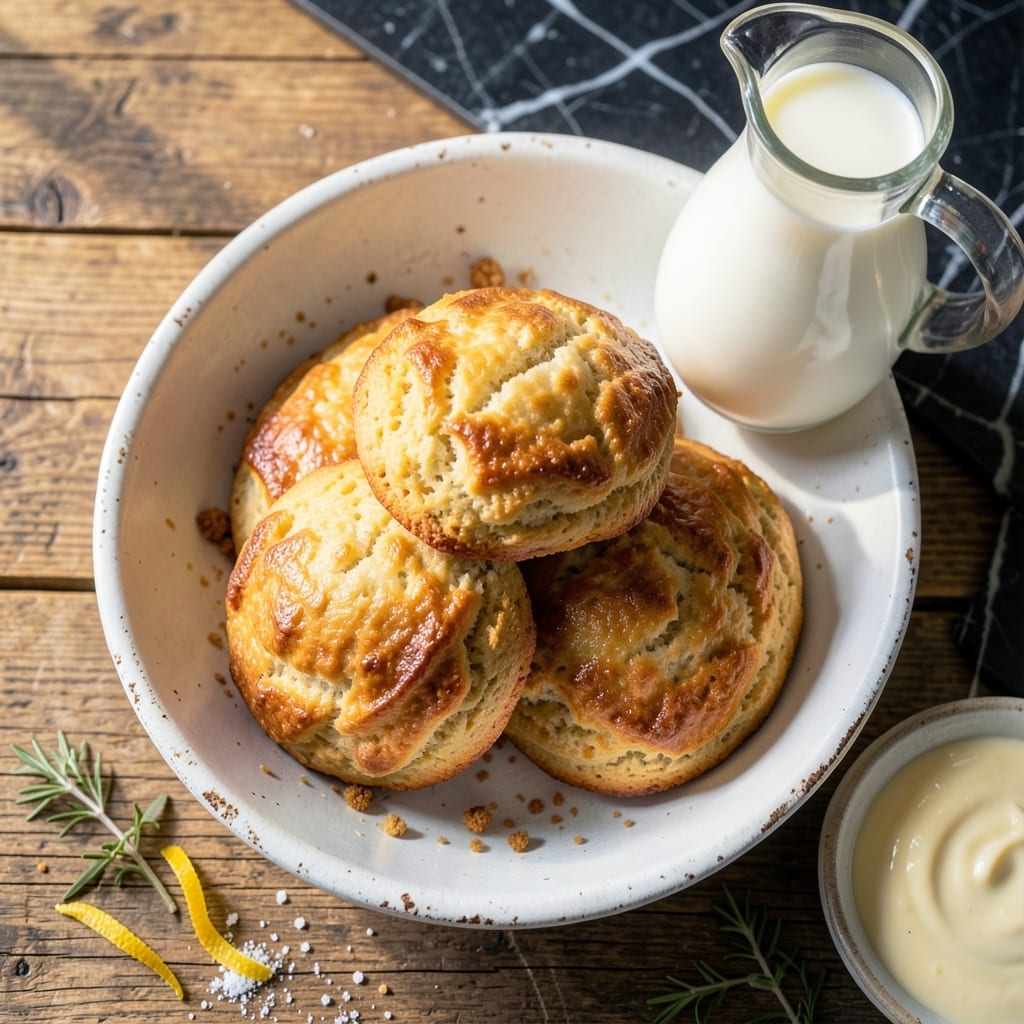
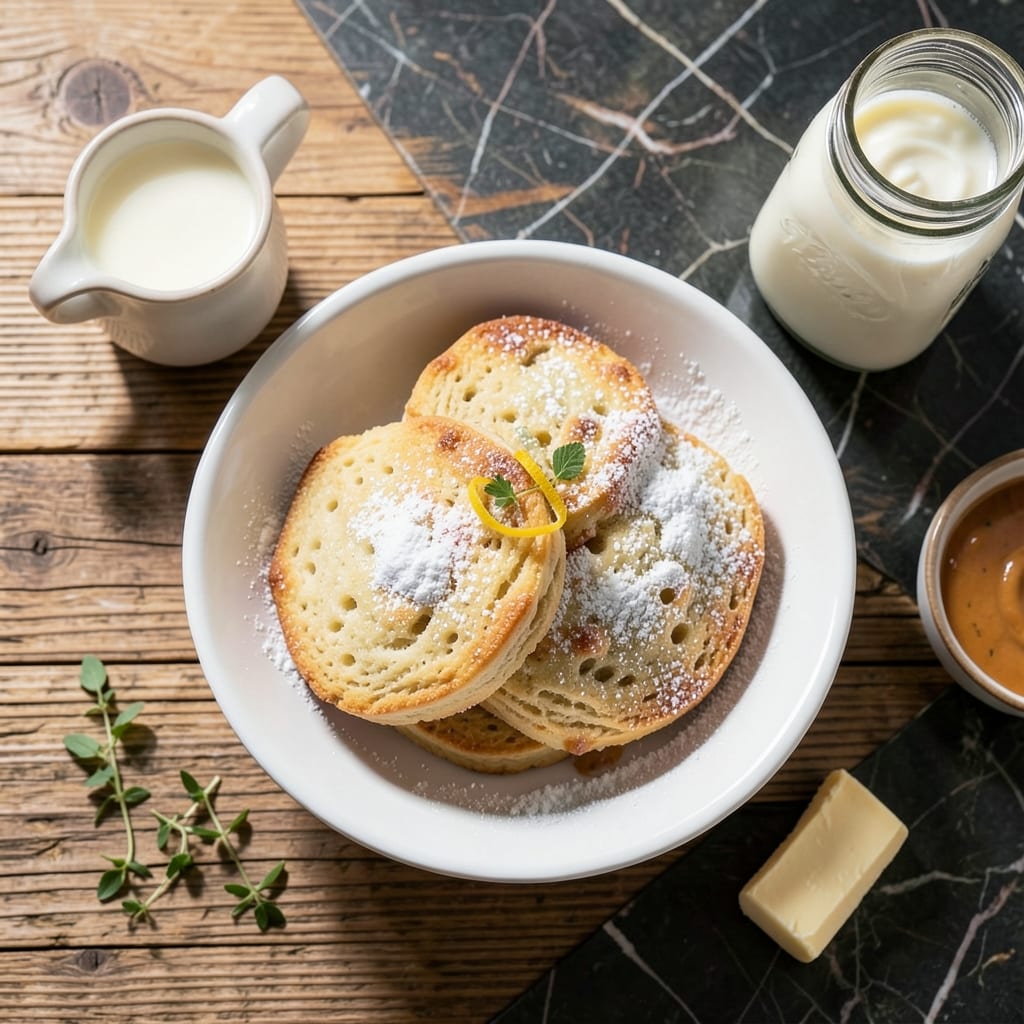
There’s a simple secret to achieving fluffy, layered biscuits with minimal effort. This method relies on self-rising flour for lift without extra leavening agents.
The result is warm, tender biscuits with a golden crust, ready in under 20 minutes. Perfect for beginners and seasoned bakers alike.
Ingredients for Biscuit Recipe with Self Rising Flour
Nine ingredients deliver those fluffy, golden layers with minimal effort and maximum flavor.
| Ingredient | Amount | Notes |
|---|---|---|
| Self-Rising Flour 🌾 | 2 cups | Plus extra for dusting surface |
| Cold Unsalted Butter 🧈 | ½ cup | Cut into small cubes |
| Whole Milk 🥛 | ¾ cup | Cold, for flaky layers |
| Buttermilk 🥛 | ¼ cup | Full-fat for best texture |
| Granulated Sugar 🧂 | 1 tbsp | Optional, for slight sweetness |
| Baking Powder 🧂 | 1 tsp | Enhances rise in flour |
| Salt 🧂 | ½ tsp | Fine sea salt preferred |
| All-Purpose Flour 🌾 | ¼ cup | For dusting work surface |
| Heavy Cream 🥛 | 2 tbsp | For brushing tops |
The flour is non-negotiable here. White Lily Self-Rising Flour (available at most Walmart or Publix locations) gives the best rise and tenderness due to its lower protein content. If you can’t find it, Softasilk is another solid brand. The butter must be ice-cold—cut it into cubes and chill for 15 minutes before using. This prevents it from melting into the dough prematurely, which is key for those flaky layers.
No buttermilk? Whole milk with 1 tsp lemon juice or vinegar works in a pinch (let it sit 5 minutes). For a richer flavor, replace half the milk with heavy cream. If you’re out of self-rising flour, substitute with 2 cups all-purpose flour plus 1 tbsp baking powder and 1 tsp salt. The sugar can be omitted for savory biscuits, or increased to 2 tbsp for a sweeter version.
Dough can be made ahead and refrigerated for up to 24 hours—just shape and bake when ready. Baked biscuits stay fresh for 2 days in an airtight container at room temperature, or freeze for up to 3 months. Reheat in a 350°F oven for 5-10 minutes to restore that just-baked warmth.
Why You’ll Love This Recipe
- No Fuss Mixing: I just dump the cold butter into the self-rising flour, cut it in, then add the buttermilk—no measuring baking powder or salt.
- Buttery Layers: The cold unsalted butter creates those flaky layers that melt in your mouth, while the sugar adds just a hint of sweetness.
- Breakfast to Dinner: I serve these with jam at breakfast or alongside fried chicken for dinner. Honestly, they work for everything.
- Pocketbook Friendly: Self-rising flour is cheap, and I always have milk and butter on hand. Between us, I’ve made these on a whim with zero extra grocery trips.
Step-by-Step Instructions for Biscuits With Self Rising Flour
This method ensures tall, flaky layers with minimal effort and maximum flavor.
Step 1: Cut the Butter Into the Dry Ingredients
In a large bowl, whisk together the 2 cups Self-Rising Flour, 1 tsp Baking Powder, 1 tbsp Granulated Sugar, and 0.5 tsp Salt until evenly combined. The baking powder boosts the rise, while the sugar adds subtle sweetness to balance the richness.
Add the 0.5 cup Cold Unsalted Butter (cut into small cubes) to the flour mixture. Use a pastry cutter or your fingertips to work the butter into the dry ingredients until the mixture resembles coarse crumbs with pea-sized butter pieces visible. This step is critical—visible butter flakes create the flaky layers as they melt during baking.
Step 2: Incorporate the Liquids Gently
Make a well in the center of the flour-butter mixture. Pour in the 0.75 cup Whole Milk and 0.25 cup Buttermilk all at once. Use a fork to gently stir the mixture just until the dough begins to come together. The buttermilk adds a subtle tang that enhances the flavor complexity.
The dough will look shaggy and slightly sticky—that’s perfect. Overworking the dough develops gluten, which results in tough biscuits instead of tender ones. If there are a few dry spots, that’s acceptable; they’ll hydrate as the dough rests.
Step 3: Fold and Shape the Dough
Turn the dough out onto a surface lightly dusted with 0.25 cup All-Purpose Flour. Gently pat it into a rough rectangle about 1-inch thick. Fold the dough in thirds like a letter, then rotate it 90 degrees and repeat the folding process once more.
This lamination technique creates distinct layers in your biscuits. Pat the dough into a final 1-inch thick rectangle. Use a 2.5-inch biscuit cutter to cut out biscuits, pressing straight down without twisting—the twisting motion seals the edges and prevents proper rise.
Step 4: Bake Until Golden and Flaky
Preheat your oven to 450°F and line a baking sheet with parchment paper. Arrange the biscuits on the prepared sheet, leaving about 1 inch between each one. Brush the tops generously with the 2 tbsp Heavy Cream—this promotes browning and adds a subtle richness to the crust.
Bake for 12-15 minutes until the biscuits are golden brown on top and the layers are visible. Don’t open the oven door during the first 10 minutes of baking, as the sudden temperature change can cause the biscuits to collapse.
Pro Tips For Making Biscuit Recipe With Self Rising Flour
- Keep Butter Ice Cold: Cube your unsalted butter and chill it for 10 minutes before mixing—I learned this the hard way after my first few batches turned out flat and dense.
- Use Buttermilk Only: Skip the whole milk and go all-in on buttermilk for that tangy depth and fluffier layers; my grandmother swore by this, and she was right.
- Don’t Overwork Dough: Mix just until the dough comes together, even if it looks shaggy—overworking melts the butter and ruins the flaky texture.
- Bake Hot and Fast: Crank the oven to 450°F and bake for 12-15 minutes; high heat gives biscuits that golden crust while keeping the inside tender.
Serving Suggestions for This Recipe
🍽️ Plating Styles
These fluffy biscuits made with self-rising flour can be presented in various ways to suit any occasion. For a casual setting, arrange them on a rustic wooden board with a side of honey or jam. For a formal dinner, place them in a lined basket with a crisp linen napkin. At a buffet, stack them on a tiered stand for easy access.
🎨 Garnishing Techniques
Enhance the visual appeal with simple yet elegant touches. Brush the tops with melted butter and sprinkle with fresh herbs like rosemary or thyme. For a sweeter option, dust with powdered sugar or drizzle with a honey glaze. Edible flowers or a sprinkle of sea salt can add a gourmet finish.
🍴 Portion Sizes
Serve biscuits individually for a polished look, especially at sit-down meals. For a cozy, family-style gathering, place a large batch in a communal dish and let everyone serve themselves. Mini biscuits work well for appetizers, while larger ones are perfect as a side for hearty dishes like stews or fried chicken.
🌡️ Serving Temperature
Biscuits are best served warm, straight from the oven. Allow them to rest for 2-3 minutes before serving to let the layers set. If making ahead, reheat in a 300°F oven for 5-10 minutes to restore their fluffiness. Slice just before serving to retain moisture and texture.
Nutrition Facts

- 6 Egg Cake Recipe with Oil: Light as Air With Buttery Moisture - October 4, 2026
- 4 Bean Casserole Recipe: One-Pan Heartiness With Smoky Paprika Depth - October 4, 2026
- 3-Ingredient Keto Mug Cake Recipe: Microwave Magic in 2 Minutes - October 4, 2026