
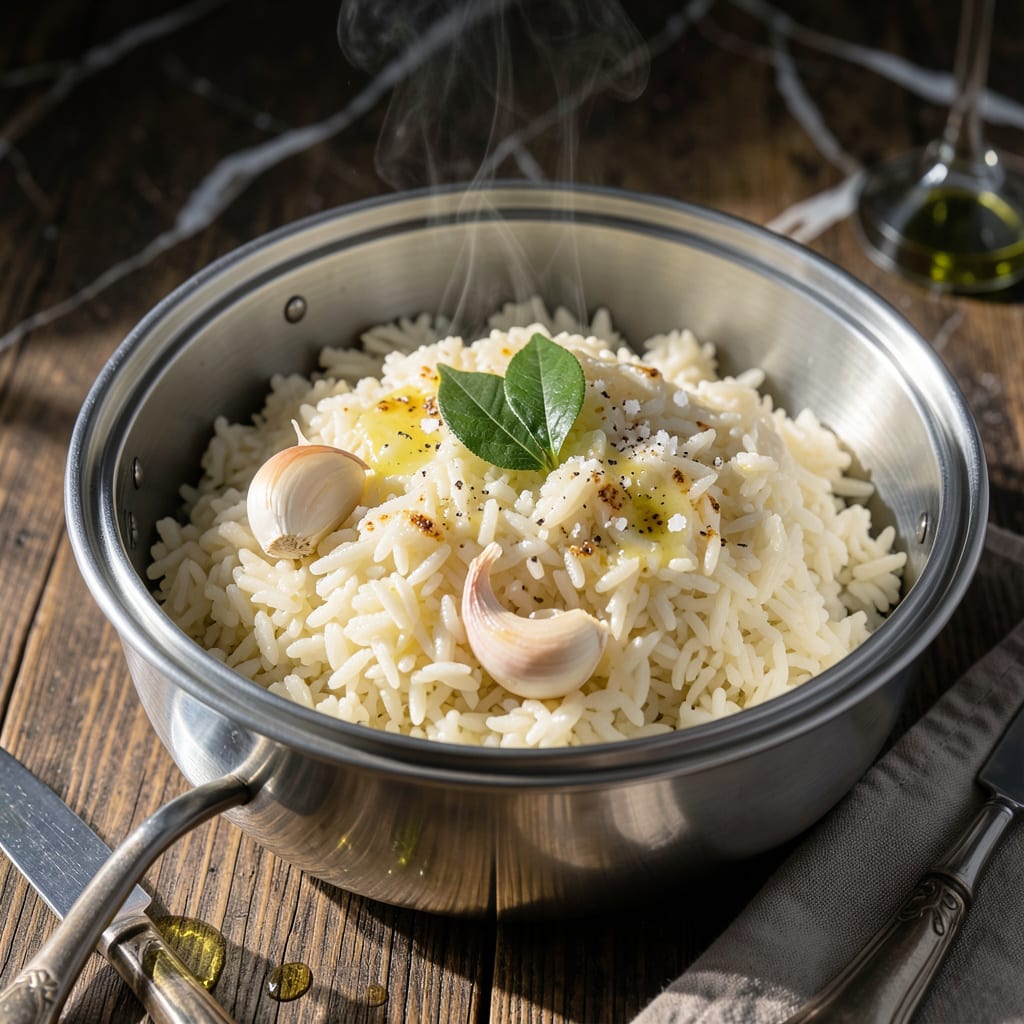
My Black & Decker steamer transforms rice cooking into a hands-off process with perfect results every time. No more watching pots or worrying about burning.
This method uses precise water ratios and steaming times to deliver fluffy, separate grains without any stovetop hassle. It’s the easiest way to make rice at home.
Ingredients for Black and Decker Steamer Rice
Steamer rice requires minimal ingredients for maximum flavor and perfect texture every time.
| Ingredient | Amount | Notes |
|---|---|---|
| Long-Grain White Rice 🌾 | 1 ½ cups | Rinsed until water runs clear |
| Water 💧 | 2 ¼ cups | Filtered for best results |
| Butter 🧈 | 1 tbsp | Unsalted, melted |
| Kosher Salt 🧂 | ½ tsp | Diamond Crystal preferred |
| Garlic Cloves 🧄 | 2 cloves | Minced, optional for flavor |
| Bay Leaf 🌿 | 1 whole | Dried, for aroma |
| Fresh Parsley 🍃 | 2 tbsp | Chopped, for garnish |
| Lemon Juice 🍋 | ½ tsp | Freshly squeezed, optional |
| Black Pepper 🌶️ | ¼ tsp | Freshly ground preferred |
| Chicken Broth 🍲 | ½ cup | Low-sodium, optional for depth |
[recipeingredientscaler]
The rice quality matters most here. Long-grain white rice like Jasmine or Basmati delivers the fluffiest results, but any variety works. Rinsing removes excess starch—don’t skip this step (worth the extra minute). For the broth, Better Than Bouillon is a reliable brand if you’re using it. The water ratio is precise: 1.5 cups rice to 2.25 cups liquid ensures even cooking without mushiness.
No chicken broth? Vegetable broth or water works fine—just add a pinch of salt to compensate. Fresh out of garlic? Garlic powder at half the amount is an acceptable substitute. The butter can be swapped for olive oil if you prefer a lighter finish. For extra flavor, a splash of coconut milk adds richness without overpowering the dish.
Cooked rice holds well in the steamer for up to 2 hours on warm. Store leftovers in an airtight container for 4-5 days in the fridge, or freeze for 3 months. Reheat with a splash of water to restore moisture (don’t skip this part).
Why You’ll Love This Recipe
- Set and Forget: The steamer does all the work—I just toss in rice, water, and garlic, then walk away.
- Buttery Garlic Bite: That rich butter and roasted garlic turn plain rice into something I crave daily.
- Meal Prep Hero: I make a big batch Sunday and it reheats beautifully for lunches all week.
Step-by-Step Instructions for Black and Decker Steamer Rice
Here’s the method. Straightforward, tested, works every time.
Step 1: Prepare and Rinse the Rice
Start by measuring the 1.5 cups Long-Grain White Rice into a fine-mesh strainer. Rinse under cold running water, swirling with your hand, until the water runs completely clear. This removes excess starch, which prevents the rice from becoming gummy or sticky.
Drain the rice thoroughly and transfer it to the steamer basket. I always give the basket a quick shake to level the grains, ensuring even cooking. This preparation step is crucial for achieving light, separate grains in the final result.
Step 2: Add Aromatics and Liquid
Pour the 2.25 cups Water into the steamer’s water reservoir. For added depth, include the 0.5 cup Chicken Broth as part of this liquid measurement. Add the 1 whole Bay Leaf, 2 cloves Garlic Cloves, and 1 tbsp Butter directly to the water.
The butter will melt as the water heats, infusing the rice with rich flavor. If using, stir in the 0.5 tsp Lemon Juice now—its subtle acidity brightens the overall dish. The aromatics will steam alongside the rice, creating a fragrant foundation.
Step 3: Season and Steam
Sprinkle the 0.5 tsp Kosher Salt and 0.25 tsp Black Pepper evenly over the rice in the basket. These seasonings will penetrate the grains as they cook, ensuring every bite is well-seasoned.
Place the basket into the steamer, secure the lid, and set the appliance to its rice or steam function. Cook for 20-25 minutes—the rice is done when the grains are tender and the water has fully absorbed. Resist the urge to lift the lid during cooking; trapped steam is essential for proper doneness.
Step 4: Rest and Garnish
Once the steamer automatically switches off, let the rice rest with the lid on for an additional 5-10 minutes. This allows residual steam to fluff the grains and ensures uniform texture throughout.
Before serving, gently fluff the rice with a fork to separate the grains. Remove the bay leaf and discard it. Garnish with the 2 tbsp Fresh Parsley for a pop of color and freshness. The rice should be light, fragrant, and perfectly tender with no hard or mushy spots.
Pro Tips For Making Black And Decker Steamer Rice
- Rinse the Rice: Always rinse your long-grain white rice before steaming to remove excess starch—this prevents a gummy texture and ensures fluffy grains.
- Mince the Garlic: Finely mince the garlic cloves instead of leaving them whole so the flavor infuses evenly into the rice as it steams.
- Use Exact Water: Measure the water precisely—1.5 cups water to 1 cup rice is the sweet spot for a Black & Decker steamer to avoid mushy or undercooked results.
- Add Butter Last: Stir in the butter after steaming, not before, to keep the rice from turning greasy and to preserve its rich, distinct flavor.
Common Mistakes When Making black and decker steamer rice
Overfilling the Reservoir
One of the most common mistakes is adding too much liquid. Stick to the exact 1.5:2.25 rice-to-water ratio—exceeding this will leave you with soggy, undercooked grains. I learned this the hard way with my first batch.
Skipping the Rinse
Never skip rinsing your rice until the water runs clear. This removes excess starch that would otherwise make your rice sticky and gummy. It takes 30 seconds and makes a world of difference. 💡
Peeking During Cooking
Every time you lift the lid, you release precious steam, which extends cooking time and can lead to uneven doneness. Trust the process and resist the urge to check until the timer goes off.
Using Wrong Rice Type
Long-grain white rice works best in a steamer. Short-grain varieties like sushi rice absorb liquid differently and may turn mushy. For consistent results, stick with Jasmine or Basmati.
Ignoring Rest Time
After cooking, let the rice rest for 5-10 minutes with the lid on. This allows the grains to absorb residual steam and fluff up properly. Skipping this step often results in dense, compact rice. ⏰
Incorrect Water Measurement
Always measure liquids in the steamer’s reservoir, not the rice basket. Using the basket can lead to inaccurate measurements and uneven cooking. A simple kitchen measuring cup ensures precision.
Nutrition Facts
Frequently Asked Questions
What rice-to-water ratio works best?
Use 1.5 cups rice to 2.25 cups liquid for perfect results. This ratio prevents mushiness while ensuring full cooking. Stick to it precisely for fluffy grains every time.
Can I use broth instead of water?
Substitute up to 0.5 cup broth for water to add depth. Low-sodium chicken or vegetable broth works best without overpowering the rice.
How long should I let the rice rest?
Allow 5-10 minutes with the lid on after cooking. This lets residual steam fluff the grains and ensures even texture throughout.
Why did my rice turn out sticky?
Sticky rice usually means excess starch wasn’t rinsed off or too much liquid was used. Always rinse until water runs clear and measure liquids precisely.

- 6 Egg Cake Recipe with Oil: Light as Air With Buttery Moisture - October 4, 2026
- 4 Bean Casserole Recipe: One-Pan Heartiness With Smoky Paprika Depth - October 4, 2026
- 3-Ingredient Keto Mug Cake Recipe: Microwave Magic in 2 Minutes - October 4, 2026