
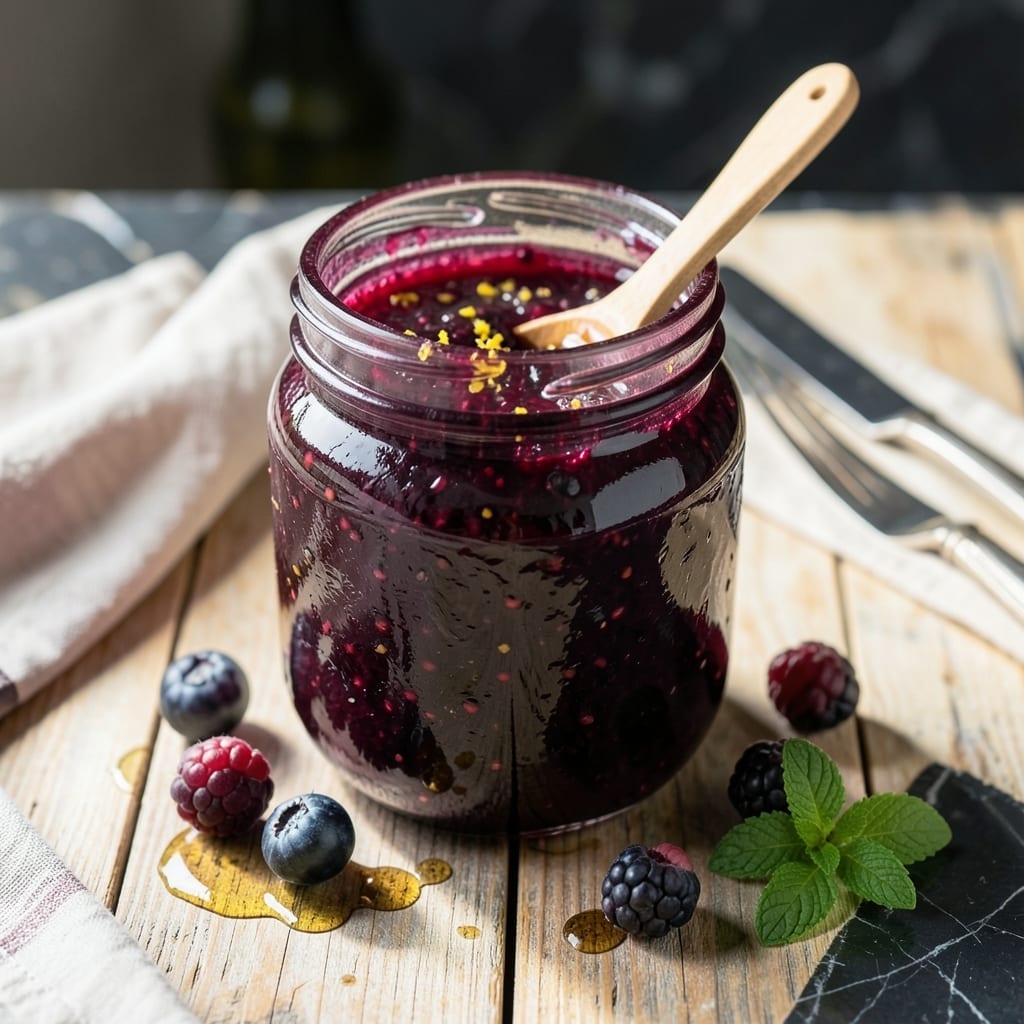
Homemade blackberry jam without pectin delivers pure fruit flavor in a naturally thick, spreadable form. This method relies on the fruit’s natural pectin and careful cooking time to achieve the perfect consistency.
With just berries, sugar, and lemon juice, you’ll create a vibrant preserve that captures summer in a jar. The process is simple yet precise, ensuring a smooth texture without artificial additives.
Ingredients for Blackberry Jam Recipe Without Pectin
Pure fruit and sugar transform into a naturally thick, vibrant spread with no additives.
| Ingredient | Amount | Notes |
|---|---|---|
| Fresh Blackberries 🫐 | 4 cups | Ripe, washed, drained |
| Granulated Sugar 🍚 | 2 ½ cups | White or raw cane |
| Lemon Juice 🍋 | ¼ cup | Freshly squeezed preferred |
| Lemon Zest 🍋 | 1 tbsp | Finely grated for brightness |
| Water 💧 | ¼ cup | Optional for texture adjustment |
| Vanilla Extract 🌿 | 1 tsp | Pure for depth of flavor |
| Pinch of Salt 🧂 | 0.125 tsp | Balances sweetness |
[recipeingredientscaler]
The blackberries are everything here. Pick ripe, plump berries—underripe ones lack natural pectin, leading to runny jam. Farmers markets in late summer have the best selection, but grocery store berries work if they’re deeply colored and firm. I avoid frozen for this method since they release too much liquid. For sugar, organic cane sugar gives a cleaner taste than refined white.
No lemon? Lime juice and zest work in a pinch, though the flavor shifts slightly. Want less sugar? You can reduce by up to one-quarter, but expect a softer set. If your berries are tart, add an extra half-cup sugar. The vanilla is optional but adds complexity—pure extract only, no imitation. For a smoother jam, mash the berries slightly before cooking.
Store in sterilized jars for 1 week in the fridge, or process for canning to keep 6-12 months. Once opened, use within 3 weeks. If too thick after cooling, stir in a little warm water (it’s still safe).
Why You’ll Love This Recipe
- No Fuss Cooking: I just dump blackberries, sugar, and a splash of lemon juice in a pot—no pectin, no stress.
- Bright & Zesty: The lemon zest cuts through the sweetness with this sharp, fresh pop that makes it irresistible.
- Spreads Everywhere: Honestly, it’s my secret for toast, yogurt, or even glaze on roasted chicken.
- Pantry Hero: A single batch fills two jars, and it keeps for weeks—so I’m set for sudden breakfast cravings.
Step-by-Step Instructions for Blackberry Jam Without Pectin
This method relies on natural pectin in blackberries for perfect thickness without additives.
Step 1: Prepare and Mash the Blackberries
Place the 4 cups Fresh Blackberries in a large, heavy-bottomed pot. Using a potato masher or fork, gently crush the berries to release their juices. I find that mashing them to about half their original size works best—this helps break down the cell walls and release the natural pectin.
You’ll notice the mixture becomes quite juicy immediately. This liquid is essential for the cooking process, so don’t drain it. The seeds will remain intact, adding texture to your finished jam. Leave the mixture as is for now; it will reduce significantly during cooking.
Step 2: Combine All Ingredients and Begin Cooking
Add the 2.5 cups Granulated Sugar, 0.25 cup Lemon Juice, 1 tbsp Lemon Zest, 0.25 cup Water, 1 tsp Vanilla Extract, and 0.125 tsp Pinch of Salt to the pot. Stir well to combine all ingredients thoroughly before turning on the heat.
The lemon juice and zest aren’t just for flavor—they add acidity which helps activate the natural pectin in the blackberries. The vanilla extract adds depth, while the salt balances the sweetness. The water helps prevent the sugar from crystallizing at the beginning of cooking.
Step 3: Cook to Thick, Jammy Consistency
Place the pot over medium-high heat and bring to a full rolling boil, stirring frequently with a wooden spoon. Once boiling, reduce the heat to medium and continue to cook, stirring often to prevent sticking.
After about 15-20 minutes, the mixture will begin to thicken. You’ll notice it changes from a thin, watery liquid to a thicker, more syrupy consistency. At this point, start testing for doneness by placing a small spoonful on a chilled plate. If it wrinkles when pushed with a finger and holds its shape, it’s ready.
This process usually takes 25-35 minutes total. The jam is done when it reaches 220°F on a candy thermometer or passes the plate test. Remember that it will thicken further as it cools.
Step 4: Test and Adjust Final Consistency
Remove the pot from heat once your jam reaches the desired thickness. If you’re unsure, perform the plate test again: place a spoonful on a chilled plate, let it sit for 1 minute, then push it with your finger. If it wrinkles and doesn’t run back together, it’s perfect.
If it’s still too thin, return it to the heat for another 3-5 minutes of cooking. Be patient—this is the most critical part. Overcooking can make the jam too stiff, while undercooking will leave it runny. The natural pectin in blackberries will continue to set as the jam cools.
Step 5: Jar and Cool Completely
Ladle the hot jam into clean, sterilized jars, leaving ¼-inch headspace at the top. For short-term storage, any clean jar will work. For longer storage, use proper canning jars and process in a water bath for 10 minutes.
Let the jars cool to room temperature, then check the seals. As the jam cools, you’ll notice it thickens significantly. Once completely cool, store in the refrigerator for up to 3 weeks, or in a cool, dark place for up to 6 months if properly canned.
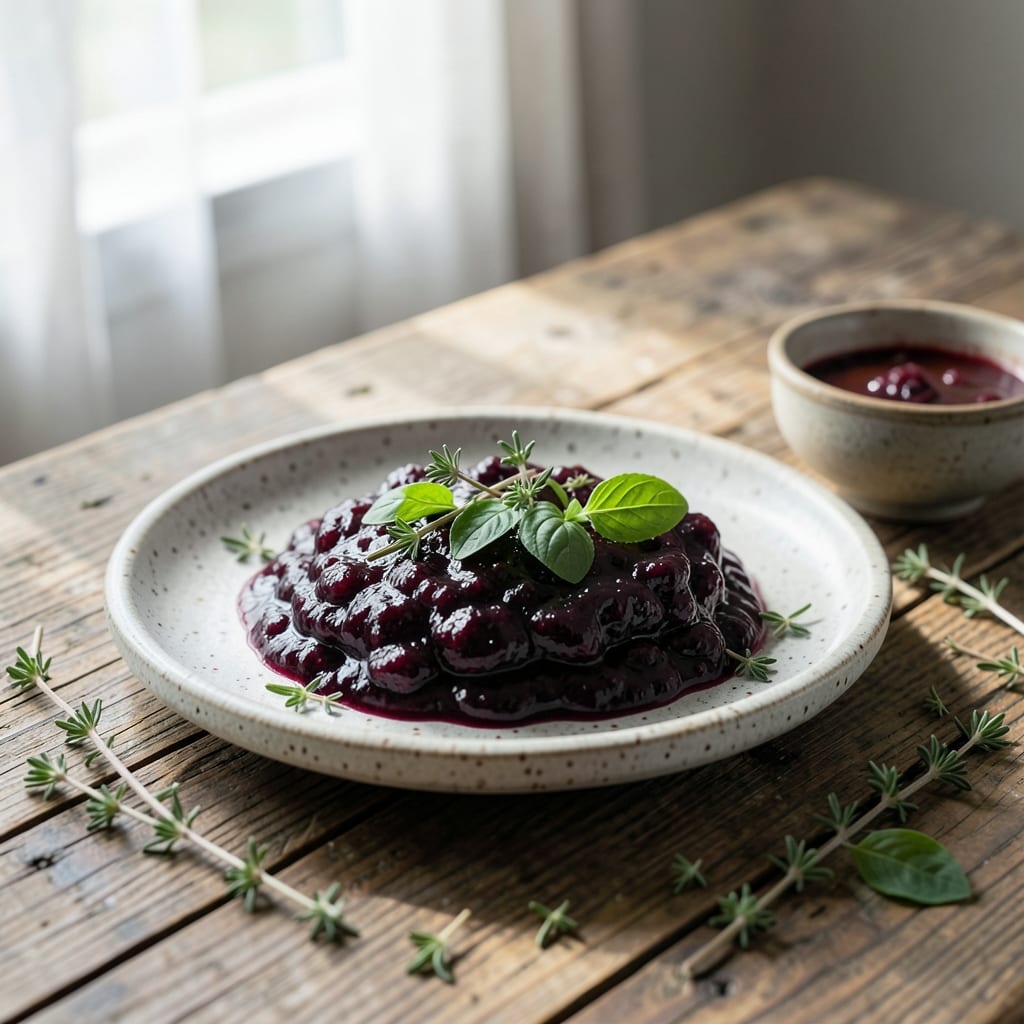
The finished product should be glossy, thick enough to hold its shape on a spoon, and have a beautiful deep purple color with visible berry pieces throughout.
Pro Tips For Making Blackberry Jam Recipe Without Pectin
- Test for Set: Drop a spoonful of jam on a chilled plate after 20 minutes of cooking—if it wrinkles when pushed, it’s ready. I learned this the hard way after pulling three batches off the heat too soon.
- Mash Some Berries: Crush about a quarter of the blackberries before cooking to release pectin naturally. Sounds weird, but it works and saves you from a runny jam.
- Skip the Over-Stirring: Stir only occasionally once the sugar dissolves to avoid breaking down the fruit too much. After burning one batch from constant stirring, I finally figured out the sugar needs time to do its thing.
- Use a Wide Pot: A broad, heavy-bottomed pot lets the mixture reduce faster and more evenly. My grandmother swore by this, and she was right—narrow pots just make the process drag on forever.
Perfect Pairings for These Flavors
Side Dishes
Blackberry jam pairs beautifully with a variety of side dishes to enhance any meal. Spread it on warm biscuits or buttery toast for a classic breakfast treat. For a savory twist, try it alongside roasted chicken or grilled pork chops—the sweet-tart flavor balances rich, smoky meats perfectly. 😋
Drink Pairings
Complement your blackberry jam with refreshing drinks like iced tea or sparkling lemonade for a light, summery vibe. For a cozier option, pair it with hot black coffee or spiced chai to contrast the jam’s fruity sweetness.
Complementary Flavors
Boost the jam’s depth by pairing it with sharp cheddar cheese or creamy goat cheese on a charcuterie board. A drizzle of honey or a sprinkle of crushed pistachios adds texture and contrast, making every bite irresistible. ✨
Nutrition Facts

- 6 Egg Cake Recipe with Oil: Light as Air With Buttery Moisture - October 4, 2026
- 4 Bean Casserole Recipe: One-Pan Heartiness With Smoky Paprika Depth - October 4, 2026
- 3-Ingredient Keto Mug Cake Recipe: Microwave Magic in 2 Minutes - October 4, 2026