
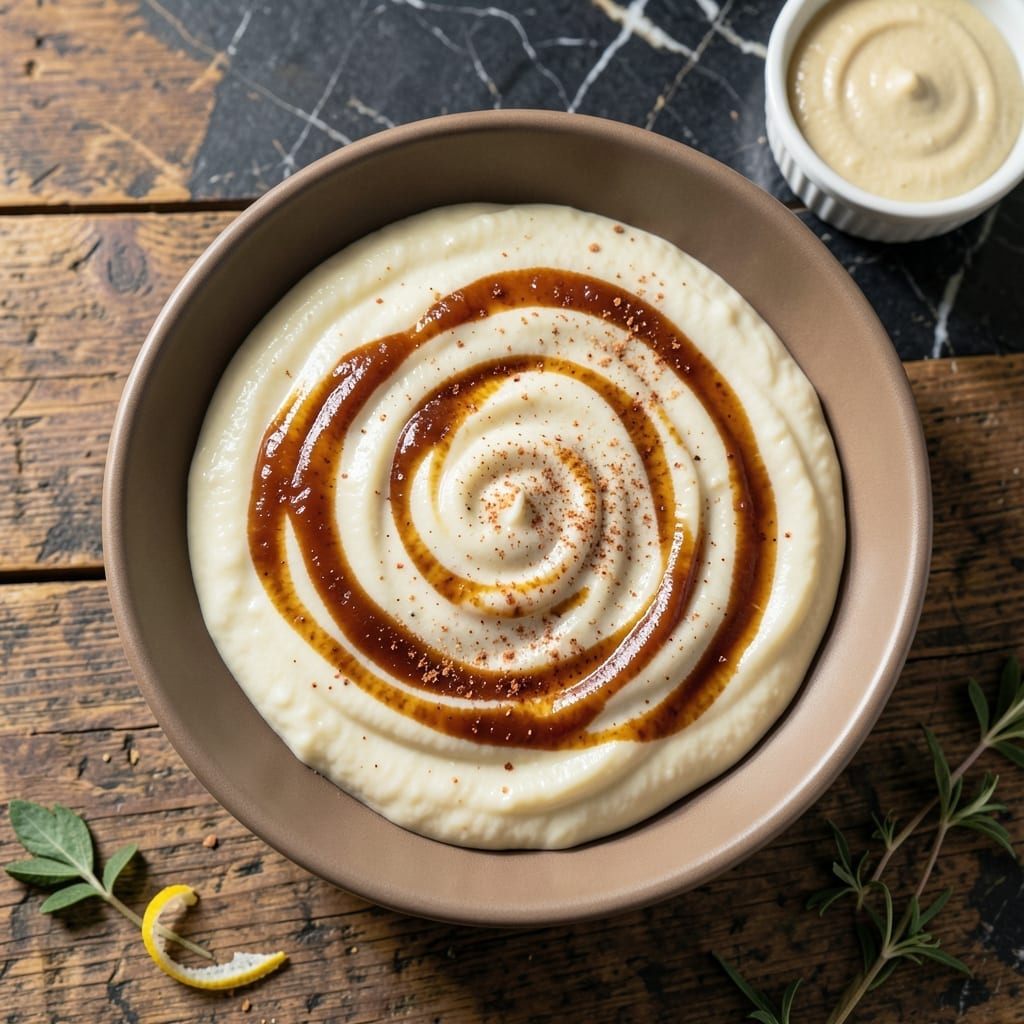
This tangy, creamy dipping sauce delivers the classic flavor of blooming onion dip without the horseradish. I developed this version to complement crispy onions perfectly.
With just a few simple ingredients, you can whip up a batch in minutes. The sauce keeps well in the fridge for up to a week, making it ideal for meal prep.
Ingredients for Blooming Onion Sauce Recipe Without Horseradish
A few simple ingredients blend into that classic creamy dip we all love.
| Ingredient | Amount | Notes |
|---|---|---|
| Mayonnaise 🥫 | 1 cup | Full-fat for creaminess |
| Sour Cream 🥛 | ½ cup | Full-fat recommended |
| Ketchup 🍅 | ¼ cup | For tangy sweetness |
| Worcestershire Sauce 💧 | 1 tbsp | Anchovy-free for vegetarian |
| Garlic Powder 🧄 | 1 tsp | Not garlic salt |
| Paprika 🌶️ | ½ tsp | Sweet or smoked variety |
| Dried Parsley 🍃 | 1 tsp | For color and freshness |
| Lemon Juice 🍋 | 1 tbsp | Freshly squeezed preferred |
| Salt 🧂 | ¼ tsp | Adjust to taste |
| Black Pepper 🌶️ | 0.125 tsp | Freshly ground |
The mayo and sour cream are non-negotiable for that ultra-creamy texture. Duke’s or Hellmann’s for mayo—both have that perfect tang. Sour cream from Kroger or Daisy works great. If you’re at Whole Foods, their 365 brand is solid too. Skip the low-fat versions here; they just don’t give you the same richness. The ketchup adds that classic sweet-tangy balance—Heinz is my go-to (worth the extra minute to grab the glass bottle).
No mayo? Full-fat Greek yogurt works in a pinch, but the flavor shifts slightly. Out of ketchup? Tomato paste thinned with vinegar gets you close. For the Worcestershire, Annie’s vegetarian version is perfect (or skip it if you can’t find it). The paprika is mostly for color, so cayenne at half the amount adds a little kick if you’re into that. Fresh lemon juice is ideal, but bottled works too.
This keeps beautifully in an airtight container for 5-7 days. The flavors actually deepen after a day in the fridge. Doesn’t freeze well though—the texture separates. Stir before serving, and thin with a splash of milk if it thickens too much.
Why You’ll Love This Recipe
- 5-Minute Mix: I dump everything in one bowl and stir—no chopping, no fuss, just creamy goodness ready before the onion even finishes frying.
- Garlicky Kick: The garlic powder and Worcestershire give it that deep, savory punch that makes every bite of the blooming onion taste like it came from a restaurant.
- Dip for Days: I slather it on burgers, dunk fries in it, or use it as a sandwich spread—honestly, it’s my secret weapon for leftovers.
- Pantry Staples: I always have mayo, ketchup, and sour cream on hand, so this sauce costs me nothing extra and comes together in a snap.
Step-by-Step Instructions for Blooming Onion Sauce
Here’s how I make this tangy, creamy dip that pairs perfectly with crispy onions.
Step 1: Combine the Creamy Base
In a medium bowl, add the 1 cup Mayonnaise and 0.5 cup Sour Cream. I use full-fat versions for the richest, most velvety texture. Whisk them together until completely smooth with no streaks remaining.
This base creates the perfect creamy foundation that clings beautifully to crispy onion petals. The combination of mayonnaise and sour cream gives you that restaurant-style consistency without being too heavy.
Step 2: Add Tangy and Savory Elements
Stir in the 0.25 cup Ketchup and 1 tbsp Worcestershire Sauce. The ketchup brings that signature tangy sweetness, while the Worcestershire adds a deep, savory complexity that makes the sauce irresistible.
I always use the full 1 tbsp of Worcestershire—it’s the secret to that umami depth you expect from a blooming onion dip. The mixture should turn a light pinkish-orange color at this stage.
Step 3: Season and Finish
Add the 1 tsp Garlic Powder, 0.5 tsp Paprika, 1 tsp Dried Parsley, 1 tbsp Lemon Juice, 0.25 tsp Salt, and 0.125 tsp Black Pepper. Whisk everything together until fully combined.
The lemon juice brightens all the flavors, while the paprika adds a subtle warmth. I like to let the sauce sit for 10-15 minutes before serving to allow the flavors to meld together. The parsley gives it that fleck of green color that makes it look as good as it tastes.
Step 4: Adjust and Serve
Give it a final taste and adjust the seasoning if needed. If you want it tangier, add another splash of lemon juice. For more depth, a pinch more garlic powder does the trick.
Transfer to a serving bowl and enjoy immediately with crispy blooming onions. The sauce will thicken slightly as it chills, so for best results, serve it within 2 hours of making. This recipe makes enough for 4 servings of blooming onions with some extra for dipping other snacks.
Pro Tips For Making Blooming Onion Sauce Recipe Without Horseradish
- Chill the Sauce: After mixing, refrigerate the sauce for at least 30 minutes—it lets the flavors blend and thickens it just right.
- Use Full-Fat Sour Cream: I learned this the hard way—low-fat versions make the sauce too runny and less rich.
- Skip Overmixing: Stir just until combined to avoid a thin, watery texture, especially with mayo and sour cream.
- Add Worcestershire Last: Mix it in after the other ingredients to prevent the sauce from turning too dark or bitter.
Serving Suggestions for This Recipe
🍽️ Plating Styles
This creamy blooming onion sauce shines in any presentation. For a casual vibe, serve it in a small ceramic bowl or ramekin alongside crispy onion petals on a wooden platter. For formal settings, use a sleek, white porcelain dish with a drizzle of sauce artfully swirled on the plate. At a buffet, place the sauce in a chafing dish with a ladle for easy access, surrounded by an array of dippers like onion rings, veggie sticks, or breadsticks.
🎨 Garnishing Techniques
Enhance the visual appeal with simple yet effective garnishes. Sprinkle freshly chopped chives or parsley on top for a pop of green color. A light dusting of smoked paprika or cayenne pepper adds a subtle hint of warmth and contrast. For extra flair, drizzle a thin stream of hot sauce or sriracha in a zigzag pattern over the sauce.
🍴 Portion Sizes
For individual servings, offer 2-3 tablespoons of sauce per person in small dipping bowls. This ensures everyone gets their fair share without waste. For family-style dining, prepare a larger batch (about 1.5 to 2 cups) in a communal bowl, perfect for sharing at the center of the table.
🌡️ Serving Temperature
This sauce tastes best when served chilled or at room temperature. If refrigerated, let it sit for 10-15 minutes before serving to allow the flavors to meld. Avoid heating, as it may cause the sauce to separate. For the best texture, give it a quick stir with a whisk or fork before presenting to restore its creamy consistency.
Nutrition Facts

- 6 Egg Cake Recipe with Oil: Light as Air With Buttery Moisture - October 4, 2026
- 4 Bean Casserole Recipe: One-Pan Heartiness With Smoky Paprika Depth - October 4, 2026
- 3-Ingredient Keto Mug Cake Recipe: Microwave Magic in 2 Minutes - October 4, 2026