
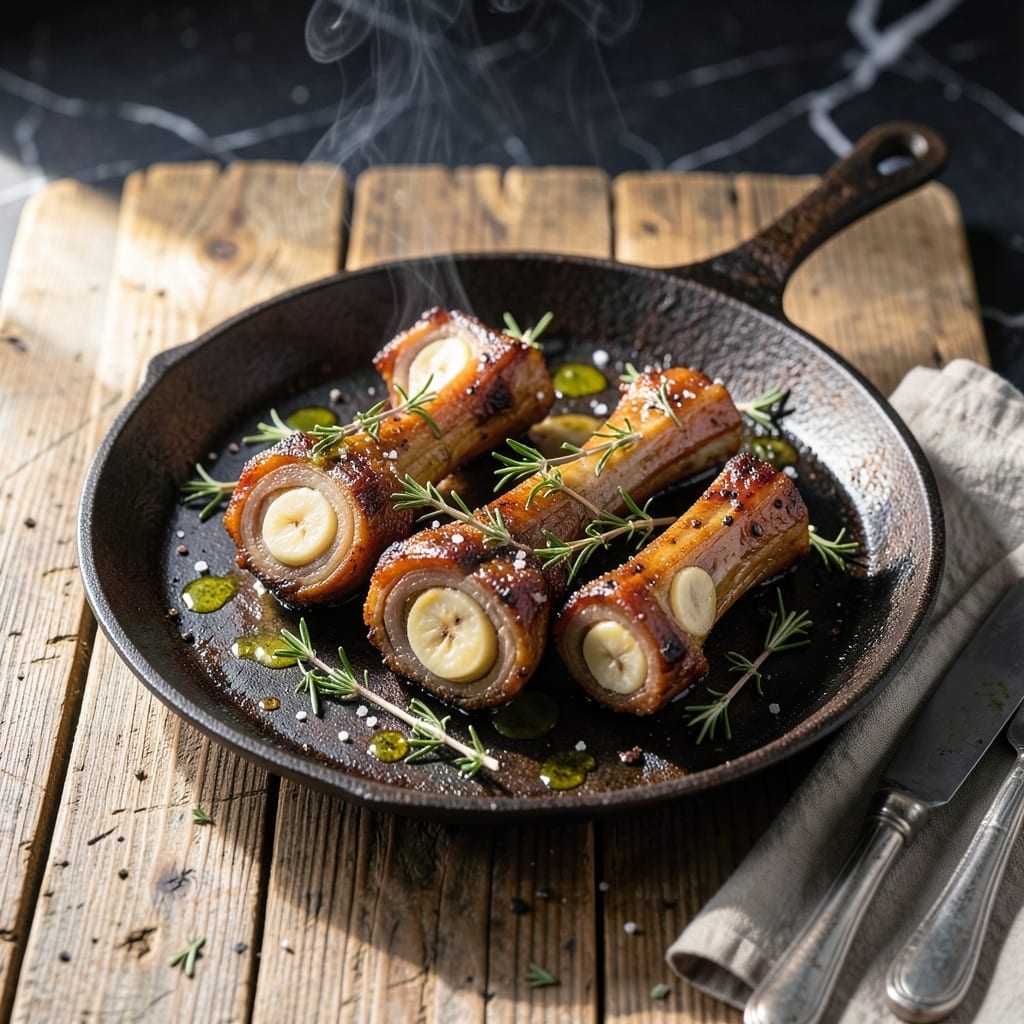
Few dishes deliver the rich, decadent flavor of properly roasted bone marrow. This oven method transforms a humble cut into a showstopping centerpiece with minimal effort. The key lies in precise timing and temperature control.
I’ve perfected this technique to ensure every bite offers buttery texture and deep, savory depth. A simple blend of garlic and herbs elevates the marrow without overpowering its natural richness.
Serve the roasted bones with crusty bread to soak up every last drop of the rendered golden goodness. The contrast of crisp edges and velvety interior makes this dish unforgettable.
Perfect for an impressive appetizer or a luxurious addition to a hearty meal. Here’s how to achieve it.
Ingredients for Bone Marrow Recipe Oven
Rich, decadent flavors start with quality bones and a handful of fresh aromatics for depth.
| Ingredient | Amount | Notes |
|---|---|---|
| Beef Marrow Bones 🍖 | 4 pieces | Split lengthwise, 3-4 inches long |
| Kosher Salt 🧂 | 2 tsp | Diamond Crystal preferred |
| Freshly Ground Black Pepper 🌶️ | 1 tsp | Coarse grind ideal |
| Garlic Cloves 🧄 | 4 cloves | Thinly sliced lengthwise |
| Fresh Thyme Sprigs 🌿 | 4 sprigs | Or 1 tsp dried thyme |
| Fresh Rosemary Sprigs 🍃 | 2 sprigs | Or 1/2 tsp dried rosemary |
| Extra-Virgin Olive Oil 🫒 | 2 tbsp | For drizzling bones |
| Lemon Wedges 🍋 | 4 pieces | For serving |
| Crusty Bread 🍞 | 1 whole | Sliced for serving |
| Sea Salt Flakes 🧂 | 1 tsp | For finishing |
| Flat-Leaf Parsley 🌿 | ¼ cup | Chopped, for garnish |
The marrow bones are everything here. Ask your butcher for center-cut femurs—they have the highest meat-to-bone ratio. Look for bones that are pale pink with plenty of white fat (that’s the good stuff). Most Whole Foods or specialty butchers can source them with 24 hours notice. If you’re lucky, Local farms sell them frozen—thaw overnight before roasting.
No fresh herbs? Dried at one-third the amount works in a pinch, but fresh brings that bright contrast to the rich marrow. The garlic can be minced instead of sliced—just don’t let it burn. If you can’t find proper marrow bones, lamb neck bones offer a similar experience. The bread should be artisan-style with a good crust to soak up all that golden liquid.
Roast bones immediately after prepping—marrow oxidizes and turns gray if left too long. Leftovers? Not really a thing here, but bones can be refrigerated for 2 days and reheated in a hot oven. The rendered fat keeps in the fridge for 1 week—perfect for cooking potatoes or searing steaks.
Why You’ll Love This Recipe
- Set It and Forget: I pop the bones in the oven, add garlic and thyme, and let the heat do all the work.
- Rich and Buttery: The marrow turns silky and decadent, with the salt and pepper making every bite sing.
- Dinner Party Star: Guests lose their minds over this—looks fancy but takes almost no effort.
- Budget Luxury: One of the cheapest cuts at the butcher gives you a dish that feels like a splurge.
Step-by-Step Instructions for Bone Marrow Oven Roasting
This professional method ensures perfectly caramelized marrow with herb-infused richness every time.
Step 1: Prep the Beef Marrow Bones
Position a rack in the upper third of the oven and preheat to 400°F. Rinse the 4 pieces Beef Marrow Bones under cold water and pat them completely dry with paper towels. Any moisture will prevent proper browning.
Arrange the bones cut-side up on a rimmed baking sheet. Drizzle with the 2 tbsp Extra-Virgin Olive Oil, then sprinkle evenly with the 2 tsp Kosher Salt and 1 tsp Freshly Ground Black Pepper. Rub the seasoning into the exposed marrow and bone surfaces.
Step 2: Add Aromatics and Begin Roasting
Distribute the 4 cloves Garlic Cloves (thinly sliced lengthwise) evenly over the bones. Tuck the 4 sprigs Fresh Thyme Sprigs and 2 sprigs Fresh Rosemary Sprigs between the bones. These herbs will infuse the marrow with their essential oils during roasting.
Place the baking sheet in the preheated oven and roast for 15 minutes. The bones should begin to sizzle and the marrow will start to expand and bubble. This initial high-heat roast renders some of the fat and begins the caramelization process.
Step 3: Continue Roasting to Perfection
After the initial 15 minutes, reduce the oven temperature to 375°F. Continue roasting for an additional 10-15 minutes, watching closely as the marrow deepens in color and the bones develop a rich, golden-brown crust.
You’ll know it’s ready when the marrow has pulled away from the edges of the bone slightly and has taken on a deep amber hue. The exposed surface should be bubbling and the kitchen filled with the rich, meaty aroma of roasting bones.
Step 4: Rest and Garnish for Serving
Remove the bones from the oven and let them rest for 5 minutes. This allows the marrow to settle slightly, making it easier to serve without losing the precious rendered fat.
Transfer the bones to a serving platter. Sprinkle with the 1 tsp Sea Salt Flakes and garnish with the 0.25 cup Flat-Leaf Parsley, chopped. Serve immediately with the 4 pieces Lemon Wedges and 1 whole Crusty Bread, sliced, for scooping up the rich marrow.
Pro Tips For Making Bone Marrow Recipe Oven
- Preheat the Bones: Take the marrow bones out of the fridge 30 minutes before roasting—cold bones in a hot oven can cause uneven cooking and toughen the edges.
- Score the Marrow: Ask your butcher to cut the bones lengthwise so the marrow is exposed; it roasts faster and soaks up the garlic and thyme flavors better.
- Skip the Overcrowding: Give each bone space on the rack or it’ll steam instead of roast, and you’ll lose that caramelized crust on the edges.
- Use a Pan Below: Place a baking sheet under the rack to catch the rendered fat—you’ll want every drop for dipping bread or drizzling over the finished dish.
Pro Cooking Tips for bone marrow recipe oven
Bone Selection Matters
Ask your butcher for center-cut beef femurs—they have the highest meat-to-bone ratio. Look for bones with pale pink color and plenty of white fat. I always request 3-4 inch lengths for easy handling and even cooking. 💡
Prevent Gray Marrow
Roast bones immediately after prepping—marrow oxidizes and turns gray if left too long. Even 10 minutes of exposure to air can dull the color. Keep them covered until they hit the oven.
Temperature Control
Start at 400°F for 15 minutes to render fat and begin caramelization, then drop to 375°F to finish. This two-stage method prevents burning while ensuring deep, rich flavor development.
Herb Placement
Tuck the thyme and rosemary between the bones, not on top, so they don’t burn. The garlic slices can rest directly on the marrow—they’ll soften and infuse the fat beautifully.
Resting Time
Let the bones rest 5 minutes after roasting. This allows the marrow to settle slightly, making it easier to serve without losing precious rendered fat. I use this time to warm the bread. 🔥
Serving Pro Tip
Sprinkle sea salt flakes right before serving for a final crunch. The contrast of the flaky salt with the creamy marrow takes this dish to the next level.
Nutrition Facts
Frequently Asked Questions
What oven temperature works best?
Start at 400°F for 15 minutes, then reduce to 375°F to finish. This ensures proper fat rendering without burning the exterior.
Can I use lamb bones instead of beef?
Yes, lamb marrow works well but has a slightly stronger flavor. Adjust roasting time to 10-12 minutes at 375°F as lamb bones are typically smaller.
How do I prevent the marrow from turning gray?
Roast immediately after prepping—marrow oxidizes quickly. Even 10 minutes of air exposure can dull the color. Keep bones covered until they hit the oven.
What’s the ideal resting time before serving?
Let bones rest for 5 minutes after roasting. This allows the marrow to settle, making it easier to serve without losing the precious rendered fat.

- 6 Egg Cake Recipe with Oil: Light as Air With Buttery Moisture - October 4, 2026
- 4 Bean Casserole Recipe: One-Pan Heartiness With Smoky Paprika Depth - October 4, 2026
- 3-Ingredient Keto Mug Cake Recipe: Microwave Magic in 2 Minutes - October 4, 2026