
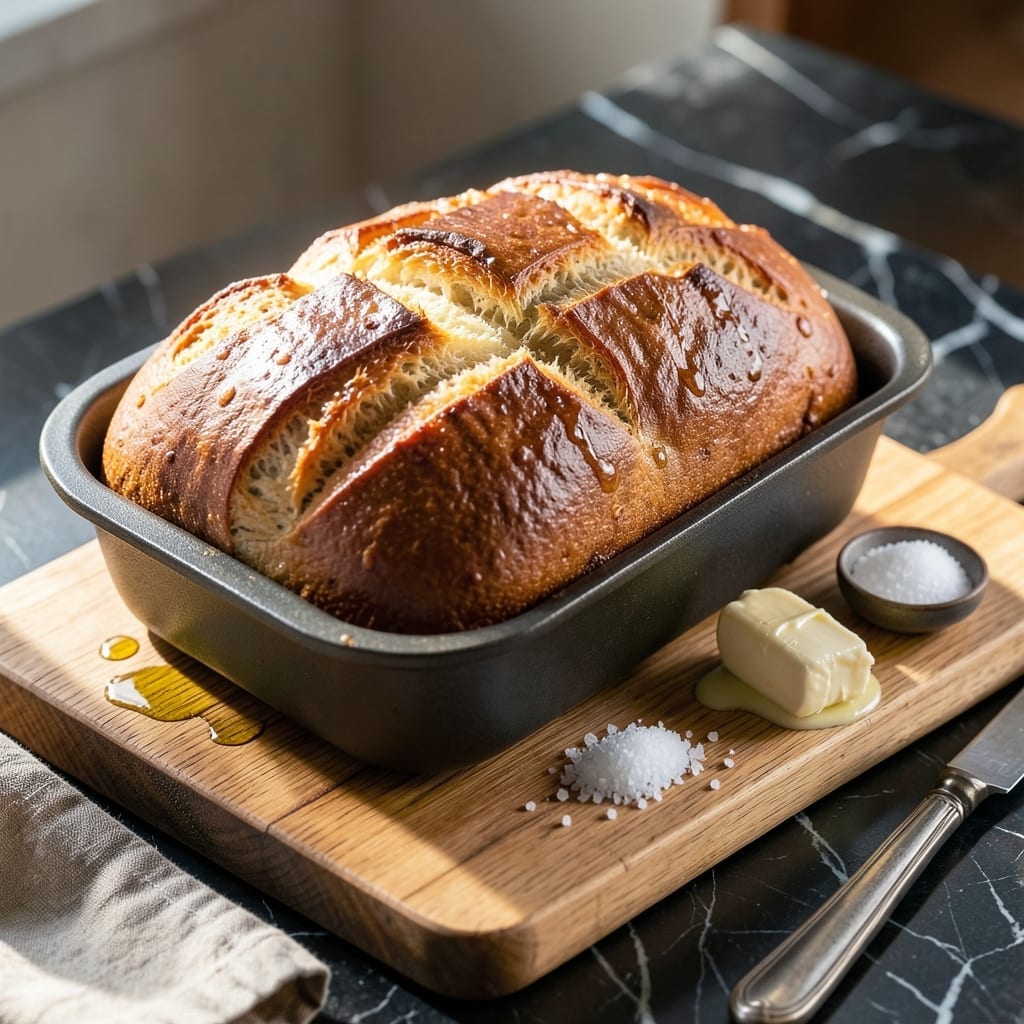
This foolproof bread machine recipe delivers a perfect loaf with minimal effort. The Panasonic machine handles all the work while you enjoy the aroma of fresh-baked bread filling your kitchen.
You’ll achieve a golden crust and soft, airy texture every time. Simply add the ingredients in the right order, select your setting, and let the machine transform basic components into artisanal bread.
Ingredients for Bread Recipe for Panasonic Bread Machine
Pantry raid time. Most of these are probably already in your kitchen.
| Ingredient | Amount | Notes |
|---|---|---|
| Bread Flour 🌾 | 3 ½ cups | All-purpose works in a pinch |
| Water 💧 | 1 ¼ cups | Warm, about 80°F |
| Active Dry Yeast 🍞 | 2 ¼ tsp | Or one 0.25 oz package |
| Granulated Sugar 🧈 | 2 tbsp | Feeds the yeast for rise |
| Salt 🧂 | 1 ½ tsp | Fine sea salt preferred |
| Unsalted Butter 🧈 | 2 tbsp | Softened or cut into pieces |
| Non-Fat Dry Milk 🥛 | ¼ cup | Adds richness and softness |
| Large Egg 🥚 | 1 whole | Room temperature preferred |
| Honey 🍯 | 1 tbsp | Optional for slight sweetness |
| Vital Wheat Gluten 🌾 | 1 tbsp | Improves texture in bread machines |
The flour is the foundation here. King Arthur Bread Flour is my go-to—consistent protein content, always reliable. If you’re using all-purpose, add the vital wheat gluten to compensate. Yeast freshness is non-negotiable: check the expiration date and store it in the freezer if you won’t use it within a month. I pick up my yeast in bulk from Costco (it’s cheaper and stays fresh for ages).
No bread flour? All-purpose plus 1 extra tbsp vital wheat gluten per cup works. Out of dry milk? Replace with 1/4 cup liquid milk and reduce water by 2 tbsp. For a vegan loaf, swap the egg for 1 tbsp flaxseed meal + 3 tbsp water. The honey can be omitted or replaced with sugar—no real difference in texture. Butter’s easy to sub: vegetable oil or coconut oil at 1:1.
Store yeast in an airtight container in the freezer for up to 1 year. Flour keeps 6-12 months in a cool, dark place. The baked loaf? Best eaten within 2-3 days—or freeze slices for up to 3 months (toast straight from frozen).
Why You’ll Love This Recipe
- I’ll be real: it costs a fraction of store-bought and tastes better, with no weird preservatives.
- Set and Forget: I just dump the flour, water, yeast, sugar and salt in the Panasonic, press start, and walk away—no kneading, no watching.
- Warm, Sweet Aroma: The sugar caramelizes just enough to give the loaf a subtle sweetness that fills the kitchen as it bakes.
- Sandwich Savior: Honestly, it’s my weekly meal prep hero—perfect for lunches, toast, or even garlic bread when I’m feeling fancy.
Step-by-Step Instructions for Bread Machine Bread
This hands-off method delivers perfect results with minimal effort on your part.
Step 1: Prepare and Measure All Ingredients
Begin by gathering all your ingredients and measuring them precisely. I always use the 3.5 cups Bread Flour as my base, then add the 1.25 cups Water (warm, about 80°F) to the bread pan first. This order matters in bread machines.
Next, add the 2.25 tsp Active Dry Yeast to one corner of the pan and the 2 tbsp Granulated Sugar to another. I keep the yeast and salt separated until the machine starts mixing to prevent premature activation. Add the 1.5 tsp Salt to the opposite corner from the yeast.
Step 2: Add Remaining Wet and Dry Ingredients
Now add the 2 tbsp Unsalted Butter (softened or cut into small pieces) to the pan. I like to place it in a different section from the yeast to ensure even distribution during kneading. Then add the 0.25 cup Non-Fat Dry Milk, which gives the bread that perfect soft texture.
Crack in the 1 whole Large Egg (room temperature works best) and add the 1 tbsp Honey for a touch of sweetness. Finally, sprinkle the 1 tbsp Vital Wheat Gluten over the top. This improves the bread’s structure, especially in bread machines where the kneading is more gentle than by hand.
Step 3: Select and Start the Bread Machine Cycle
Insert the bread pan into your Panasonic bread machine and secure it properly. Select the basic white bread setting with a medium crust. I’ve found this works perfectly for this recipe. The machine will handle the kneading, rising, and baking automatically.
Press start and let the machine work its magic. The kneading cycle should take about 10-15 minutes. Through the window, you should see the dough come together into a smooth, elastic ball. If it looks too dry, add water 1 tablespoon at a time. If it’s too sticky, add flour 1 tablespoon at a time.
Step 4: Monitor the Rising and Baking Phases
After kneading, the machine will enter the first rise cycle, which typically lasts about 1 hour. The dough should double in size during this time. Then comes the second kneading and rise, followed by the final rise before baking begins.
Resist the urge to open the lid during baking. The bread needs a consistent environment to rise properly and develop that perfect golden crust. The baking phase usually takes about 1 hour, and you’ll know it’s done when the machine beeps and the loaf has a deep golden-brown color.
Step 5: Cool the Bread Before Slicing
When the cycle completes, use oven mitts to carefully remove the bread pan from the machine. Let the loaf cool in the pan for 5 minutes, then turn it out onto a wire rack to cool completely. This cooling step is crucial—it allows the bread to finish setting and makes it easier to slice.
Wait at least 1 hour before slicing. I know it’s tempting to dive right in when it smells this good, but slicing too soon can result in a gummy texture. Once cooled, your bread will have a soft, tender crumb with a perfect crust, ready to be enjoyed with butter or your favorite toppings.
Pro Tips For Making Bread Recipe For Panasonic Bread Machine
- Warm Your Water: Use water at 80-90°F—any hotter kills the yeast, colder slows activation. I learned this the hard way after a loaf refused to rise.
- Measure Flour Right: Spoon flour into the cup then level it off; scooping directly packs it down and makes dense bread. Sounds fussy, but it actually changes the outcome.
- Salt Last: Add salt in a separate corner of the pan from the yeast. Direct contact can weaken the yeast before it even starts working.
- Scrape the Sides: After the first knead cycle, use a spatula to push down any flour stuck to the pan walls. Prevents dry pockets in your finished loaf.
Troubleshooting This Dish
🍞 Too Dry or Tough?
If your bread turns out dry or tough, it’s likely due to too much flour or not enough liquid. Panasonic bread machines require precise measurements for optimal texture.
Quick Fix: Reduce flour by 1-2 tablespoons or increase water by 1-2 teaspoons next time. Ensure ingredients are at room temperature.
🔥 Dough Didn’t Rise?
Yeast may be expired or the water temperature was too hot, killing the yeast. Cold ingredients can also slow down rising.
Quick Fix: Use fresh yeast, check water temperature (105–110°F), and ensure all ingredients are room temperature before starting.
⏰ Bread Collapsed After Baking?
This often happens if the dough overproofed or the machine’s kneading paddle wasn’t properly seated. Too much yeast can also cause collapsing.
Quick Fix: Measure yeast carefully, ensure the paddle is securely in place, and avoid opening the lid during baking.
🎯 Uneven Texture?
Uneven mixing or incorrect ingredient order can lead to pockets of flour or dense spots. Panasonic machines need wet and dry ingredients layered properly.
Quick Fix: Add liquids first, then dry ingredients, with yeast last. Avoid packing flour too tightly when measuring.
Nutrition Facts

- 6 Egg Cake Recipe with Oil: Light as Air With Buttery Moisture - October 4, 2026
- 4 Bean Casserole Recipe: One-Pan Heartiness With Smoky Paprika Depth - October 4, 2026
- 3-Ingredient Keto Mug Cake Recipe: Microwave Magic in 2 Minutes - October 4, 2026