
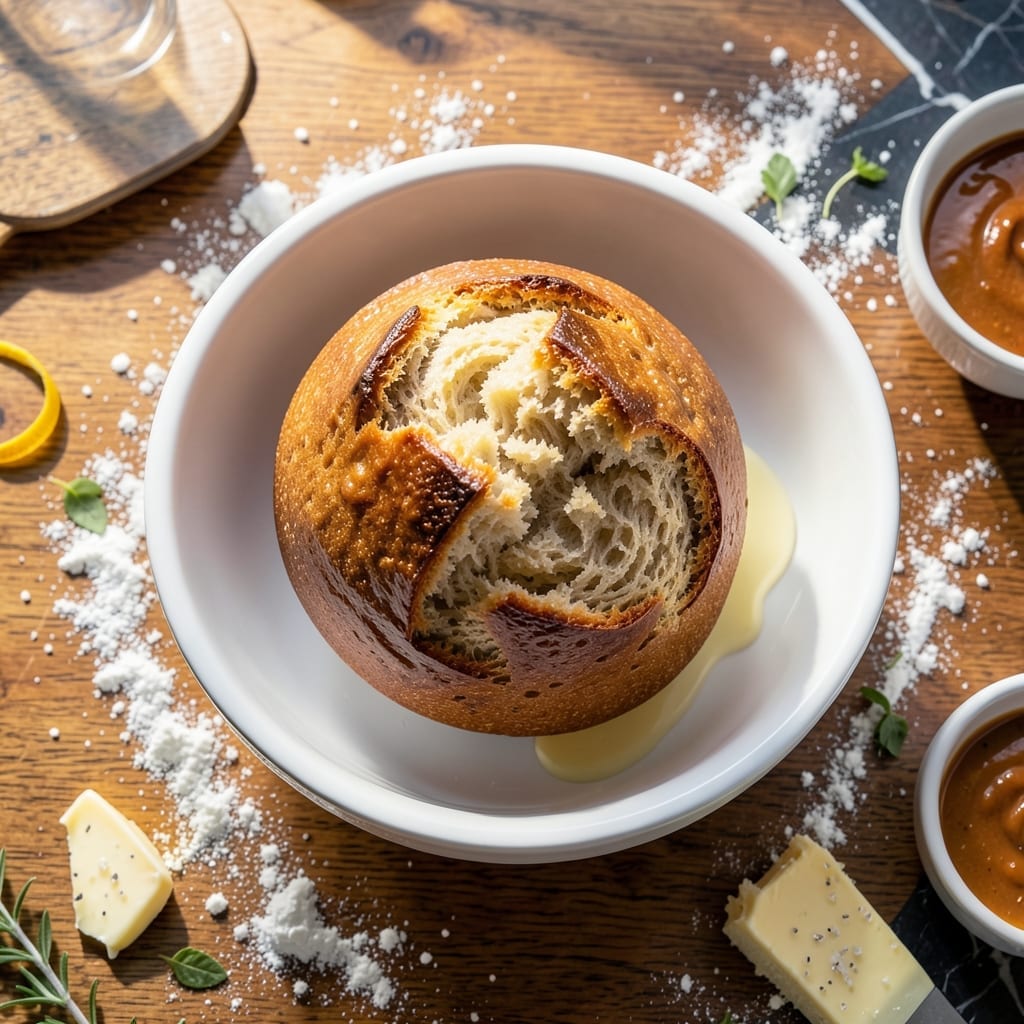
There’s nothing like the aroma of fresh bread filling your kitchen, and with a KitchenAid mixer, it’s easier than you think. This foolproof method takes the guesswork out of homemade bread, delivering a golden, tender loaf every time.
The mixer handles the kneading for you, ensuring perfect dough consistency without the manual effort. After mixing, a short rise and a final proof create the ideal texture—soft inside with a lightly crisp crust.
Baking at the right temperature transforms the dough into a loaf that’s warm, fragrant, and ready to enjoy. The process is straightforward, yet the results taste anything but simple.
Whether for sandwiches or toast, this bread will quickly become a staple in your home. Let’s begin.
Ingredients for Bread Recipe Kitchenaid Mixer
A few pantry staples and your KitchenAid do the heavy lifting for this perfect loaf.
| Ingredient | Amount | Notes |
|---|---|---|
| Bread Flour 🌾 | 4 cups | Plus extra for dusting |
| Active Dry Yeast 🍞 | 2 ¼ tsp | One packet, instant also works |
| Granulated Sugar 🧂 | 2 tbsp | Feeds the yeast for activation |
| Kosher Salt 🧂 | 2 tsp | Diamond Crystal preferred |
| Whole Milk 🥛 | 1 cup | Warmed to 110°F |
| Unsalted Butter 🧈 | 2 tbsp | Melted and cooled slightly |
| Large Egg 🥚 | 1 whole | Room temperature for even mixing |
| Olive Oil 🫒 | 1 tbsp | For greasing the bowl |
| Water 💧 | ¼ cup | Lukewarm, if needed for dough consistency |
| Cornmeal 🌽 | 2 tbsp | For dusting the baking sheet |
| Honey 🍯 | 1 tbsp | Optional for extra tenderness |
The flour choice matters here. King Arthur Bread Flour gives you that perfect rise and chew—all-purpose in a pinch, but the texture won’t be quite as light. Yeast is yeast, but check the expiration date (old yeast won’t activate). Whole Foods or Trader Joe’s have reliable bulk bins for flour if you bake often. Milk and butter add richness, but don’t skip warming the milk—cold liquids slow yeast growth.
No KitchenAid? A sturdy hand mixer with dough hooks works, though it’ll take longer. Swap milk for equal parts water if needed, but the loaf will be slightly less tender. Out of honey? Maple syrup or sugar does the trick. For a vegan version, skip the egg and butter, and use plant-based milk (oat or soy work best). Cornmeal can be omitted, but it adds that nice crunch to the crust.
Dough rises best in a warm, draft-free spot—inside the oven with the light on works great. Baked loaf stays fresh wrapped in a towel for 2 days, or slice and freeze for up to 3 months. Always let bread cool completely before slicing (don’t ruin that texture!).
Why You’ll Love This Recipe
- Hands-Off Kneading: The mixer does all the work while I sip my coffee—no sore arms or sticky counters.
- Rich, Milky Flavor: Whole milk and a touch of sugar give this loaf a tender crumb and subtly sweet depth.
- Meal Prep Hero: I bake two loaves Sunday and we’re set for sandwiches and toast all week.
- Budget-Friendly Staple: Bread flour and yeast cost pennies compared to store-bought, and it tastes far better.
Step-by-Step Instructions for Bread Recipe KitchenAid Mixer
Here’s the method that delivers perfect homemade bread with minimal effort and maximum flavor.
Step 1: Activate the Yeast and Proof
In your KitchenAid mixer bowl, combine the 1 cup whole milk warmed to 110°F with the 2 tbsp granulated sugar and 2.25 tsp active dry yeast. Whisk gently and let sit for 5-7 minutes until foamy. You’ll see the mixture turn frothy with tiny bubbles—that’s your yeast waking up.
Here’s the thing—if you don’t see any activity after 10 minutes, your yeast might be expired. Start over with fresh yeast; this step is non-negotiable for a proper rise. The sugar gives the yeast a head start, while the warm milk provides the perfect environment for activation.
Step 2: Mix and Knead the Dough
Add the 4 cups bread flour, 2 tsp kosher salt, 2 tbsp unsalted butter (melted and cooled), and 1 whole large egg to the yeast mixture. Using the dough hook attachment, mix on low speed for 2 minutes until combined, then increase to medium speed for 5-7 minutes of kneading.
The dough should pull away from the sides of the bowl and feel smooth but slightly tacky. If it’s too dry, add 1-2 tbsp of the 0.25 cup water a little at a time. If too sticky, add 1-2 tbsp bread flour. Don’t be tempted to add too much flour—you want a slightly tacky dough for the best texture.
Step 3: First Rise Until Doubled
Lightly grease a large bowl with the 1 tbsp olive oil. Transfer the dough to the bowl, turning to coat all sides. Cover with a clean kitchen towel and place in a warm, draft-free spot. Let it rise for 1-2 hours or until doubled in size.
I like to check the dough at the 1-hour mark. Press your finger gently into the dough—if the indentation stays, it’s ready. If it springs back, give it more time. Real talk: the exact rise time depends on your kitchen temperature, so don’t watch the clock, watch the dough.
Step 4: Shape, Second Rise, and Prepare for Baking
Punch down the dough to release air, then turn it out onto a lightly floured surface. Shape into a loaf by flattening into a rectangle, then rolling it up tightly from the short end, pinching the seam. Place seam-side down in a loaf pan dusted with 2 tbsp cornmeal.
Cover again and let it rise for 30-45 minutes until it domes about 1 inch above the pan rim. Preheat your oven to 375°F during this final rise. Brush the top with 1 tbsp honey diluted in 1 tbsp water for a glossy finish and extra tenderness.
Step 5: Bake to Golden Perfection
Bake for 25-30 minutes until the top is deep golden brown and the internal temperature reaches 190-200°F. If the top browns too quickly, tent loosely with aluminum foil.
Remove from the oven and let it cool in the pan for 5 minutes, then transfer to a wire rack. Resist the urge to slice immediately—let it cool for at least 1 hour to allow the crumb structure to set. This patience ensures a soft, even texture throughout your loaf.
Pro Tips For Making Bread Recipe Kitchenaid Mixer
- Warm the Milk: Heat your whole milk to 110°F—no hotter, or you’ll kill the yeast. I learned this the hard way after a few loaves that refused to rise.
- Knead Low and Slow: Use the lowest speed on your KitchenAid and let it run for 8-10 minutes; rushing this step with higher speeds can overheat the dough.
- Check Yeast Freshness: If your active dry yeast doesn’t bubble within 5 minutes in warm water with sugar, toss it and start over. Stale yeast is the silent killer of homemade bread.
- Weigh Your Flour: Scooping bread flour with a cup can pack in 20% extra, making dense loaves. Use a scale for 100% accuracy—my loaves got noticeably lighter once I did.
Troubleshooting Perfect Results
Yeast Won’t Activate
If your yeast mixture isn’t foaming after 10 minutes, the liquid might be too hot or cold. Use a thermometer to ensure your milk is exactly 110°F. Anything above 120°F kills yeast, while below 100°F slows activation. I always double-check with my Taylor digital thermometer. 🌡️
Dough Too Sticky
Add bread flour 1 tbsp at a time during kneading. The dough should pull away from the bowl but remain slightly tacky. Too much flour creates dense bread. Remember, the KitchenAid does most of the work—let it knead for the full 5-7 minutes before adjusting.
Dough Won’t Rise
Check your yeast freshness first—old yeast loses potency. Ensure your rising spot is warm (75-85°F ideal). I use my oven with the light on. If the dough still won’t rise, try adding ½ tsp more yeast next time.
Uneven Baking
Rotate your loaf pan halfway through baking if your oven has hot spots. If the top browns too fast, tent with foil. For consistent results, position your rack in the center and preheat for 15 minutes before baking.
Dense Texture
Under-kneaded dough creates dense bread. Ensure you’re using the dough hook and kneading for at least 5 minutes on medium speed. Also, don’t rush the rising—both rises are crucial for a light crumb. 💡
Crust Too Dark
Lower your oven temperature by 25°F next time. Brush the top with milk instead of honey for a lighter crust. Tent with foil during the last 10 minutes of baking if it’s browning too quickly.
Nutrition Facts
Frequently Asked Questions
Can I use all-purpose flour instead of bread flour?
Yes, but bread flour’s higher protein creates better structure. All-purpose will work in a pinch, though your loaf may be slightly less chewy. For best results, stick with bread flour.
How do I know when the dough is kneaded enough?
It should pull away from the bowl and feel smooth but slightly tacky. After 5-7 minutes on medium speed with the dough hook, it’s ready. Don’t over-flour or it’ll turn dense.
Why didn’t my bread rise properly?
Check your yeast freshness and liquid temperature first. Yeast needs 110°F liquid to activate. Also ensure your rising spot is warm enough, ideally 75-85°F.
Can I make this dough ahead of time?
After the first rise, refrigerate the dough overnight. Let it warm to room temperature before shaping and the second rise. This can actually enhance flavor.

- 6 Egg Cake Recipe with Oil: Light as Air With Buttery Moisture - October 4, 2026
- 4 Bean Casserole Recipe: One-Pan Heartiness With Smoky Paprika Depth - October 4, 2026
- 3-Ingredient Keto Mug Cake Recipe: Microwave Magic in 2 Minutes - October 4, 2026