
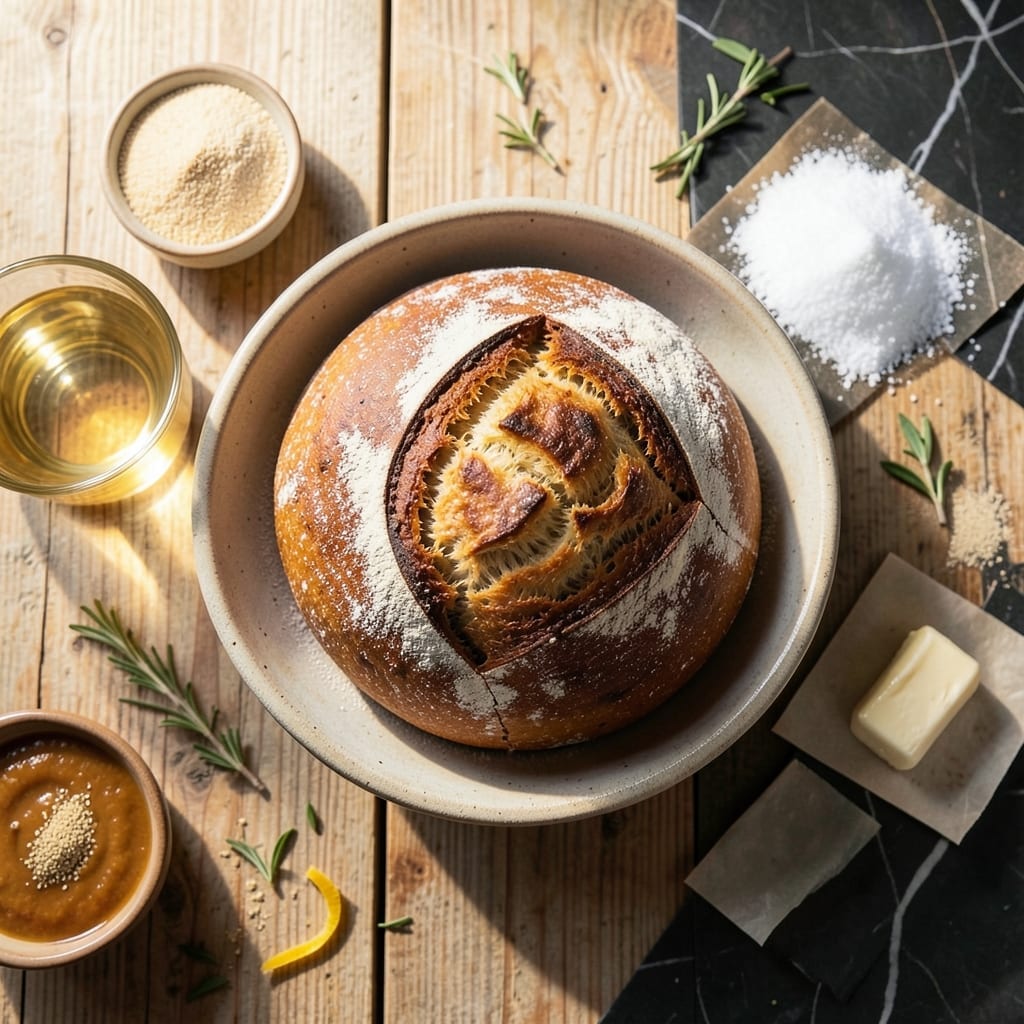
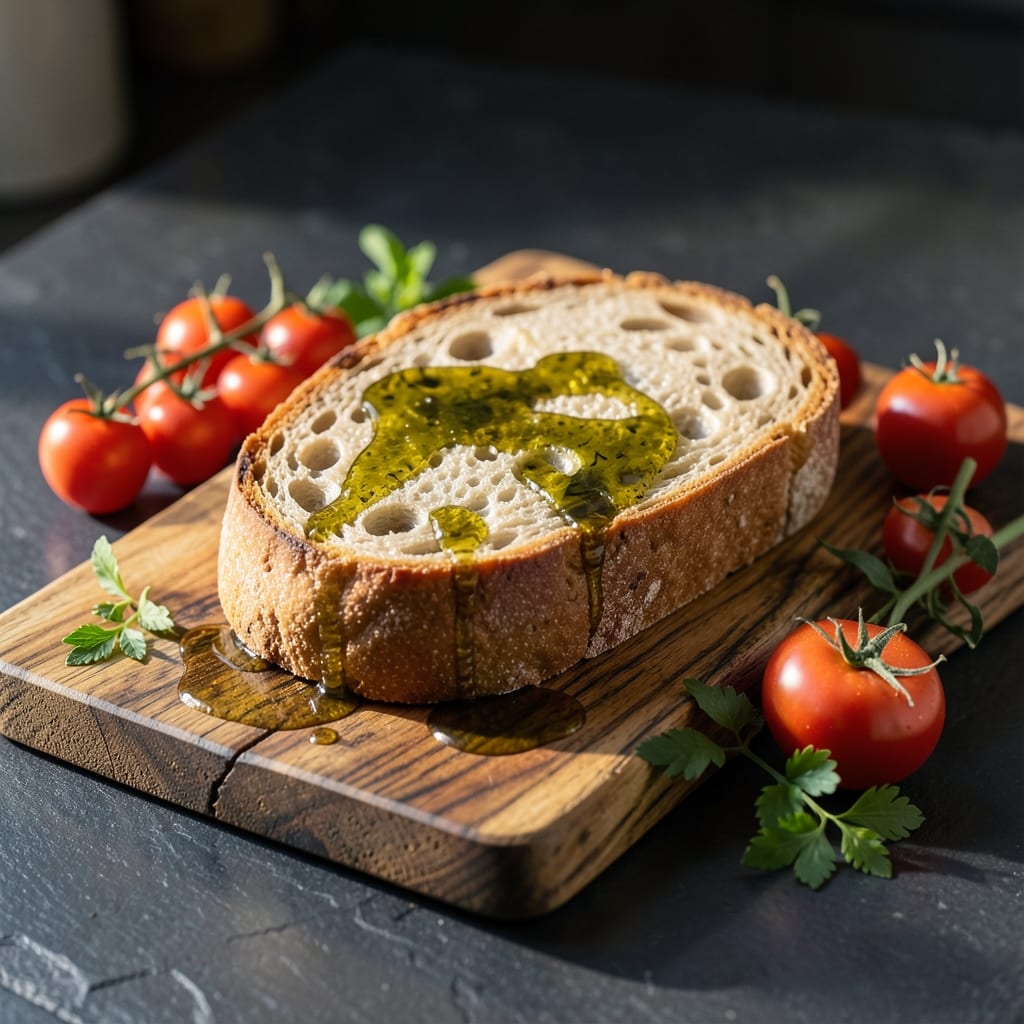
There’s nothing like the aroma of fresh-baked bread filling your kitchen. This recipe delivers a soft pillowy loaf with a perfectly golden crust, using simple ingredients and proven techniques.
With just a little patience for rising, you’ll create a loaf that’s tender inside and beautifully browned outside. The yeast works its magic slowly, ensuring the best texture and flavor in every slice.
Ingredients for Bread Recipe with Yeast
Simple ingredients transform into a golden, pillowy loaf with yeast as the star.
| Ingredient | Amount | Notes |
|---|---|---|
| Bread Flour 🌾 | 4 cups | High-protein for structure |
| Active Dry Yeast 🍞 | 2 ¼ tsp | Or one 0.25-oz packet |
| Warm Water 💧 | 1 ¼ cups | 110°F for yeast activation |
| Granulated Sugar 🍚 | 2 tbsp | Feeds the yeast |
| Kosher Salt 🧂 | 2 tsp | Diamond Crystal preferred |
| Unsalted Butter 🧈 | 2 tbsp | Softened for dough |
| Whole Milk 🥛 | ¼ cup | Warmed for richness |
| Large Egg 🥚 | 1 whole | For golden color |
| Olive Oil 🫒 | 1 tbsp | For bowl greasing |
| Cornmeal 🌽 | 2 tbsp | For dusting pan |
| All-Purpose Flour 🌾 | ½ cup | For dusting surface |
The flour is critical here. King Arthur Bread Flour is the gold standard for its consistent protein content (12.7%), ensuring proper gluten development. Active dry yeast from SAF or Fleischmann’s delivers reliable rise. Warm the milk and water to exactly 110°F—too hot kills yeast, too cool slows activation. Use a thermometer if you’re unsure (worth the extra minute).
No bread flour? All-purpose with 1 tbsp vital wheat gluten per cup gets you close. Out of yeast? Instant yeast works at the same ratio, but skip the water activation step. Milk can be swapped for water, but the loaf won’t brown as deeply. The egg adds color and tenderness—skip it for a vegan version, but expect a paler crust.
Store yeast in the freezer for up to 1 year. Flour keeps in an airtight container for 6-12 months. The baked loaf stays fresh wrapped in foil at room temp for 3 days—or freeze slices for 3 months.
Why You’ll Love This Recipe
- Minimal Effort: I just mix flour, yeast, warm water, sugar, and salt—no fancy steps, and the dough practically makes itself.
- Warm, Yeasty Bliss: The smell of active dry yeast blooming in warm water with a touch of sugar? That’s the cozy, bakery-fresh aroma I live for.
- Endless Possibilities: Toast it, sandwich it, or serve warm with butter—this bread works for breakfast, lunch, or dinner. Honestly, it’s my meal prep hero.
- Budget Friendly: A few cents worth of ingredients yields a loaf that puts store-bought to shame, and leftovers? They disappear fast in my house.
Step-by-Step Instructions for Bread With Yeast
Master the art of homemade bread with this precise, professional method for consistent results.
Step 1: Activate the Yeast and Prepare the Dough
In a stand mixer bowl, combine the 1.25 cups Warm Water, 2 tbsp Granulated Sugar, and 2.25 tsp Active Dry Yeast. Let it sit for 5-7 minutes until the mixture becomes foamy and the yeast is fully activated—this visual confirmation is critical.
Add the 0.25 cup Whole Milk, 1 whole Large Egg, and 2 tbsp Unsalted Butter to the yeast mixture. Then incorporate 4 cups Bread Flour and 2 tsp Kosher Salt. Using the dough hook attachment, mix on low speed until the dough comes together, about 2 minutes.
Step 2: Knead to Develop Gluten Structure
Increase the mixer speed to medium and knead the dough for 8-10 minutes. The dough should become smooth, elastic, and slightly tacky but not sticky. If it sticks to the bowl, add 1 tbsp of the 0.5 cup All-Purpose Flour at a time until it pulls away from the sides.
This extended kneading develops the gluten network essential for the bread’s structure. The dough is ready when it passes the windowpane test—stretch a small piece thin enough to see light through without tearing.
Step 3: First Rise Until Doubled in Volume
Lightly grease a large bowl with the 1 tbsp Olive Oil. Transfer the kneaded dough to the bowl, turning once to coat all sides. Cover with a damp kitchen towel and place in a warm, draft-free location.
Allow the dough to rise undisturbed for 1 to 1.5 hours, or until it has doubled in size. The ideal rise is when the dough springs back slowly when gently pressed with a finger, leaving a slight indentation. This ensures the yeast has fully fermented the sugars.
Step 4: Shape, Second Rise, and Prepare for Baking
Punch down the risen dough to release air, then turn it out onto a surface lightly dusted with the remaining All-Purpose Flour. Shape into a tight round loaf by folding the edges under and pinching the seams together.
Place the shaped dough on a baking sheet dusted with the 2 tbsp Cornmeal. Cover loosely and let it rise for another 30-45 minutes until it has risen about 50% in size. The cornmeal prevents sticking and adds a subtle texture to the crust.
Step 5: Bake to Golden Perfection
Preheat the oven to 375°F during the final rise. Just before baking, make a shallow slash across the top of the loaf with a sharp knife to allow for expansion. Bake on the center rack for 25-30 minutes.
The bread is done when the crust is deep golden brown and the internal temperature reaches 190-200°F. For a crispier crust, bake for an additional 5 minutes. Transfer to a wire rack and let it cool completely before slicing to preserve the soft, pillowy texture.
Pro Tips For Making Bread Recipe With Yeast
- Test Your Yeast: I learned this the hard way—always proof your yeast in warm water with a pinch of sugar first. If it doesn’t bubble within 5 minutes, your loaf won’t rise.
- Use Bread Flour: Skip all-purpose flour for this one; bread flour’s higher protein content actually changes the outcome, giving you that chewy, bakery-style texture.
- Don’t Rush Rising: Sounds weird, but letting the dough double in size twice (yes, twice) makes a real difference in flavor and crumb structure—I was skeptical until I tried it.
- Salt Last: Add the kosher salt after the yeast has activated, or about 5 minutes into mixing. Salt can slow yeast activity, so timing matters here.
Pro Cooking Tips for This Recipe
💡 Master the Proofing
Patience is key when working with yeast. Let your dough rise in a warm, draft-free spot—75-85°F is ideal. If your kitchen is chilly, place the bowl near (but not on) a preheated oven or use a proofing box. Doubling in size usually takes 1-2 hours, but watch the dough, not the clock.
🌡️ Control the Oven Temperature
Preheat your oven thoroughly to 375°F for even baking. Use an oven thermometer to confirm accuracy, as many ovens run hot or cold. For a golden crust, place a baking stone or inverted baking sheet in the oven to mimic a professional bread oven’s steady heat.
✨ Enhance Flavor and Texture
Add a pinch of sugar or honey to the yeast activation step to kickstart fermentation. For extra softness, brush the baked loaf with melted butter right out of the oven. This keeps the crust tender and adds a subtle richness.
🎯 Shape with Precision
Proper shaping ensures even baking and a beautiful rise. Gently deflate the dough after the first rise, then form it into a tight, smooth ball or log. Use light pressure to seal seams underneath, creating surface tension for a perfect dome.
Nutrition Facts

- 6 Egg Cake Recipe with Oil: Light as Air With Buttery Moisture - October 4, 2026
- 4 Bean Casserole Recipe: One-Pan Heartiness With Smoky Paprika Depth - October 4, 2026
- 3-Ingredient Keto Mug Cake Recipe: Microwave Magic in 2 Minutes - October 4, 2026