
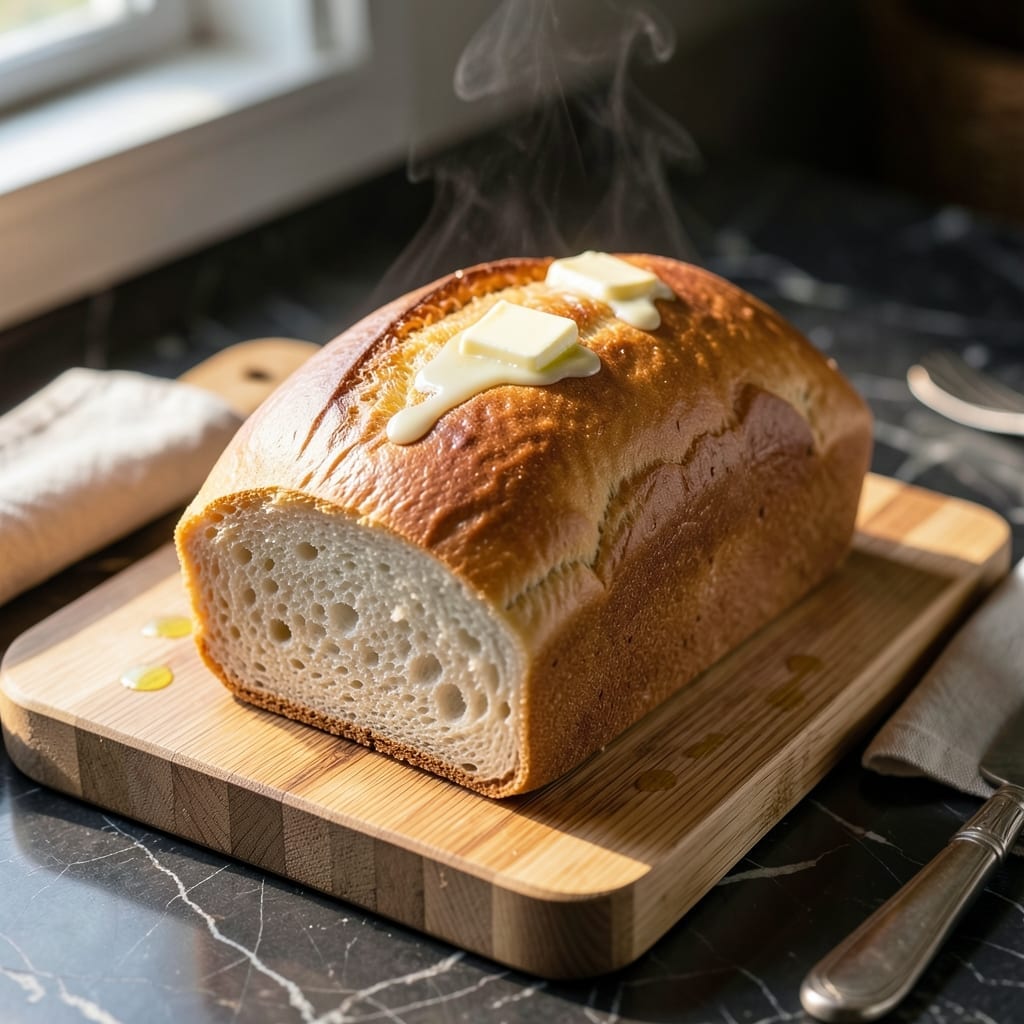
There’s nothing like the aroma of fresh-baked bread filling your kitchen, and this hands-free method makes it effortless.
Your breadmaker does all the work while you enjoy the process and results—a perfectly golden crust with a soft, airy interior every time.
Ingredients for Breadmaker Bread Recipe White
A handful of pantry staples transforms into a warm, golden loaf with almost no effort.
| Ingredient | Amount | Notes |
|---|---|---|
| Bread Flour 🌾 | 3 ¼ cups | All-purpose works in a pinch |
| Warm Water 💧 | 1 ¼ cups | 110°F to 115°F ideal |
| Granulated Sugar 🍚 | 2 tbsp | Feeds the yeast for rise |
| Active Dry Yeast 🍃 | 2 ¼ tsp | Check expiration date first |
| Salt 🧂 | 1 ½ tsp | Fine sea salt preferred |
| Unsalted Butter 🧈 | 2 tbsp | Softened to room temperature |
| Non-Fat Dry Milk 🥛 | ¼ cup | Adds tenderness to crumb |
| Honey 🍯 | 1 tbsp | Or substitute maple syrup |
| Vital Wheat Gluten 🌾 | 1 tbsp | Optional for extra chew |
| Olive Oil 🫒 | 1 tbsp | For greasing the pan |
The flour makes all the difference here. King Arthur Bread Flour is my go-to for that perfect rise and chew—Gold Medal works too if that’s what’s in your pantry. Check the yeast expiration date (yes, yeast expires) and store it in the freezer for longevity. Warm water should feel like a baby’s bath—too hot kills the yeast, too cold won’t activate it. Most grocery stores carry bread flour in the baking aisle, but Whole Foods bulk bins are great for buying just what you need.
No bread flour? All-purpose plus an extra tablespoon of vital wheat gluten gets you close. Out of honey? Maple syrup or agave works at a 1:1 swap. The dry milk adds tenderness, but liquid milk at the same amount works if that’s what you’ve got (just reduce water slightly). Butter can be swapped for vegetable oil—same quantity, but the flavor will be milder. Skip the vital wheat gluten if you can’t find it; the loaf will just be a touch less chewy.
Store yeast in the freezer for up to 1 year. Flour keeps in an airtight container for 6-12 months. The baked loaf stays fresh for 2-3 days on the counter or freeze slices for up to 3 months. Slice before freezing for easy toasting later.
Why You’ll Love This Recipe
- Set and Forget: I just dump the flour, water, sugar, yeast, and salt in the breadmaker and let it do the work.
- Soft Pillow Texture: That first bite with its tender crumb and slightly crisp crust? Pure comfort.
- Sandwich Hero: From PB&J to turkey clubs, this loaf holds up to anything I throw at it.
- Penny-Pincher’s Dream: A pound of bread flour costs less than a store loaf, and honestly, it tastes better.
Step-by-Step Instructions for Breadmaker White Bread
This hands-free method delivers a perfect loaf with minimal effort and maximum flavor.
Step 1: Prepare the Breadmaker Pan and Wet Ingredients
First, I add the 1.25 cups Warm Water to the breadmaker pan. The water should be between 110°F to 115°F—too hot and it’ll kill the yeast, too cold and it won’t activate properly. I check with an instant-read thermometer to be sure.
Next, I add the 2 tbsp Granulated Sugar, 1 tbsp Honey, and 2 tbsp Unsalted Butter (softened). The sugars feed the yeast for a good rise, while the butter adds richness. I make sure the butter is fully softened to room temperature so it incorporates evenly.
Step 2: Add Dry Ingredients and Yeast
Now, I measure in the 3.25 cups Bread Flour, 0.25 cup Non-Fat Dry Milk, 1.5 tsp Salt, and 1 tbsp Vital Wheat Gluten. I sprinkle these evenly over the wet ingredients. The dry milk adds tenderness to the crumb, while the gluten gives the bread extra chew.
Finally, I create a small well in the center of the dry ingredients and add the 2.25 tsp Active Dry Yeast. This separation ensures the yeast doesn’t activate prematurely when it hits the warm water. I use a spoon to gently cover the yeast with a thin layer of flour to protect it.
Step 3: Set the Breadmaker and Begin the Cycle
I insert the pan into the breadmaker and secure the lid. Using the machine’s control panel, I select the basic white bread setting with a 1.5-2 pound loaf size and medium crust. Most machines have a default cycle of 3-4 hours for this setting.
Before starting, I double-check that the paddle is properly attached and that all ingredients are in the pan. I also make sure the machine is on a stable, level surface. Once everything looks good, I press start and let the breadmaker do its work.
Step 4: Monitor and Remove the Finished Loaf
About 1 hour into the cycle, I check that the dough has formed a smooth ball and is rising properly. If the dough looks too wet or dry, I know I might need to adjust liquid or flour ratios next time. The breadmaker will knead, rise, and bake automatically.
When the cycle completes, the machine will beep. I immediately open the lid and, using oven mitts, carefully remove the pan. I tip the pan to let the loaf slide out onto a wire rack. To prevent a soggy bottom, I let it cool for at least 20-30 minutes before slicing.
Step 5: Cool and Serve
As the loaf cools, I resist the temptation to slice it early—this is crucial for the crumb to set properly. The bread should have a golden-brown crust and a soft, pillowy interior. I can tell it’s done when it sounds hollow when tapped on the bottom.
Once cooled, I slice the bread with a serrated knife for clean cuts. The texture should be light and airy with a fine crumb. I store any leftovers in an airtight container at room temperature for up to 3 days, or freeze for longer storage.
Pro Tips For Making Breadmaker Bread Recipe White
- Test the Water: Use a thermometer to check your warm water is between 105-110°F—any hotter and you’ll kill the yeast, any colder and it won’t activate properly. I learned this the hard way after wondering why my bread kept coming out dense.
- Weigh Your Flour: Scooping flour with a cup can pack it down, leading to dry, heavy loaves. Use a kitchen scale for 14-16 oz per 3 cups—it’s the only way to guarantee consistency.
- Salt Last: Add salt to the breadmaker pan after the other ingredients to prevent it from touching the yeast directly. Sounds fussy, but it keeps the yeast from slowing down before it even starts.
- Use Bread Flour: Skip all-purpose flour—bread flour’s higher protein content (12-14%) gives white bread that perfect chewy structure. After switching, I never went back.
Dietary Considerations for These Flavors
Keto-Friendly Options
Traditional white bread is high in carbs, but you can adapt your breadmaker recipe by using almond flour or coconut flour instead of wheat flour. These low-carb alternatives create a dense, moist loaf that fits keto guidelines. Add psyllium husk for structure and extra fiber.
Gluten-Free Modifications
For a gluten-free version, replace all-purpose flour with a gluten-free flour blend that includes xanthan gum. Brands like Bob’s Red Mill or King Arthur offer reliable mixes. Ensure your breadmaker pan and accessories are free from cross-contamination.
Allergen Awareness
White bread recipes often contain common allergens like wheat, dairy, or eggs. Substitute dairy-free milk (e.g., almond or oat) for regular milk, and use aquafaba or flax eggs in place of chicken eggs if needed. Always check labels for hidden allergens.
Vegetarian Adjustments
Most white bread recipes are naturally vegetarian, but some call for honey or dairy. Use agave syrup or maple syrup instead of honey, and opt for plant-based butter to keep it strictly vegetarian while maintaining richness.
Low-Sodium Choices
Reduce sodium by omitting added salt or using a low-sodium salt substitute. Enhance flavor with herbs like rosemary or garlic powder. This adjustment is ideal for those monitoring their salt intake without sacrificing taste.
Nutrition Facts

- 6 Egg Cake Recipe with Oil: Light as Air With Buttery Moisture - October 4, 2026
- 4 Bean Casserole Recipe: One-Pan Heartiness With Smoky Paprika Depth - October 4, 2026
- 3-Ingredient Keto Mug Cake Recipe: Microwave Magic in 2 Minutes - October 4, 2026