
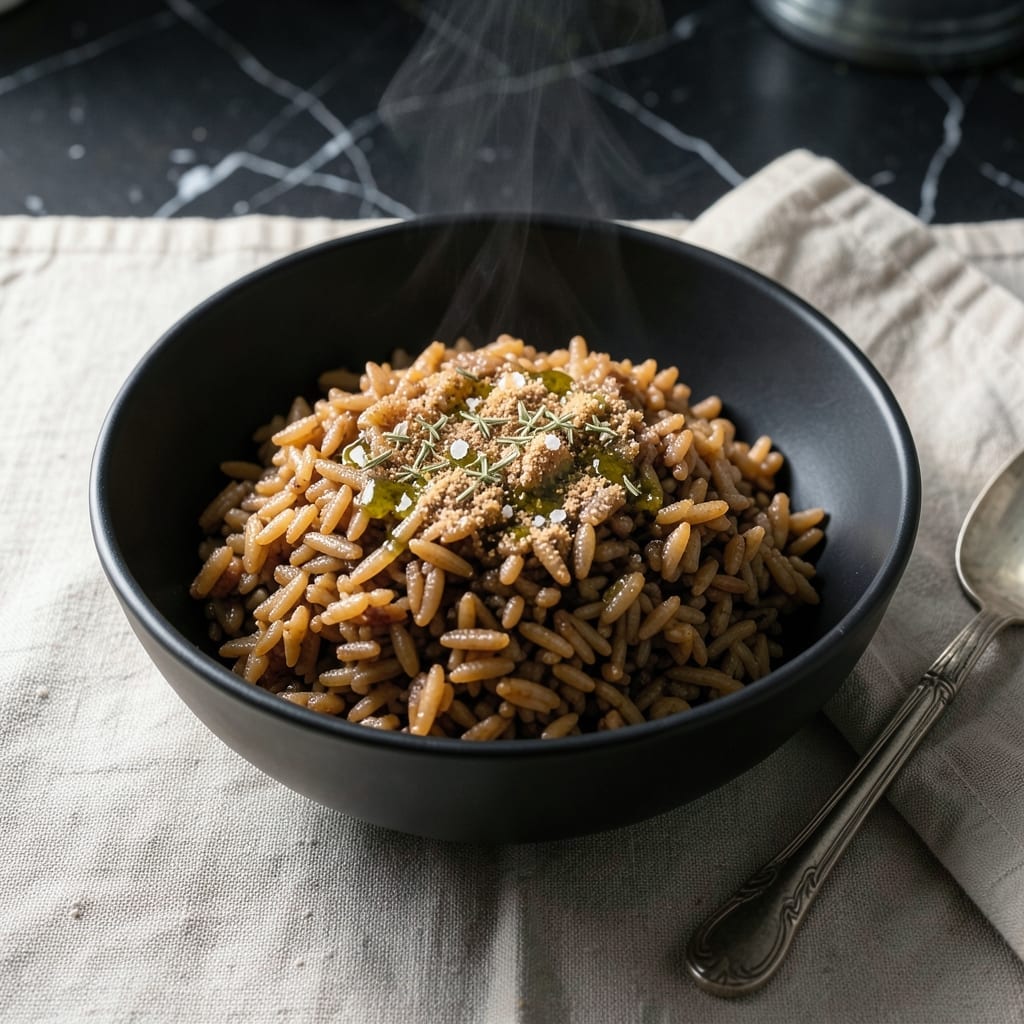
Cooking brown rice in an Instant Pot cuts the usual stovetop time nearly in half while delivering consistently fluffy results every time. This method eliminates the guesswork of traditional cooking, where water ratios and heat levels can make or break the texture.
The key is using the right liquid-to-rice ratio and allowing a full natural release after pressure cooking. I’ve tested this approach repeatedly to ensure the grains come out tender, not mushy, with a slight bite that holds up well in any dish.
Unlike stovetop methods that require constant monitoring, the Instant Pot handles everything hands-off. You’ll get perfectly cooked brown rice with minimal effort, ready to serve as a base for bowls, stir-fries, or alongside proteins.
Best of all, it frees up your time and stovetop space for the rest of your meal prep.
Ingredients for Brown Rice Recipe Instant Pot
Just brown rice, water, and a few pantry staples make this foolproof dish.
| Ingredient | Amount | Notes |
|---|---|---|
| Long-Grain Brown Rice 🌾 | 1 ½ cups | Rinsed until water runs clear |
| Water 💧 | 2 ¼ cups | Or use vegetable broth for extra flavor |
| Sea Salt 🧂 | ½ tsp | Fine grain preferred, or to taste |
| Extra-Virgin Olive Oil 🫒 | 1 tbsp | Optional for toasted rice method |
| Garlic Powder 🧄 | ½ tsp | Optional for savory flavor boost |
| Dried Thyme 🌿 | ¼ tsp | Optional herb for depth |
| Bay Leaf 🍃 | 1 whole | Optional for subtle aroma |
| Lemon Zest 🍋 | ½ tsp | Optional for bright finish |
| Fresh Cilantro 🌿 | 2 tbsp | Chopped, for garnish |
| Lime Juice 🍈 | 1 tbsp | Freshly squeezed for serving |
The rice quality matters here. Lundberg or Nishiki brands give you consistently fluffy grains with that perfect bite. I grab mine in bulk at Costco or the organic section at Whole Foods—just check the package for any broken grains (those cook unevenly). Rinse it well before cooking, or you’ll end up with gummy rice. The water ratio is non-negotiable: 1.5 cups rice to 2.25 cups liquid, no exceptions.
No brown rice? Wild rice blend at the same ratio works, but expect a chewier texture. Want more flavor? Swap water for vegetable broth or add a splash of coconut milk for richness. The optional aromatics—garlic, thyme, bay leaf—are worth the extra minute (trust me on this). If you’re toasting the rice first, use a light hand with the olive oil. Skip the salt if using broth, or you’ll end up with over-seasoned grains.
Cooked rice keeps 4-5 days in the fridge, though it’s best the first day. Freeze for up to 3 months in airtight portions (perfect for meal prep). Reheat with a splash of water or steam to revive the texture. I always make a double batch—3 cups rice to 4.5 cups water—so there’s enough for the week.
Why You’ll Love This Recipe
- Set and Forget: I toss everything in the Instant Pot, press a button, and walk away—no stirring, no watching, no stress.
- Garlicky Depth: The olive oil and garlic powder turn plain brown rice into something rich and aromatic.
- Meal Prep MVP: I make a big batch on Sunday and it fuels my lunches all week.
- Budget Stretch: A pound of brown rice costs pennies and feeds us for days.
Step-by-Step Instructions for Brown Rice in Instant Pot
This method delivers perfectly fluffy grains with minimal effort and maximum flavor.
Step 1: Rinse and Prepare the Rice
Place the 1.5 cups long-grain brown rice in a fine-mesh strainer and rinse under cold water until the water runs completely clear. This removes excess starch that could make your rice gummy. I always give it a final shake to remove any lingering water.
Rinsing is non-negotiable for brown rice—it prevents the grains from clumping together and ensures each one cooks evenly. While the rice drains, gather your remaining ingredients so everything is ready to go when you need it.
Step 2: Sauté Aromatics for Depth of Flavor
Set your Instant Pot to the Sauté function and add the 1 tablespoon extra-virgin olive oil. Once the oil shimmers, add the 0.5 teaspoon garlic powder, 0.25 teaspoon dried thyme, and 1 whole bay leaf. Sauté for 30-45 seconds until fragrant—just long enough to wake up those spices.
This quick bloom step might seem small, but it makes a noticeable difference in the final flavor. The aromatics will infuse the rice as it cooks, giving you layers of savory depth rather than just plain grains. Don’t let them burn—just heat until you catch that first whiff of garlic.
Step 3: Pressure Cook to Perfection
Add the drained rice to the Instant Pot along with the 2.25 cups water and 0.5 teaspoon sea salt. Stir well to distribute the rice evenly and ensure none is sticking to the bottom. Close the lid, set the valve to Sealing, and cook on High Pressure for 22 minutes.
The Instant Pot will take about 10-15 minutes to come to pressure before the cooking time begins. Resist the urge to check on it—every time you release pressure prematurely, you risk undercooked rice. You’ll know it’s working when you hear that satisfying hiss as the pot builds pressure.
Step 4: Natural Release and Rest
When the cooking time ends, allow the pressure to release naturally for 10 minutes. This gradual release prevents the rice from becoming mushy by allowing the grains to settle and absorb any remaining liquid. After 10 minutes, carefully switch the valve to Venting to release any remaining pressure.
Once the float valve drops, open the lid and let the rice sit uncovered for 5 minutes. This final rest helps the grains firm up slightly and makes them easier to fluff. The rice should be tender with a slight bite, and all liquid should be absorbed.
Step 5: Fluff and Finish with Bright Notes
Gently fluff the rice with a fork to separate the grains. Discard the bay leaf if you can find it. Stir in the 0.5 teaspoon lemon zest to add a subtle brightness that cuts through the richness.
Transfer to a serving bowl and top with the 2 tablespoons fresh cilantro. Serve with a drizzle of the 1 tablespoon lime juice for a final pop of freshness. The cilantro and lime add a vibrant finish that takes this from simple side dish to restaurant-worthy accompaniment.
Pro Tips For Making Brown Rice Recipe Instant Pot
- Rinse the Rice: Always give your long-grain brown rice a thorough rinse before cooking—it removes excess starch that can make the rice gummy. I learned this the hard way after ending up with a sticky, mushy pot.
- Use the Right Ratio: Stick to a 1:1.25 rice-to-water ratio (1 cup rice to 1.25 cups water) for perfect texture. After burning a few batches, I finally figured out that too much water turns it to porridge.
- Skip the Quick Release: Let the pressure release naturally for at least 10 minutes after cooking—this prevents undercooked, crunchy rice. I was skeptical until I tried it, and now I swear by it.
- Toast the Rice: Sauté the rice in the olive oil for 2-3 minutes before adding water to bring out a nuttier flavor. Sounds weird, but it works and makes the garlic powder really shine.
Storing and Reheating Leftovers
Refrigerator Storage
Once cooled, transfer your rice to airtight containers—I swear by glass ones from Pyrex for easy reheating. It stays fresh for 4-5 days at 40°F or below. The flavors deepen slightly overnight, making leftovers taste even better. ❄️
Freezer Storage
For longer storage, portion into freezer bags, squeeze out excess air, and freeze flat for up to 3 months. I use quart-sized bags for single-serving portions. Label with the date—trust me, you’ll forget otherwise.
Stovetop Reheating
Add rice to a pot with 1-2 tbsp water or broth to prevent drying. Heat over medium-low heat for 5-7 minutes, stirring occasionally. This method revives texture best, keeping grains separate and fluffy. 🔥
Microwave Reheating
Place rice in a microwave-safe dish, sprinkle with 1 tsp water, and cover with a damp paper towel. Heat on 70% power for 1-2 minutes, stir, then repeat until hot. Watch closely to avoid overcooking.
Meal Prep Tip
Double the recipe—3 cups rice to 4.5 cups water—and store in portions. This way, you’ll have ready-to-go rice for stir-fries, bowls, or sides all week. I do this every Sunday to simplify my cooking.
Nutrition Facts
Frequently Asked Questions
What’s the best water-to-rice ratio?
Use 1.5 cups rice to 2.25 cups liquid for perfect texture. This ratio works for any long-grain variety and prevents mushy or undercooked results. Stick to it precisely for consistent fluffiness.
Can I use broth instead of water?
Swap water for vegetable or chicken broth to add depth. Reduce added salt by half if using pre-salted broth to avoid over-seasoning. The rice absorbs all the savory notes beautifully.
How do I prevent the burn notice?
Always deglaze the pot after sautéing and stir the rice well before pressure cooking. Ensure no grains stick to the bottom. Add at least 2 cups liquid to prevent burning.
Why does my rice turn out mushy?
Overcooking or skipping the natural release causes this. Stick to 22 minutes high pressure and let it release naturally for 10 minutes. This lets grains absorb liquid evenly without breaking down.

- 6 Egg Cake Recipe with Oil: Light as Air With Buttery Moisture - October 4, 2026
- 4 Bean Casserole Recipe: One-Pan Heartiness With Smoky Paprika Depth - October 4, 2026
- 3-Ingredient Keto Mug Cake Recipe: Microwave Magic in 2 Minutes - October 4, 2026