
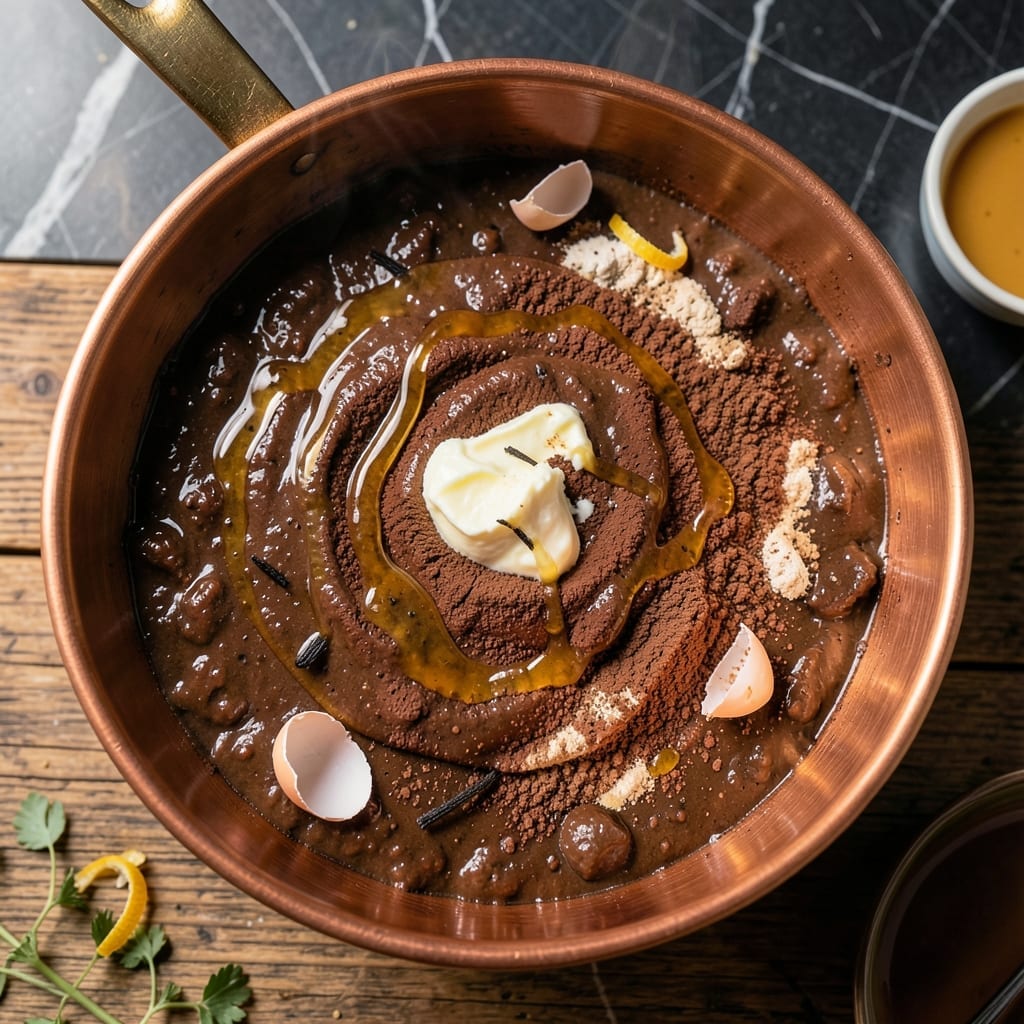
These brownies redefine fudgy indulgence with a natural sweetness that only honey can provide. The rich cocoa flavor shines through while the honey adds a subtle depth that sugar simply can’t match.
The batter comes together in minutes with simple pantry staples. I’ve perfected the balance between cocoa powder and honey to create a dense, moist texture that’s the hallmark of exceptional brownies.
Every bite delivers that signature crackly top giving way to a fudgy center. The honey doesn’t just sweeten—it enhances the chocolate’s complexity with floral undertones.
Bake for 25 minutes at 350°F for perfect results. This recipe proves that natural sweeteners can create desserts just as decadent as traditional versions.
Ingredients for Brownie Recipe with Honey
Simple pantry staples create these decadent honey-sweetened brownies with a fudgy center and crackly top.
| Ingredient | Amount | Notes |
|---|---|---|
| Honey 🍯 | 1 cup | Raw or wildflower preferred |
| Unsweetened Cocoa Powder 🍫 | ¾ cup | Dutch-processed for richness |
| All-Purpose Flour 🌾 | ¾ cup | Sifted for even texture |
| Unsalted Butter 🧈 | ½ cup | Melted and cooled slightly |
| Large Eggs 🥚 | 2 whole | Room temperature preferred |
| Vanilla Extract 🌿 | 1 tsp | Pure, not imitation |
| Granulated Sugar 🧂 | ½ cup | Balances honey sweetness |
| Baking Powder 🧂 | ¼ tsp | Ensures slight lift |
| Salt 🧂 | ¼ tsp | Fine sea salt preferred |
| Semi-Sweet Chocolate Chips 🍫 | ½ cup | Melted with butter |
| Walnuts 🌰 | ½ cup | Chopped, optional for crunch |
The honey quality matters here. Local raw honey or wildflower varieties add floral complexity that grocery store blends lack. For cocoa, Dutch-processed delivers deeper color and smoother flavor—Hershey’s Special Dark is a reliable grocery store option. Butter should be European-style if available, but standard unsalted works fine (just avoid salted).
Short on honey? Maple syrup at a 1:1 ratio works, but reduces the floral notes. No cocoa powder? Melted dark chocolate (3 oz) plus 2 tbsp flour can substitute. For a gluten-free version, almond flour replaces all-purpose at a 1:1 ratio. The chocolate chips are optional but add richness—Ghirardelli or Guittard are excellent choices.
The batter can rest overnight in the fridge if needed. Baked brownies stay fresh for 4 days in an airtight container at room temperature, or freeze for up to 3 months. Slice only after completely cooled to maintain that perfect crackly top.
Why You’ll Love This Recipe
- One Bowl Wonder: I love that I can mix everything in a single bowl—honey, cocoa, flour—no fuss, no extra dishes.
- Rich Honey Depth: The honey adds this warm, caramel-like sweetness that makes the chocolate taste even more luxurious.
- Freezer Friendly: Honestly, I double the batch and freeze half—they taste just as good thawed as fresh out of the oven.
- Pantry Staples: All-purpose flour, cocoa, butter, eggs, honey—everything’s already in my kitchen, no special trips needed.
Step-by-Step Instructions for Brownie Recipe With Honey
Master these precise steps to achieve decadent, fudgy brownies with a perfect crumb and rich chocolate flavor.
Step 1: Melt Butter and Chocolate Together
In a microwave-safe bowl, combine the 0.5 cup Unsalted Butter and 0.5 cup Semi-Sweet Chocolate Chips. Microwave in 20-second bursts, stirring between each, until fully melted and smooth. This controlled melting prevents scorching and ensures even distribution of chocolate throughout the batter.
Allow the mixture to cool slightly for 5 minutes—you want it warm but not hot enough to cook the eggs when added. The residual heat will help dissolve the 1 cup Honey and 0.5 cup Granulated Sugar when combined in the next step.
Step 2: Whisk Wet Ingredients Until Smooth
Transfer the melted chocolate mixture to a large mixing bowl. Add the 1 cup Honey, 0.5 cup Granulated Sugar, 2 whole Large Eggs, and 1 tsp Vanilla Extract. Using a whisk, beat vigorously for 1-2 minutes until the mixture is completely homogeneous and slightly thickened.
The honey’s viscosity means you’ll need to whisk more vigorously than with traditional sugar. You’ll notice the mixture lighten slightly in color as air incorporates, which contributes to the brownies’ tender texture. Ensure no streaks of egg or honey remain.
Step 3: Fold in Dry Ingredients Gently
In a separate bowl, sift together the 0.75 cup Unsweetened Cocoa Powder, 0.75 cup All-Purpose Flour, 0.25 tsp Baking Powder, and 0.25 tsp Salt. Sifting is critical here—it breaks up any lumps in the cocoa powder and aerates the flour for even distribution.
Gradually add the dry ingredients to the wet mixture, folding with a silicone spatula just until no flour streaks remain. Overmixing develops gluten, which would make the brownies cakey rather than fudgy. If using, fold in the 0.5 cup Walnuts at this stage, ensuring they’re evenly dispersed.
Step 4: Bake Until Just Set
Pour the batter into a parchment-lined 8×8-inch baking pan, spreading it evenly with the spatula. Bake in a preheated 350°F oven for 25-30 minutes. The edges should be set, but the center should still have a slight jiggle when gently shaken—this ensures the fudgy texture.
Avoid overbaking. The brownies will continue to cook from residual heat after removal from the oven. A toothpick inserted into the center should come out with a few moist crumbs, not clean. Rotate the pan halfway through baking if your oven has hot spots.
Step 5: Cool Completely Before Slicing
Remove the pan from the oven and let the brownies cool in the pan for 15 minutes. Then, transfer the entire parchment with the brownies to a wire rack and cool completely, about 1 hour. This cooling period allows the structure to set, making clean slices possible.
Once fully cooled, lift the parchment from the pan and use a sharp knife to cut into 16 squares for serving. Wipe the knife between cuts for clean edges. The brownies will keep in an airtight container at room temperature for up to 5 days, though they’re best enjoyed within the first 48 hours.
Pro Tips For Making Brownie Recipe With Honey
- Reduce Honey First: Simmer the honey for 2-3 minutes before mixing to thicken it slightly—this prevents a gummy texture and deepens the flavor. I learned this the hard way after pulling a pan of sad, sticky brownies out of the oven.
- Bloom the Cocoa: Whisk the unsweetened cocoa powder with a splash of hot water or melted butter first to wake up its flavor. Sounds weird, but it makes the chocolate taste richer than just dumping it in dry.
- Skip Overmixing: Stir the batter just until the flour disappears—any longer and you’ll end up with tough, cakey brownies instead of fudgy ones. My grandmother swore by this, and she was right.
- Use Room-Temp Eggs: Let the eggs sit out for 15-20 minutes before cracking them in. They’ll incorporate better, giving you a smoother, more even texture—no weird streaks of cooked egg whites.
Storing and Reheating Leftovers
Room Temperature Storage
Let brownies cool completely before storing. Place in an airtight container with parchment between layers to prevent sticking. They’ll stay fresh at room temperature for 4-5 days, though the texture is best within 48 hours. 🍯
Refrigerator Storage
For longer freshness, refrigerate in an airtight container for up to 1 week. The cold will make them denser, so I recommend bringing them to room temperature for 30 minutes before serving to restore that signature fudgy texture.
Freezer Storage
Wrap individual brownies tightly in plastic wrap, then place in a freezer bag. They freeze beautifully for up to 3 months. I like to slice before freezing so I can grab just one when a craving hits.
Reheating from Room Temp
For that just-baked warmth, microwave a single brownie on 50% power for 10-15 seconds. This softens without drying. For multiple pieces, warm in a 300°F oven for 5-7 minutes. 🔥
Reheating from Frozen
No need to thaw! Microwave frozen brownies at 50% power for 20-25 seconds, or bake at 325°F for 8-10 minutes. The honey keeps them moist during reheating.
Nutrition Facts
Frequently Asked Questions
Can I replace all the sugar with honey?
Yes, but reduce other liquids by 2-3 tablespoons since honey adds moisture. The recipe already balances honey and sugar for optimal texture and sweetness.
Why does my batter look thinner than expected?
Honey is more liquid than sugar, so the batter will be slightly thinner. This is normal and doesn’t affect the final fudgy texture. Just ensure you measure honey accurately.
How do I prevent a cakey texture?
Avoid overmixing the batter and don’t overbake. Stop when a toothpick has a few moist crumbs, not when it’s clean. Fold dry ingredients just until combined.
Can I add mix-ins like chocolate chunks?
Add up to 1 cup of chocolate chunks, white chocolate chips, or dried fruit with the walnuts. The honey’s sweetness pairs well with extra rich add-ins.

- 3-Ingredient Keto Mug Cake Recipe: Microwave Magic in 2 Minutes - October 4, 2026
- 3 Ingredient Lemon Cookie Recipe: Zesty Brightness in 15 Minutes - October 4, 2026
- 5 Star Tzatziki Sauce Recipe: Thick, Cool, and Herb-Packed Refreshment - October 4, 2026