
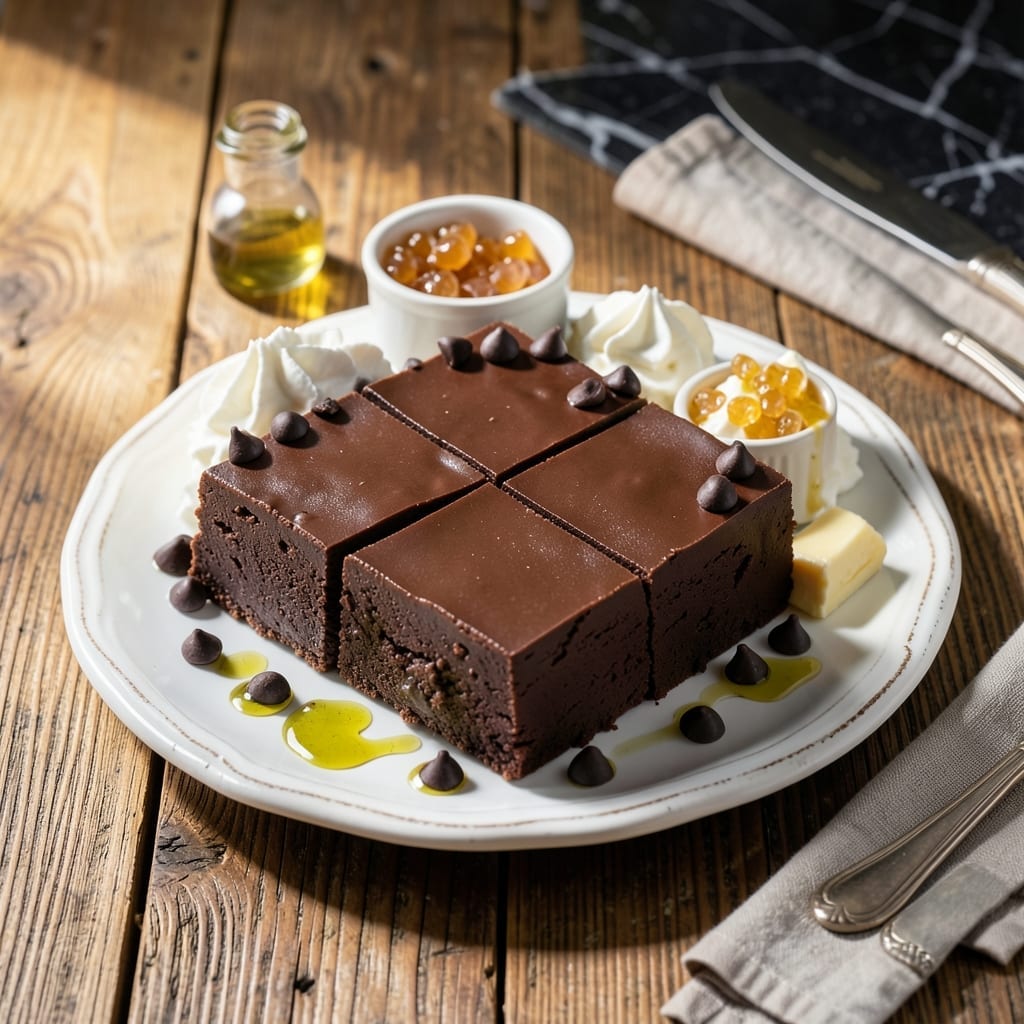
This Texas-style fudge delivers that signature creamy texture Buc-Ee’s is famous for, without requiring a trip to the Lone Star State. The secret lies in precise temperature control and a carefully timed cooling process.
What sets this version apart is the combination of marshmallow fluff and semi-sweet chocolate, creating a velvety smoothness that melts in your mouth. The addition of evaporated milk ensures a rich, fudgy consistency rather than a grainy texture.
You’ll achieve professional results with simple ingredients and a candy thermometer. The fudge sets up firm enough to slice but maintains that luxurious melt-in-your-mouth quality that keeps people coming back.
Perfect for gifting or satisfying that sweet tooth, this recipe makes about 3 pounds of fudge. The process takes about 30 minutes of active time plus cooling.
Ingredients for Buc Ee’s Fudge
Eight simple ingredients transform into that famous creamy Texas-style treat everyone loves.
| Ingredient | Amount | Notes |
|---|---|---|
| Semi-Sweet Chocolate Chips 🍫 | 4 cups | High-quality for smooth texture |
| Granulated Sugar 🧈 | 4 cups | White sugar for classic taste |
| Evaporated Milk 🥛 | 1 can | 12 oz can, full-fat preferred |
| Marshmallow Fluff 🥣 | 1 jar | 7.5 oz jar for creaminess |
| Unsalted Butter 🧈 | 1 cup | Cut into cubes for even melting |
| Vanilla Extract 🌿 | 2 tsp | Pure extract for best flavor |
| Salt 🧂 | ½ tsp | Fine sea salt to balance sweetness |
| Pecans 🌰 | 2 cups | Chopped, optional for crunch |
The chocolate is the foundation here. Ghirardelli or Guittard semi-sweet chips melt beautifully and give that signature smooth texture. Evaporated milk is non-negotiable—it creates the fudgy consistency that sets this apart from grainy versions. Carnation is the classic brand, but any full-fat can works. Grab a candy thermometer (don’t skip this) for precise temperature control—Walmart or Target have them for under $10.
No marshmallow fluff? One 10-oz bag of mini marshmallows works as a substitute—just melt them down with the butter. Out of pecans? Walnuts or almonds add a similar crunch. For a smoother fudge, skip the nuts entirely. The butter must be unsalted so you can control the saltiness. If you’re in a pinch, vegetable shortening works but changes the flavor slightly.
This keeps beautifully in an airtight container at room temperature for up to 2 weeks. For longer storage, freeze for up to 3 months—thaw overnight in the fridge before serving. Cut into squares once fully set (about 2-3 hours at room temp).
Why You’ll Love This Recipe
- 5-Minute Magic: I dump everything in one pot—chocolate, sugar, fluff—stir, and boom, fudge. No candy thermometer, no stress.
- Feeds a Crowd: One batch makes enough to fill a gift box, stuff in lunchboxes, or just keep all to myself. Honestly, I do all three.
- Pantry Staples: Between us, I always have these ingredients on hand. No last-minute grocery runs, just fudge whenever the craving hits.
Step-by-Step Instructions for Texas-Style Creamy Fudge
This method delivers that signature Buc-ee’s texture—smooth, rich, and perfectly creamy every time.
Step 1: Combine Sugar, Evaporated Milk, and Butter
In a heavy-bottomed saucepan, combine the 4 cups Granulated Sugar, 1 can Evaporated Milk, and 1 cup Unsalted Butter (cut into cubes). I use a medium-heavy saucepan to ensure even heat distribution and prevent scorching.
Cook over medium heat, stirring constantly with a wooden spoon. You’ll notice the butter melting first, followed by the sugar dissolving completely. This process takes about 8-10 minutes—don’t rush it. The mixture should come to a gentle boil, but avoid letting it climb the sides of the pan.
Step 2: Reach Soft-Ball Stage
Once boiling, stop stirring and let the mixture cook undisturbed until it reaches 234-238°F on a candy thermometer. This is the soft-ball stage, and it’s critical for that perfect fudge texture. If you don’t have a thermometer, test by dropping a bit into cold water—it should form a soft ball you can flatten between your fingers.
This usually takes 12-15 minutes of gentle boiling. Watch for the mixture to thicken slightly and develop a subtle caramel color. Remove from heat immediately once you hit the target temperature to prevent overcooking.
Step 3: Add Chocolate and Marshmallow Fluff
Off the heat, stir in the 4 cups Semi-Sweet Chocolate Chips until completely melted and smooth. The residual heat will do most of the work, but keep stirring until no chips remain visible. Then add the 1 jar Marshmallow Fluff, 2 tsp Vanilla Extract, and 0.5 tsp Salt.
The mixture will become thick and glossy as you stir. I find that using a whisk at this stage helps incorporate air for an even creamier texture. Make sure to scrape the bottom and sides of the pan to catch any sugar crystals.
Step 4: Fold in Pecans and Set
If using, stir in the 2 cups Pecans until evenly distributed. The nuts add a wonderful crunch and balance the sweetness, but you can omit them for a smoother fudge. Pour the mixture into a greased 9×13-inch baking dish, spreading it evenly with a spatula.
Let it cool at room temperature for 2 hours before cutting into squares. I resist the temptation to refrigerate—it can make the fudge too firm and affect the creamy texture. When properly set, the fudge should be firm enough to hold its shape but still yield slightly when pressed.
Pro Tips For Making Buc Ee’S Fudge
- Boil the Sugar: Bring the sugar and evaporated milk to a full rolling boil for exactly 4-5 minutes—any less and your fudge will be grainy, any more and it’ll turn hard as a rock. I learned this the hard way after scraping my first batch out of the pan.
- Use Fresh Fluff: Marshmallow fluff can dry out or separate over time, so check the jar’s date and give it a good stir before measuring. Sounds weird, but stale fluff makes fudge that’s weirdly stiff.
- Skip the Stirring: Resist the urge to stir once the mixture starts boiling—it’ll cause the sugar to crystallize and leave you with a pan of sandy, ruined fudge. My grandmother swore by this, and she was right.
- Butter the Pan: Grease your 8×8 pan with a thin layer of unsalted butter before pouring in the fudge, then let it set at room temperature for at least 2 hours. It’s not the prettiest method, but it’s the only way to guarantee clean cuts.
Essential Equipment for Perfect Results
Heavy Saucepan
Invest in a medium-heavy saucepan with a thick bottom for even heat distribution. I use my All-Clad 3-quart stainless steel pan—it prevents hot spots that can scorch the sugar mixture. A heavy base is non-negotiable for candy making. 🔥
Candy Thermometer
A precise candy thermometer is essential for hitting that 234-238°F sweet spot. I recommend the Taylor Classic or CDN Digital models for accuracy. Clip it to the pan side and ensure the probe doesn’t touch the bottom.
Wooden Spoon
Use a flat-bottomed wooden spoon for stirring during the initial cooking phase. It won’t scratch your pan and helps dissolve sugar evenly. I keep a dedicated spoon just for candy making to avoid any residue from previous meals.
Whisk
Switch to a balloon whisk when adding chocolate and marshmallow fluff. This incorporates air for that signature creamy texture. A stainless steel whisk from OXO works beautifully and lasts forever.
Baking Dish
A 9×13-inch glass baking dish is perfect for this volume of fudge. I grease mine with a thin layer of butter before pouring in the mixture. For easy removal, line with parchment paper first.
Spatula
Use a silicone spatula to scrape every bit of fudge from the pan and spread it evenly. The heat-resistant head won’t melt, and the flexibility helps get into corners. I prefer the one-piece design from GIR for durability.
Nutrition Facts
Frequently Asked Questions
Can I use milk instead of evaporated milk?
No, regular milk won’t work. The reduced water content in evaporated milk is crucial for achieving that signature creamy texture. Using regular milk can result in grainy or runny fudge.
What if I don’t have a candy thermometer?
Perform the cold water test: drop a bit of syrup into ice water. If it forms a soft ball you can flatten between your fingers, it’s ready. This method is less precise but can work in a pinch.
How do I prevent sugar crystals on the pan sides?
Use a pastry brush dipped in warm water to wash down any sugar crystals that form on the pan sides during cooking. This prevents unwanted crystallization in your final fudge.
Why did my fudge turn out grainy?
The most common cause is sugar crystallization. This happens if the mixture is stirred while boiling or if sugar crystals form on the pan sides. Always use a heavy pan and avoid stirring once boiling begins.

- 6 Egg Cake Recipe with Oil: Light as Air With Buttery Moisture - October 4, 2026
- 4 Bean Casserole Recipe: One-Pan Heartiness With Smoky Paprika Depth - October 4, 2026
- 3-Ingredient Keto Mug Cake Recipe: Microwave Magic in 2 Minutes - October 4, 2026