
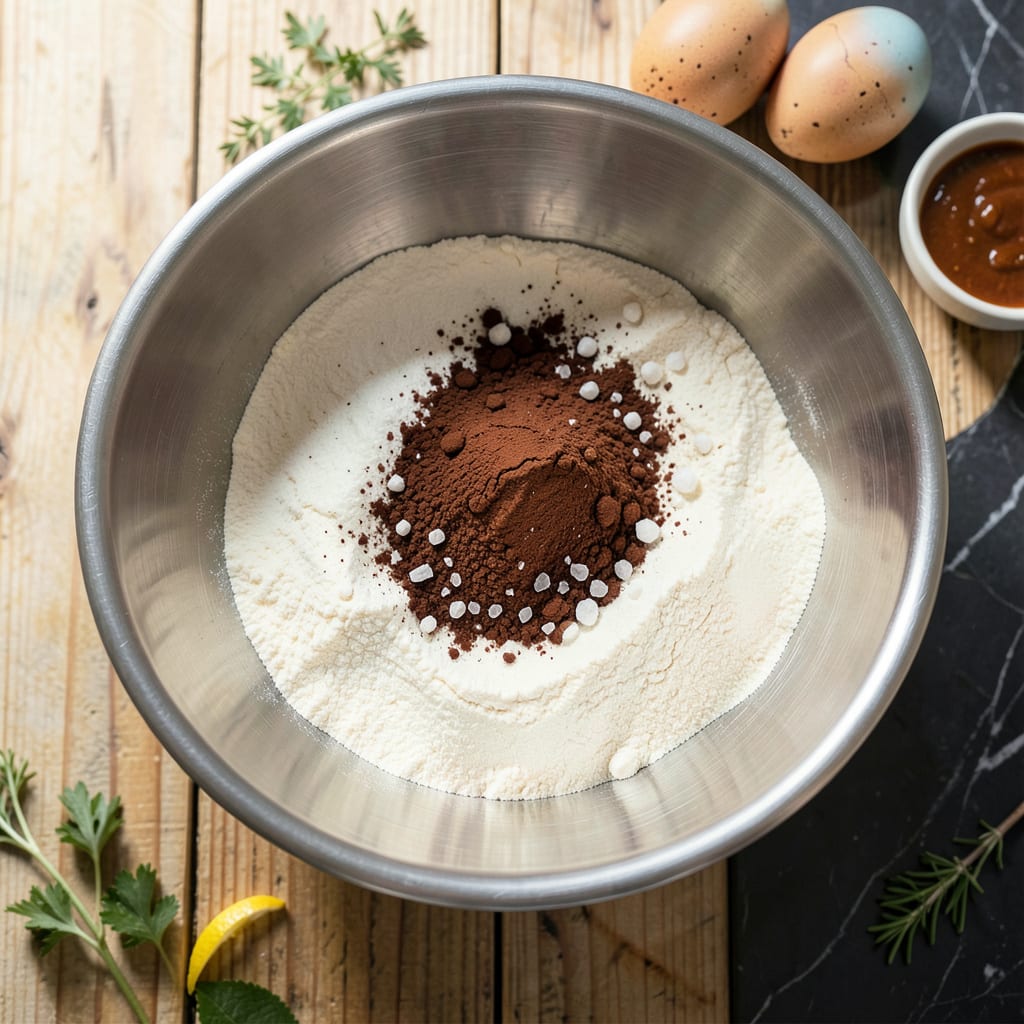
These single-serving cake pucks deliver the perfect balance of dense texture and rich flavor in every bite. Designed for precise portion control, each hockey-puck-sized treat offers the satisfaction of cake without the commitment of a full slice. The secret lies in the carefully calibrated ratio of ingredients that creates a moist crumb with just the right amount of fudgy resistance.
What sets this recipe apart is its versatility—bake them plain for a simple dessert or dress them up with glazes, fruit compotes, or a scoop of ice cream. The 350°F baking temperature ensures even cooking throughout, while the 20-minute bake time guarantees a consistently perfect result every time. Whether you’re hosting a party or craving a personal treat, these cake pucks deliver restaurant-quality dessert in a convenient, handheld format.
Ingredients for Cake Puck
You’re gonna love how these simple ingredients transform into dense, fudgy cake pucks with perfect texture every time!
| Ingredient | Amount | Notes |
|---|---|---|
| All-Purpose Flour 🌾 | 1 ½ cups | Spoon and level for accuracy |
| Granulated Sugar 🍬 | 1 cup | Fine white sugar preferred |
| Unsweetened Cocoa Powder 🍫 | ½ cup | Dutch-process for richer flavor |
| Baking Powder 🧂 | 1 tsp | Ensures proper rise |
| Salt 🧂 | ½ tsp | Balances sweetness |
| Large Eggs 🥚 | 2 whole | Room temperature preferred |
| Whole Milk 🥛 | ½ cup | Full-fat for richness |
| Vegetable Oil 🫒 | ½ cup | Neutral flavor preferred |
| Vanilla Extract 🌿 | 1 tsp | Pure extract recommended |
| Semi-Sweet Chocolate Chips 🍫 | ¾ cup | Mini chips distribute better |
| Brewed Coffee ☕ | ¼ cup | Cooled, enhances chocolate |
| Sour Cream 🥛 | ¼ cup | Full-fat for moisture |
[recipeingredientscaler]
The cocoa powder is your flavor powerhouse here! Hershey’s Special Dark or Ghirardelli give that deep chocolate punch. For the flour, King Arthur is my go-to—consistent every time. Don’t skip the coffee (yes, even if you hate coffee)—it amplifies the chocolate flavor without tasting like coffee. The sour cream is the secret weapon for that moist crumb (Daisy brand if you can find it).
No coffee on hand? Hot water works in a pinch, but the flavor won’t be as rich. Swap milk for any plant-based alternative if needed—oat milk gives the best texture. Out of chocolate chips? Chop up a dark chocolate bar (70% works great). The vanilla extract can be homemade if you’re fancy, but McCormick’s pure extract is perfectly fine.
These pucks keep beautifully! Store in an airtight container at room temp for 3 days, or freeze for up to 3 months. The flavors actually deepen after a day—perfect for making ahead. If you’re gifting them, wrap individually in parchment paper (so cute!).
Why You’ll Love This Recipe
- One Bowl Magic: I’ve made these cake pucks while juggling a crying toddler and a burning dinner—just dump everything (flour, cocoa, sugar, the works) into one bowl, stir, and bake. No mixer, no fuss, no lies about “minimal cleanup.”
- Fudgy But Light: Here’s what sold me—the cocoa powder gives that deep chocolate punch, but the baking powder keeps them from turning into hockey pucks. Crisp edges, tender middle, and zero dryness. (Yes, even when I overbaked them by 3 minutes.)
- Snack or Dessert? Both.: I pack these in lunches, serve them warm with ice cream for company, or stash them in the freezer for when my sweet tooth hits at 10 p.m. They’re unfussy enough for a Tuesday, but fancy enough to pass as “homemade” at a potluck.
- Pennywise Portions: A single batch costs me less than $3, makes 12 pucks, and the leftovers (if there are any) stay moist for days in an airtight container. Honestly, it’s my secret weapon when I need something sweet but can’t justify a full cake.
Step-by-Step Instructions for Cake Pucks
Get ready to create the most decadent, perfectly portioned treats with this foolproof method.
Step 1: Combine the Dry Ingredients
In a medium bowl, whisk together the 1.5 cups All-Purpose Flour, 1 cup Granulated Sugar, 0.5 cup Unsweetened Cocoa Powder, 1 tsp Baking Powder, and 0.5 tsp Salt. I like to sift these ingredients together to eliminate any lumps and ensure even distribution. The cocoa powder should be fully incorporated with no visible streaks remaining.
This step creates the foundation for your cake pucks’ dense, fudgy texture. The Dutch-process cocoa powder adds that rich, deep chocolate flavor we’re after. Make sure to spoon and level your flour for accurate measurement—this prevents dry, crumbly results.
Step 2: Mix the Wet Ingredients
In a separate large bowl, combine the 2 whole Large Eggs, 0.5 cup Whole Milk, 0.5 cup Vegetable Oil, 1 tsp Vanilla Extract, 0.25 cup Brewed Coffee, and 0.25 cup Sour Cream. Whisk vigorously for 1-2 minutes until the mixture becomes completely smooth and slightly frothy on top.
The coffee enhances the chocolate flavor without making the pucks taste like coffee. Using room temperature eggs helps create a more uniform batter. You’ll notice the mixture thickens slightly as you whisk—this is the sour cream working its magic to add moisture and richness.
Step 3: Create the Perfect Batter
Gradually add the dry ingredients to the wet mixture, stirring with a silicone spatula just until combined. Be careful not to overmix—stop as soon as you see no more dry pockets. The batter will be thick and glossy, almost like brownie batter but slightly smoother.
Now fold in the 0.75 cup Semi-Sweet Chocolate Chips using gentle strokes. I prefer mini chips because they distribute more evenly throughout each puck. The batter should look rich and chocolatey with chips visible throughout. Let it rest for 5 minutes while you preheat your oven.
Step 4: Bake to Fudgy Perfection
Preheat your oven to 350°F and line a mini muffin tin with paper liners. Fill each cavity about ¾ full with batter—this ensures they’ll dome slightly without overflowing. Bake for 18-20 minutes until the edges are set but the centers still look slightly underdone.
You’ll know they’re perfect when a toothpick inserted in the center comes out with a few moist crumbs clinging to it. The tops should be crackly with a slight sheen. Don’t overbake—this is what gives them that incredible fudgy center we love in cake pucks!
Step 5: Cool and Enjoy
Let the cake pucks cool in the pan for 10 minutes, then transfer them to a wire rack to cool completely. As they cool, they’ll firm up but remain wonderfully dense and moist. The centers should be rich and fudgy with that perfect cake-like exterior.
Serve them at room temperature for the best texture. Each bite delivers intense chocolate flavor with melty chip pockets throughout. Store any leftovers in an airtight container—they’ll stay fresh and fudgy for up to 5 days, though they rarely last that long!
Troubleshooting This Recipe
Dense or Dry Pucks
If your cake pucks turn out too dense or dry, the culprit is usually overmeasured flour. I always spoon flour into the measuring cup and level it off—never scoop directly from the bag. Another common issue is overbaking; pull them out at 18 minutes and check with a toothpick. It should have moist crumbs, not be completely clean.
For extra moisture, try adding 1 extra tbsp of sour cream to the batter. The acidity tenderizes the crumb. If you’re at high altitude, reduce baking powder to ½ tsp—this prevents excessive drying during baking. 💡
Sunken Centers
Sunken centers typically mean the pucks weren’t fully baked or cooled too quickly. Make sure your oven reaches a true 350°F before baking—I use an oven thermometer to verify. Let them cool in the pan for the full 10 minutes before transferring to prevent collapse.
If you substituted ingredients, that could be the issue. Plant-based milks can cause sinking—stick to whole milk for best results. Also, ensure your baking powder is fresh; test it by mixing ½ tsp with hot water—it should bubble vigorously.
Sticky Liners
When pucks stick to the liners, it’s often because they were removed too soon. Wait until they’re completely cool before peeling—about 30 minutes total cooling time. I recommend using parchment paper liners instead of regular paper; they release much cleaner.
A light spritz of baking spray on the liners before filling helps too. If you’re using silicone molds, make sure they’re clean and dry—any residue causes sticking. For stubborn cases, pop them in the freezer for 10 minutes before removing. ❄️
Cracked Tops
Cracked tops usually indicate the oven temperature was too high. Double-check your oven with a thermometer—many run hotter than their dial shows. Try baking at 325°F for 22 minutes if cracks persist. Overmixing the batter can also cause this, so stir just until combined.
For a smoother top, let the batter rest for 10 minutes before baking. This allows the flour to hydrate fully. If cracks still form, don’t worry—they’ll be covered by glaze or ice cream! The flavor remains perfect regardless.
Uneven Baking
If some pucks bake faster than others, your oven likely has hot spots. Rotate the pan halfway through baking for even results. I also recommend using a light-colored metal pan—dark pans absorb more heat and can cause uneven browning.
For consistent size, use a cookie scoop to portion batter. Fill each liner to the same level—about ¾ full. If your oven runs unevenly, try baking one tray at a time on the middle rack for most even heat distribution.
Grainy Texture
A grainy texture often means the sugar didn’t dissolve properly.
If you substituted cocoa powder, that could be the issue. Stick to Dutch-process cocoa for smoothest results. For extra insurance, sift your dry ingredients together before mixing. The difference in texture will be noticeable in that first velvety bite. 💛
Nutrition Facts

- 6 Egg Cake Recipe with Oil: Light as Air With Buttery Moisture - October 4, 2026
- 4 Bean Casserole Recipe: One-Pan Heartiness With Smoky Paprika Depth - October 4, 2026
- 3-Ingredient Keto Mug Cake Recipe: Microwave Magic in 2 Minutes - October 4, 2026