
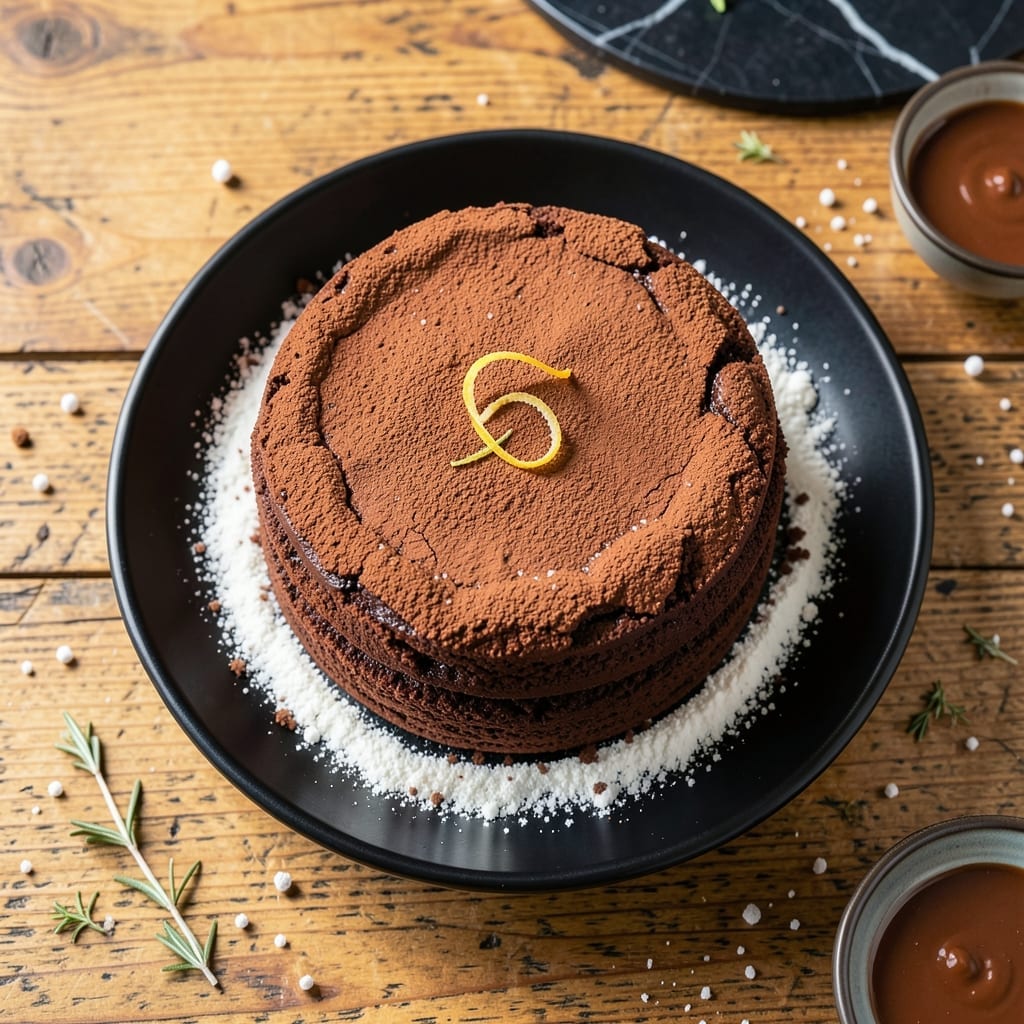
This chocolate cake delivers decadent layers with an unmatched cocoa depth that defines indulgence. Every bite reveals a moist crumb and rich, velvety texture that exceeds bakery standards.
I perfected this recipe through precise measurements and baking times to ensure consistent, restaurant-quality results every time. The process is straightforward yet rewarding.
Ingredients for Cake Recipe Chocolate Cake
Decadent layers begin with precise measurements of quality cocoa and classic pantry staples.
| Ingredient | Amount | Notes |
|---|---|---|
| All-Purpose Flour 🌾 | 2 cups | Sifted for light texture |
| Unsweetened Cocoa Powder 🍫 | 1 ½ cups | Dutch-process for depth |
| Granulated Sugar 🍚 | 2 cups | Fine grain for even distribution |
| Baking Powder 🧂 | 1 ½ tsp | Ensures proper rise |
| Baking Soda 🧂 | 1 ½ tsp | Balances acidity in cocoa |
| Salt 🧂 | 1 tsp | Enhances chocolate flavor |
| Large Eggs 🥚 | 2 whole | Room temperature for best volume |
| Whole Milk 🥛 | 1 cup | Full-fat for richness |
| Vegetable Oil 🫒 | ½ cup | Neutral flavor, keeps moist |
| Vanilla Extract 🌿 | 2 tsp | Pure extract for best flavor |
| Boiling Water 💧 | 1 cup | Blooms cocoa for intensity |
| Unsalted Butter 🧈 | ½ cup | Softened for frosting |
| Powdered Sugar 🍚 | 3 cups | Sifted for smooth frosting |
The cocoa powder is non-negotiable for depth—Hershey’s Special Dark or Ghirardelli deliver the richest results. King Arthur Flour offers consistent quality for the all-purpose base, though any unbleached variety works. For the butter, Land O’Lakes unsalted is a professional standard. Always check expiration dates on baking powder and soda; old leaveners mean flat cakes.
No Dutch-process cocoa? Natural cocoa plus 1/4 tsp more baking soda compensates for acidity. Milk can be swapped for buttermilk (add 1 tsp vinegar to regular milk) for tang. The oil can be melted coconut oil for subtle flavor. For a denser crumb, replace one egg with 1/4 cup applesauce. Always use pure vanilla—imitation lacks complexity.
Store cocoa in a cool, dark place for up to 2 years. The baked cake stays fresh at room temperature for 3 days or frozen for 3 months. Bring all ingredients to room temperature before beginning for optimal texture and rise.
Why You’ll Love This Recipe
- One Bowl Wonder: I mix everything right in the same bowl—flour, cocoa, sugar, and leavening—no extra dishes to wash.
- Deep Chocolate Fix: The unsweetened cocoa powder gives it that rich, bitter-sweet depth I crave in every bite.
- Birthday or Tuesday: Honestly, it works just as well for a last-minute dessert as it does for a celebration.
- Budget Friendly: All-purpose flour and cocoa keep it cheap, and I can stretch one batch into two meals.
Step-by-Step Instructions for Chocolate Cake
Master the process with precision and you’ll create a moist, rich cake with deep cocoa character.
Step 1: Combine Dry Ingredients for Structure
In a large mixing bowl, whisk together the 2 cups All-Purpose Flour, 1.5 cups Unsweetened Cocoa Powder, 2 cups Granulated Sugar, 1.5 tsp Baking Powder, 1.5 tsp Baking Soda, and 1 tsp Salt. Sift these ingredients if your cocoa powder appears lumpy—this ensures even distribution and a smooth batter.
This dry mix forms the foundation of your cake. The combination of baking powder and baking soda creates the perfect lift, while the Dutch-process cocoa powder delivers that intense chocolate flavor you’re after. Don’t rush this step; thorough mixing prevents pockets of dry ingredients in your finished cake.
Step 2: Incorporate Wet Ingredients for Moisture
In a separate bowl, combine the 2 whole Large Eggs, 1 cup Whole Milk, 0.5 cup Vegetable Oil, and 2 tsp Vanilla Extract. Whisk until the mixture is homogeneous and slightly frothy. The vegetable oil ensures a tender crumb, while the eggs provide structure and richness.
Gradually pour the wet mixture into the dry ingredients while stirring with a spatula. Mix just until the batter comes together—overmixing develops gluten, which can make your cake dense. You’ll notice the batter thickens as the flour hydrates, but it should remain pourable.
Step 3: Activate the Cocoa with Boiling Water
Slowly add the 1 cup Boiling Water to the batter while stirring continuously. The batter will thin considerably as the boiling water blooms the cocoa powder, deepening its flavor and color. This step is crucial for achieving that signature rich chocolate taste.
Don’t be alarmed by the thin consistency—this is normal. The boiling water also helps dissolve any remaining sugar granules, ensuring a smooth, even texture in your finished cake. Let the batter rest for 5 minutes to allow the ingredients to fully hydrate before baking.
Step 4: Bake to Perfect Doneness
Preheat your oven to 350°F and prepare two 9-inch round cake pans by greasing them and lining the bottoms with parchment paper. Divide the batter evenly between the pans and smooth the tops with a spatula.
Bake for 30-35 minutes, or until a toothpick inserted into the center comes out with only a few moist crumbs. The cakes should spring back lightly when touched and the edges should begin to pull away from the sides of the pan. Rotate the pans halfway through baking for even browning.
Step 5: Prepare the Rich Chocolate Frosting
Beat the 0.5 cup Unsalted Butter until creamy, then gradually add the 3 cups Powdered Sugar, mixing on low speed to avoid a cloud of sugar. Once incorporated, increase the speed to medium and beat for 2-3 minutes until light and fluffy.
Add 1/4 cup Unsweetened Cocoa Powder from your original measurement and 2 tablespoons Whole Milk to achieve a spreadable consistency. Whip for another 1-2 minutes until the frosting is smooth and glossy. This rich frosting complements the deep cocoa flavor of the cake layers perfectly.
Pro Tips For Making Cake Recipe Chocolate Cake
- Room Temp Ingredients: Pull your eggs and butter out 30-60 minutes before baking—cold ingredients seize up the batter and leave you with a dense cake.
- Sift the Cocoa: Unsweetened cocoa powder clumps like crazy. Sift it first, or you’ll end up with bitter little chocolate specks in your finished cake.
- Don’t Overmix: Once you add the flour, mix just until it disappears. I learned this the hard way after my cake turned out tough and chewy.
- Check at 25 Minutes: Oven times vary wildly. Start testing 5 minutes early—overbaking dries out chocolate cake faster than you’d think.
Storing and Reheating This Dish
🍳 Refrigerator Storage
To keep your chocolate cake fresh, store it in an airtight container or wrap it tightly in plastic wrap. It will stay moist and delicious in the refrigerator for 3-4 days. For best results, place a slice of bread in the container to help retain moisture.
❄️ Freezer Storage
For longer storage, freeze your chocolate cake. Wrap individual slices or the whole cake in plastic wrap, followed by a layer of aluminum foil to prevent freezer burn. Properly stored, it can last for 2-3 months. Thaw overnight in the refrigerator before serving.
🔥 Reheating Methods
To enjoy your cake warm, preheat the oven to 300°F (150°C) and heat slices for 10-15 minutes. For a quicker option, microwave a slice for 20-30 seconds. If using a smoker, maintain a low temperature around 225°F (107°C) and warm for 15-20 minutes to infuse a subtle smoky flavor.
💡 Quality Preservation
To preserve moisture, avoid refrigerating uncovered cakes, as they can dry out. When thawing, do so gradually in the fridge to maintain texture. For extra richness, brush slices with a simple syrup before reheating. This keeps your chocolate cake decadent and fresh-tasting! ✨
Nutrition Facts

- 6 Egg Cake Recipe with Oil: Light as Air With Buttery Moisture - October 4, 2026
- 4 Bean Casserole Recipe: One-Pan Heartiness With Smoky Paprika Depth - October 4, 2026
- 3-Ingredient Keto Mug Cake Recipe: Microwave Magic in 2 Minutes - October 4, 2026