
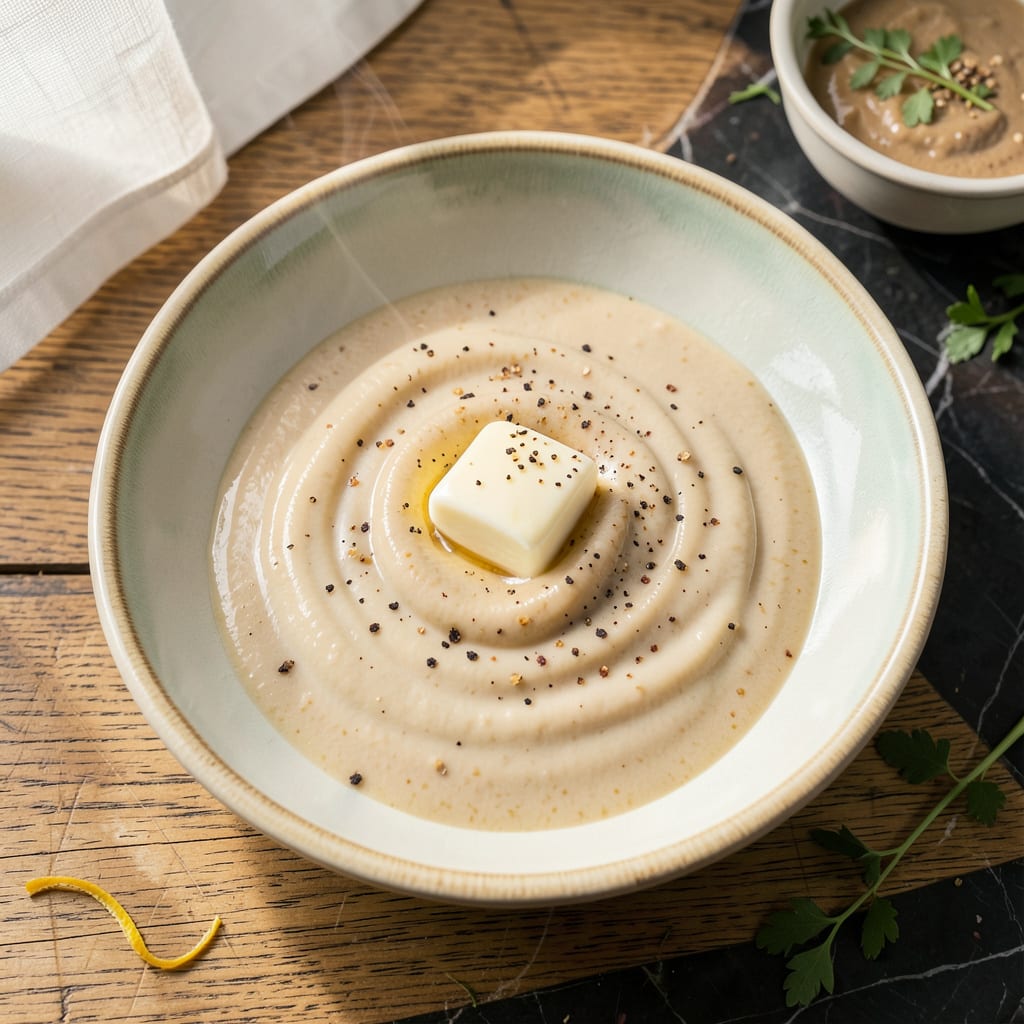
This velvety gravy transforms ordinary meals into comforting classics with minimal effort. Using Campbell’s cream of chicken soup as the base creates a rich, smooth consistency that clings perfectly to mashed potatoes, roasted meats, or flaky biscuits. The beauty lies in its simplicity—just a few pantry staples and 10 minutes stand between you and restaurant-quality results.
The recipe’s versatility makes it indispensable. Adjust thickness with broth or cream, deepen flavor with garlic powder or fresh herbs, or add black pepper for warmth. For those avoiding processed ingredients, substituting homemade cream of chicken soup works seamlessly. This gravy delivers consistent comfort without compromise, elevating everything it touches.
Ingredients for Campbell’s Cream of Chicken Soup Gravy
Eight pantry staples deliver velvety, restaurant-quality gravy with Campbell’s signature creaminess as the foundation.
| Ingredient | Amount | Notes |
|---|---|---|
| Campbell’s Cream of Chicken Soup 🥫 | 1 can | 10.5-ounce size preferred |
| Chicken Broth 🍲 | 1 ½ cups | Low-sodium for better control |
| Whole Milk 🥛 | ½ cup | Full-fat for creaminess |
| Unsalted Butter 🧈 | 2 tbsp | European-style preferred |
| All-Purpose Flour 🌾 | 2 tbsp | For thickening consistency |
| Garlic Powder 🧄 | ½ tsp | Freshly opened for potency |
| Onion Powder 🧅 | ½ tsp | Balances savory depth |
| Black Pepper 🌶️ | ¼ tsp | Freshly ground recommended |
| Kosher Salt 🧂 | ½ tsp | Diamond Crystal preferred |
The Campbell’s cream of chicken soup is non-negotiable for this recipe—10.5-ounce cans yield optimal consistency. Opt for low-sodium chicken broth to maintain flavor control, as commercial soups often contain significant salt. For the milk, whole-fat dairy ensures proper richness, though heavy cream can be substituted for extra decadence. Butter quality matters: European-style (like Plugrá) offers superior fat content for emulsification. All-purpose flour serves as the thickener—avoid self-rising varieties that could alter the gravy’s texture.
For dietary adaptations, homemade cream of chicken soup substitutes seamlessly (use equal volume). Gluten-free versions require cornstarch or arrowroot at half the flour quantity. Dairy-free modifications work with unsweetened almond milk and vegan butter, though texture may vary slightly. Garlic and onion powders can be replaced with fresh minced equivalents at a 3:1 ratio (1 tsp powder = 1 tbsp fresh). Black pepper should always be freshly ground—pre-ground loses volatility within weeks of opening.
Prepared gravy holds for 3 days refrigerated in an airtight container, though it thickens significantly when cold. Reheat gently with additional broth to restore consistency. For longer storage, freeze in ice cube trays (up to 3 months) and reheat individual portions as needed. The flour-butter roux base makes this gravy remarkably stable—unlike cornstarch-thickened versions, it won’t separate when reheated. Always whisk vigorously when incorporating cold gravy into hot applications to prevent lumps.
Why You’ll Love This Recipe
- I’ll be real: the whole thing starts with a can of Campbell’s Cream of Chicken Soup—no chopping, no fancy prep. Just melt butter, whisk in flour, then let the broth and milk turn it into velvety gold while you stir. Even my 12-year-old can handle it (yes, I’ve tested this).
- Five-Ingredient Magic: I’ll be real: the whole thing starts with a can of Campbell’s Cream of Chicken Soup—no chopping, no fancy prep. Just melt butter, whisk in flour, then let the broth and milk turn it into velvety gold while you stir. Even my 12-year-old can handle it (yes, I’ve tested this).
- That “Lick-the-Plate” Richness: The combo of cream of chicken soup and whole milk gives it this just-right thickness—creamy but not gluey—with a depth that plain gravy never hits. And the butter? It adds this subtle nuttiness that makes store-bought gravy taste flat in comparison.
- Sunday Dinner or Tuesday Rescue: Honestly, I’ve drizzled this over mashed potatoes for holiday crowds and also poured it on leftover rotisserie chicken at 7 p.m. on a weeknight. It’s the kind of recipe that doesn’t care if you’re impressing guests or just saving yourself from takeout (again).
Step-by-Step Instructions for Creamy Chicken Soup Gravy
This method delivers velvety, restaurant-quality gravy with foolproof precision and rich flavor development.
Step 1: Create the Roux Base
In a medium saucepan over medium heat, melt the 2 tbsp Unsalted Butter until it begins to foam but doesn’t brown. Immediately whisk in the 2 tbsp All-Purpose Flour to form a smooth paste. This roux serves as the thickening foundation for your gravy.
Cook the roux for 2-3 minutes, stirring constantly with a wooden spoon, until it reaches a pale golden color and emits a nutty aroma. The mixture should bubble gently but not darken. This cooking step removes the raw flour taste while building flavor complexity.
Step 2: Gradually Incorporate Liquids
Slowly pour in the 1.5 cups Chicken Broth while whisking vigorously to prevent lumps from forming. Maintain medium heat and continue whisking until the mixture thickens slightly, about 3-4 minutes. The gravy should coat the back of a spoon but still be pourable.
Add the 1 can Campbell’s Cream of Chicken Soup, whisking until fully incorporated. The soup will immediately add body and richness to your gravy base. Allow the mixture to return to a gentle simmer before proceeding to the next step.
Step 3: Develop Creaminess and Seasoning
Reduce heat to medium-low and stir in the 0.5 cup Whole Milk. This addition creates the signature velvety texture while mellowing the intensity of the chicken flavors. Cook for 2-3 minutes, stirring frequently, until the gravy reaches your desired consistency.
Add the 0.5 tsp Garlic Powder, 0.5 tsp Onion Powder, 0.5 tsp Kosher Salt, and 0.25 tsp Black Pepper. Taste and adjust seasoning if needed, remembering that flavors will intensify slightly as the gravy cools. The spices should complement rather than overpower the chicken base.
Step 4: Final Simmer and Consistency Check
Allow the gravy to simmer gently for 5-7 minutes at low heat. This final cooking stage lets the flavors meld completely while achieving the perfect nappe consistency – thick enough to coat food but still fluid enough to pour smoothly.
As it simmers, skim off any foam that rises to the surface with a spoon. The finished gravy should have a glossy sheen and rich golden color. If it becomes too thick, thin with additional chicken broth 1 tablespoon at a time until reaching the ideal pouring consistency.
Step 5: Rest and Serve
Remove the gravy from heat and let it rest for 2-3 minutes before serving. This brief resting period allows the starches to fully hydrate, preventing separation when plated. The surface should remain smooth with no visible flour particles.
Serve immediately while hot, either poured over mashed potatoes, biscuits, or your favorite protein. The gravy should have a balanced chicken flavor with subtle savory undertones from the spices, and a luxurious mouthfeel that coats each bite perfectly.
Pro Cooking Tips for Great campbells cream of chicken soup gravy
Perfect Roux Technique
The key to lump-free gravy starts with your roux. I always use European-style butter (like Plugrá) because its higher fat content creates a more stable emulsion. Melt it over medium heat until just foaming—not browned—then whisk in the flour immediately. Cook for exactly 2-3 minutes until golden; this removes the raw flour taste while building nutty depth. 🔥
Liquid Temperature Control
When adding broth, temperature matters. I warm my chicken broth to room temperature first (about 70°F) to prevent shocking the roux. Pour it in slowly while whisking constantly—this gradual incorporation ensures a silky texture. If you rush this step, you’ll end up with stubborn lumps that even vigorous whisking won’t eliminate.
Soup Integration Trick
Here’s my secret for seamless soup incorporation: After adding the Campbell’s Cream of Chicken Soup, let the mixture return to a gentle simmer before adding milk. This allows the soup’s starches to fully activate first. I use a silicone spatula to scrape the pan bottom constantly during this phase—it prevents any flour from sticking and burning.
Consistency Mastery
For perfect thickness, I use the “spoon test”: Dip a wooden spoon in the gravy, then run your finger through it. If the line holds for 3 seconds before filling in, you’ve nailed it. Too thick? Thin with warm broth 1 tbsp at a time. Too thin? Simmer uncovered for 2-3 more minutes—the steam will naturally reduce it.
Seasoning Layering
I add spices in stages for balanced flavor. The garlic and onion powders go in with the milk to bloom properly. Salt comes last—I wait until the very end to adjust, as the soup base contains hidden sodium. A final pinch of freshly ground black pepper right before serving adds brightness that pre-ground pepper can’t match. ✨
Resting Protocol
Never skip the 2-3 minute rest off heat. This crucial step lets the starch molecules fully relax, preventing that unpleasant “gummy” texture when served. I cover the pot with a clean towel during resting—it traps just enough heat to keep the gravy warm while allowing excess steam to escape, maintaining the perfect consistency.
Nutrition Facts

- 6 Egg Cake Recipe with Oil: Light as Air With Buttery Moisture - October 4, 2026
- 4 Bean Casserole Recipe: One-Pan Heartiness With Smoky Paprika Depth - October 4, 2026
- 3-Ingredient Keto Mug Cake Recipe: Microwave Magic in 2 Minutes - October 4, 2026