
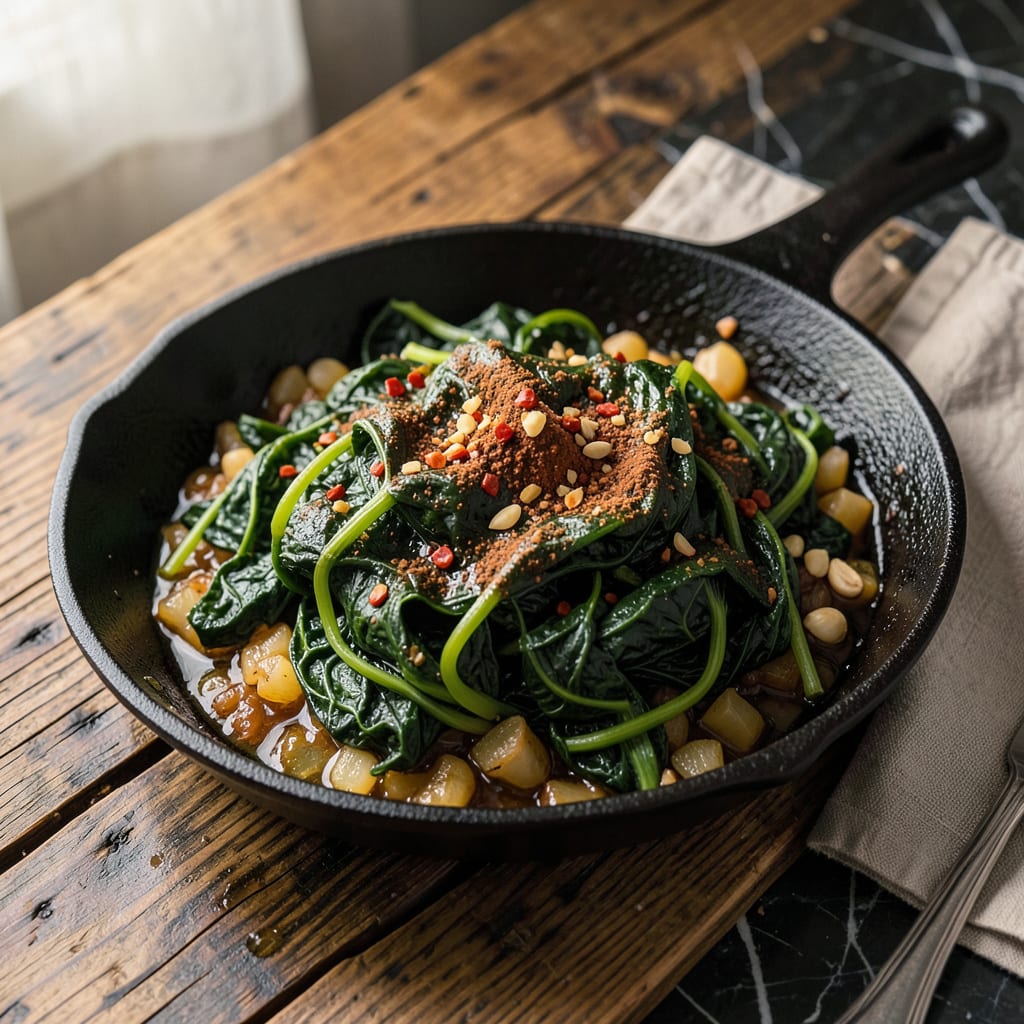
Southern cooking doesn’t always require hours in the kitchen—this canned turnip greens recipe delivers authentic flavor in a fraction of the time. By starting with quality canned greens and layering in traditional seasonings, you can recreate that slow-cooked taste without the long simmering process.
The secret lies in balancing convenience with technique: a quick sauté of onions and garlic builds the flavor foundation, while a splash of vinegar and a pinch of red pepper flakes add that signature Southern tang and heat. Ready in under 30 minutes, these greens pair perfectly with cornbread or as part of a classic meat-and-three spread.
Ingredients for Canned Turnip Greens
Quality canned greens and pantry staples transform into authentic Southern-style turnip greens with minimal effort.
| Ingredient | Amount | Notes |
|---|---|---|
| Canned turnip greens 🥬 | 4 cans | 15-ounce cans, drained and rinsed |
| Yellow onion 🧅 | 1 whole | Medium, finely diced |
| Garlic cloves 🧄 | 4 cloves | Minced for aromatic base |
| Extra-virgin olive oil 🫒 | 3 tbsp | Divided for sautéing and finishing |
| Apple cider vinegar 🍏 | 2 tbsp | For signature Southern tang |
| Red pepper flakes 🌶️ | ½ tsp | Adjust for heat preference |
| Smoked paprika 🌶️ | 1 tsp | For depth of flavor |
| Vegetable broth 🥕 | ½ cup | Low-sodium preferred |
| Coconut sugar 🥥 | 1 tsp | Balances acidity (or maple syrup) |
| Liquid smoke 💨 | ½ tsp | Optional for smoky depth |
| Kosher salt 🧂 | 1 tsp | Diamond Crystal preferred |
| Freshly ground black pepper 🌶️ | ½ tsp | For finishing seasoning |
Optimal quality begins with the canned turnip greens—Glory Foods or Margaret Holmes brands deliver superior texture and flavor. The onion and garlic form the aromatic foundation; Vidalia onions (when in season) add natural sweetness. For the olive oil, California Olive Ranch offers consistent quality at reasonable prices. Smoked paprika should be Spanish pimentón de la Vera for authentic depth, available at specialty grocers or Penzeys online.
Apple cider vinegar can be substituted with white vinegar at equal quantity, though the flavor profile will be sharper. For sweetness, maple syrup or agave nectar work equally well as coconut sugar. Liquid smoke is optional but recommended—Wright’s brand provides reliable quality. If avoiding processed ingredients, substitute with 1/2 teaspoon smoked paprika plus 1/4 teaspoon cayenne for comparable depth. Vegetable broth can be homemade or Imagine brand for consistent results.
Prepared greens maintain quality refrigerated in an airtight container for 4-5 days. The flavor actually improves after 24 hours as ingredients meld. For longer storage, freeze portions in quart-sized bags for up to 3 months. Reheat gently on the stovetop with a splash of broth to restore moisture. The olive oil may solidify when chilled—simply warm to reliquefy before serving.
Why You’ll Love This Recipe
- No-Can-Do Wrong: Honestly, this is my lazy-day secret weapon. Five ingredients—canned greens, onion, garlic, olive oil, vinegar—and zero stress about fresh produce going bad.
- Tangy, Garlicky Magic: That splash of apple cider vinegar at the end? It cuts through the richness and makes the whole dish sing. The garlic gets all golden and mellow in the olive oil—between us, I’ve been known to eat it straight from the pan.
- Meets You Where You Are: I’ve served this with fried chicken on Sundays and straight from the fridge at midnight. It’s just as good cold the next day, which means leftovers actually get eaten.
- Pantry Hero: A can of greens costs less than a coffee, and I always have the rest of the ingredients on hand. When my grocery budget’s tight, this is the dish that saves dinner.
Step-by-Step Instructions for Canned Turnip Greens
This method transforms simple canned greens into a rich, flavorful dish with authentic Southern character.
Step 1: Prepare the Aromatic Base
Heat 2 tablespoons of the extra-virgin olive oil in a large, deep skillet over medium heat. Add the finely diced yellow onion and cook for 5-6 minutes, stirring occasionally, until the onions become translucent and just begin to caramelize at the edges.
Add the minced garlic cloves and cook for an additional 1 minute, stirring constantly to prevent burning. You’ll know it’s ready when the garlic releases its fragrance and turns a pale golden color. This aromatic foundation is crucial for building depth of flavor in the final dish.
Step 2: Build the Flavor Profile
Stir in the red pepper flakes, smoked paprika, and kosher salt. Cook for 30 seconds to bloom the spices, which intensifies their flavors. Immediately add the apple cider vinegar, coconut sugar, and liquid smoke, stirring to combine.
The vinegar will deglaze the pan, lifting any browned bits from the bottom. Allow the mixture to simmer for 2 minutes until slightly reduced. The liquid should develop a glossy sheen and the sugar should fully dissolve, creating a balanced sweet-tangy base for the greens.
Step 3: Incorporate the Greens and Broth
Add the drained and rinsed canned turnip greens to the skillet, breaking them up slightly with a wooden spoon. Pour in the vegetable broth and stir to combine all ingredients. The liquid should just cover the bottom of the skillet without submerging the greens completely.
Bring the mixture to a gentle simmer, then reduce heat to medium-low. Cover and cook for 15-20 minutes, stirring occasionally, until the greens are heated through and the flavors have melded. The greens should darken slightly in color and become tender while retaining some texture.
Step 4: Finish and Adjust Seasoning
Remove the lid and simmer uncovered for an additional 5 minutes to allow any excess liquid to reduce slightly. Stir in the remaining 1 tablespoon of extra-virgin olive oil and the freshly ground black pepper.
Taste and adjust seasoning if needed. The final dish should have a harmonious balance of smoky, tangy, and slightly sweet notes with a subtle heat from the red pepper flakes. The greens should be tender but not mushy, with a glossy coating of the flavorful cooking liquid.
Step 5: Rest and Serve
Remove from heat and let the greens rest for 5 minutes before serving. This brief resting period allows the flavors to fully integrate. The cooking liquid should thicken slightly as it cools, coating the greens more substantially.
Serve warm as a side dish, using a slotted spoon if you prefer less liquid. The greens pair exceptionally well with cornbread or as part of a traditional Southern meal. For best texture, consume within 2 hours of preparation, though they will keep refrigerated for up to 3 days.
Pro Cooking Tips for This Recipe
Perfect Pan Selection
I always reach for my 12-inch cast iron skillet for this recipe—the even heat distribution prevents hot spots that could scorch the onions. A heavy-bottomed stainless steel skillet works equally well if you don’t have cast iron. Avoid nonstick pans here; you want those browned bits to develop for maximum flavor. 🔥
Onion Caramelization Trick
For deeper flavor, let your onions cook 1-2 minutes longer than the recipe suggests, until they develop golden-brown edges. This extra step adds a subtle sweetness that balances the vinegar’s tang. I use a wooden spoon to scrape up any fond that forms—it’s pure flavor gold.
Garlic Timing Precision
The moment your garlic hits the pan, start a 60-second timer. Garlic burns quickly and turns bitter, so keep it moving constantly. I like to mince mine very fine (almost to a paste) so it distributes evenly throughout the dish without overpowering any single bite.
Liquid Balance Secret
After adding the greens, check the liquid level—it should just pool at the bottom of the skillet. If it’s too dry, add 2 tablespoons more broth. Too wet? Remove the lid for the last 5 minutes to let excess evaporate. The perfect consistency coats the greens without making them soupy.
Vinegar Layering Technique
Instead of adding all the vinegar at once, I pour in 1 tablespoon with the spices and reserve the second for the final simmer. This creates two distinct layers of tanginess—one that mellows during cooking and another that brightens the finished dish. The difference is subtle but noticeable.
Resting for Maximum Flavor
Don’t skip the 5-minute rest—this is when the greens absorb the last of the cooking liquid. I often make this dish 30 minutes ahead and reheat gently; the flavors deepen beautifully. Just add a splash of broth when warming to maintain the perfect texture. ✨
Nutrition Facts

- 6 Egg Cake Recipe with Oil: Light as Air With Buttery Moisture - October 4, 2026
- 4 Bean Casserole Recipe: One-Pan Heartiness With Smoky Paprika Depth - October 4, 2026
- 3-Ingredient Keto Mug Cake Recipe: Microwave Magic in 2 Minutes - October 4, 2026