
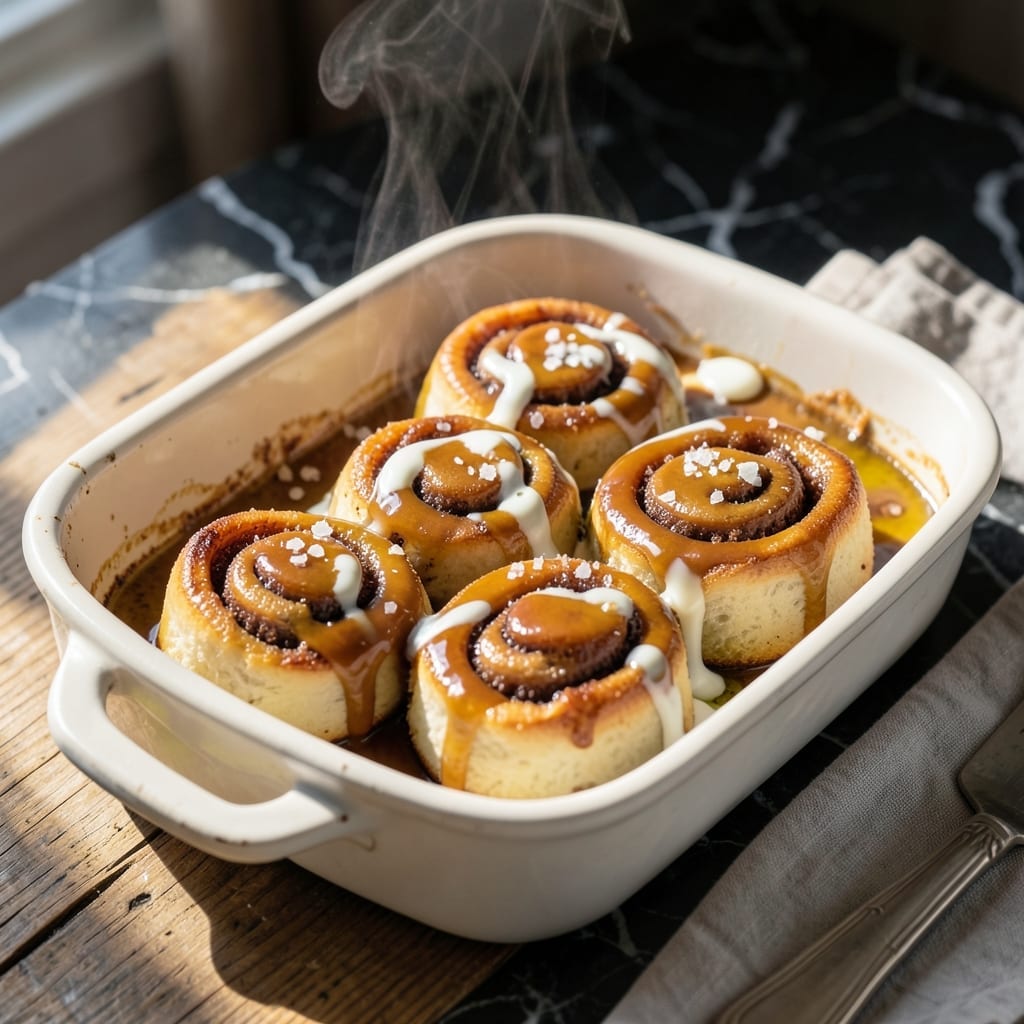
This caramel recipe elevates classic cinnamon rolls into an irresistible pull-apart treat. The secret lies in the perfect balance of sweetness and richness that complements the soft, fluffy dough.
With just a few ingredients and simple techniques, you’ll create a silky glaze that transforms ordinary rolls into a decadent dessert. The caramel bakes into every crevice, creating gooey, finger-licking goodness in each bite.
Ingredients for Caramel Recipe for Caramel Rolls
A few quality ingredients transform into that perfect caramel glaze for your rolls.
| Ingredient | Amount | Notes |
|---|---|---|
| Granulated Sugar 🍚 | 1 ½ cups | Fine white sugar preferred |
| Light Brown Sugar 🟤 | 1 cup | Packed firmly into cup |
| Unsalted Butter 🧈 | ¾ cup | Cut into small cubes |
| Heavy Whipping Cream 🥛 | ½ cup | Full-fat for richness |
| Vanilla Extract 🌿 | 2 tsp | Pure extract for best flavor |
| Sea Salt 🧂 | ½ tsp | Fine grain preferred |
| Light Corn Syrup 💧 | ¼ cup | Prevents crystallization |
| Ground Cinnamon 🌿 | 1 tsp | Freshly ground for intensity |
| All-Purpose Flour 🌾 | 2 tbsp | For thickening if needed |
| Water 💧 | 2 tbsp | For caramel base |
The butter quality directly impacts the final texture. Plugra or European-style gives superior richness, but standard grocery store unsalted butter works well. For the brown sugar, Domino or C&H are reliable brands—avoid anything labeled ‘light’ as it lacks the molasses depth. Vanilla extract should be pure, not imitation; Nielsen-Massey is the gold standard if you’re splurging.
No light corn syrup? Honey or agave at the same amount will work, though the texture may vary slightly. The heavy cream can be swapped for evaporated milk in a pinch, but it won’t be as luscious. If avoiding corn syrup entirely, use glucose syrup (available at baking supply stores). The cinnamon is optional but adds warmth—Ceylon for subtle flavor, Cassia for boldness.
The caramel keeps well for up to 1 week in an airtight container at room temperature. For longer storage, refrigerate for 2 weeks or freeze for 3 months. Reheat gently in the microwave or on the stovetop with a splash of cream to restore that silky consistency.
Why You’ll Love This Recipe
- One-Pot Wonder: I melt everything in a single saucepan—sugars, butter, cream—then just stir and pour. No fancy equipment, no fuss.
- Rich & Buttery: That combo of brown sugar and heavy cream makes it deep, velvety, and just sweet enough to pool in the rolls.
- Holiday or Tuesday: Honestly, I’ve drizzled this over rolls for Christmas morning and also just because it’s hump day.
- Keeps Like a Dream: Leftovers stay soft and spreadable in the fridge, so I can bake fresh rolls days later with zero extra effort.
Step-by-Step Instructions for Caramel Glaze
This method delivers a luxuriously smooth, pourable caramel that sets perfectly for pull-apart rolls.
Step 1: Melt and Combine the Sugars with Butter
In a heavy-bottomed saucepan, combine the 1.5 cups Granulated Sugar, 1 cup Light Brown Sugar, and 0.75 cup Unsalted Butter. Place over medium heat and stir constantly with a wooden spoon until the butter melts completely.
Continue cooking until the mixture reaches a gentle boil. The sugars will dissolve into the butter, creating a smooth, bubbling liquid. This step typically takes 5-7 minutes. Watch for the edges to begin turning a light amber color—this signals the sugars are beginning to caramelize.
Resist the urge to increase the heat. A steady medium heat prevents scorching and ensures even melting. The mixture should look glossy and uniform before proceeding.
Step 2: Incorporate the Liquid Ingredients
Once the sugar-butter mixture is bubbling evenly, carefully pour in the 0.5 cup Heavy Whipping Cream and 0.25 cup Light Corn Syrup. The mixture will bubble vigorously—this is normal. Stir continuously to combine thoroughly.
Add the 2 tbsp Water and continue stirring. The water helps dissolve any remaining sugar crystals and prevents the caramel from seizing. Cook for an additional 3-4 minutes until the mixture returns to a steady boil.
At this stage, the caramel should be a deep golden color and have a silky, slightly thickened consistency. The corn syrup ensures a smooth texture by preventing sugar crystallization, while the cream adds richness.
Step 3: Thicken and Flavor the Caramel
In a small bowl, whisk together the 2 tbsp All-Purpose Flour with a small amount of the hot caramel mixture to create a slurry. This tempers the flour and prevents lumping when added to the saucepan.
Pour the slurry back into the saucepan and stir well to incorporate. The caramel will begin to thicken noticeably within 1-2 minutes. Reduce the heat to low to maintain a gentle simmer.
Stir in the 2 tsp Vanilla Extract, 0.5 tsp Sea Salt, and 1 tsp Ground Cinnamon. The vanilla adds depth, the salt balances sweetness, and the cinnamon provides a warm, aromatic finish. Cook for another 1-2 minutes to allow the flavors to meld.
Step 4: Test and Adjust Consistency
To check the consistency, drizzle a small amount of caramel from a spoon. It should flow smoothly but leave a visible trail. If it’s too thin, simmer for an additional 1-2 minutes to reduce further. If it’s too thick, stir in 1-2 teaspoons of hot water to loosen.
Remove the saucepan from the heat once the desired consistency is achieved. The caramel will thicken slightly as it cools, so aim for a pourable but not runny texture. Let it cool for 2-3 minutes before using.
For caramel rolls, the glaze should be thick enough to cling to the rolls but still spread easily. This balance ensures it soaks into the layers without pooling excessively at the bottom.
Pro Tips For Making Caramel Recipe For Caramel Rolls
- Melt Butter Slowly: Use low heat when melting the butter with sugars—rushing this step can cause separation or graininess. I learned this the hard way after my first three batches turned oily.
- Warm the Cream: Take the heavy whipping cream out of the fridge 10 minutes early so it’s not ice-cold when added to the hot sugar mixture. Cold cream can seize the caramel.
- Skip the Stirring: Once the sugars and butter start bubbling, resist the urge to stir—just swirl the pan occasionally. Stirring can cause crystallization.
- Add Vanilla Last: Stir in the vanilla extract only after removing the caramel from heat. High heat can dull its flavor, and you’ll taste the difference.
Storing and Reheating This Recipe
🍳 Refrigerator Storage
To keep your caramel rolls fresh, store them in an airtight container at room temperature for up to 2 days. For longer storage, place them in the refrigerator, where they’ll stay delicious for 3-4 days. Ensure the container is sealed tightly to prevent the rolls from drying out or absorbing other odors.
❄️ Freezer Storage
For extended storage, freeze your caramel rolls. Wrap each roll individually in plastic wrap, then place them in a freezer-safe bag or container. They’ll maintain their quality for 2-3 months. This method is perfect for batch baking or saving leftovers for a later treat.
🔥 Reheating Methods
To revive your caramel rolls, use the oven for the best results. Preheat to 350°F (175°C) and warm them for 5-10 minutes until soft. For a quick fix, microwave a single roll for 15-20 seconds, but be cautious—it can make them slightly chewy. Avoid reheating in a smoker, as the delicate caramel may burn.
💡 Quality Preservation
To preserve moisture, drizzle a little extra caramel glaze over the rolls before storing. When thawing frozen rolls, leave them at room temperature for 1-2 hours or overnight in the fridge. Avoid thawing in the microwave, as it can unevenly soften the texture.
Nutrition Facts

- 6 Egg Cake Recipe with Oil: Light as Air With Buttery Moisture - October 4, 2026
- 4 Bean Casserole Recipe: One-Pan Heartiness With Smoky Paprika Depth - October 4, 2026
- 3-Ingredient Keto Mug Cake Recipe: Microwave Magic in 2 Minutes - October 4, 2026