
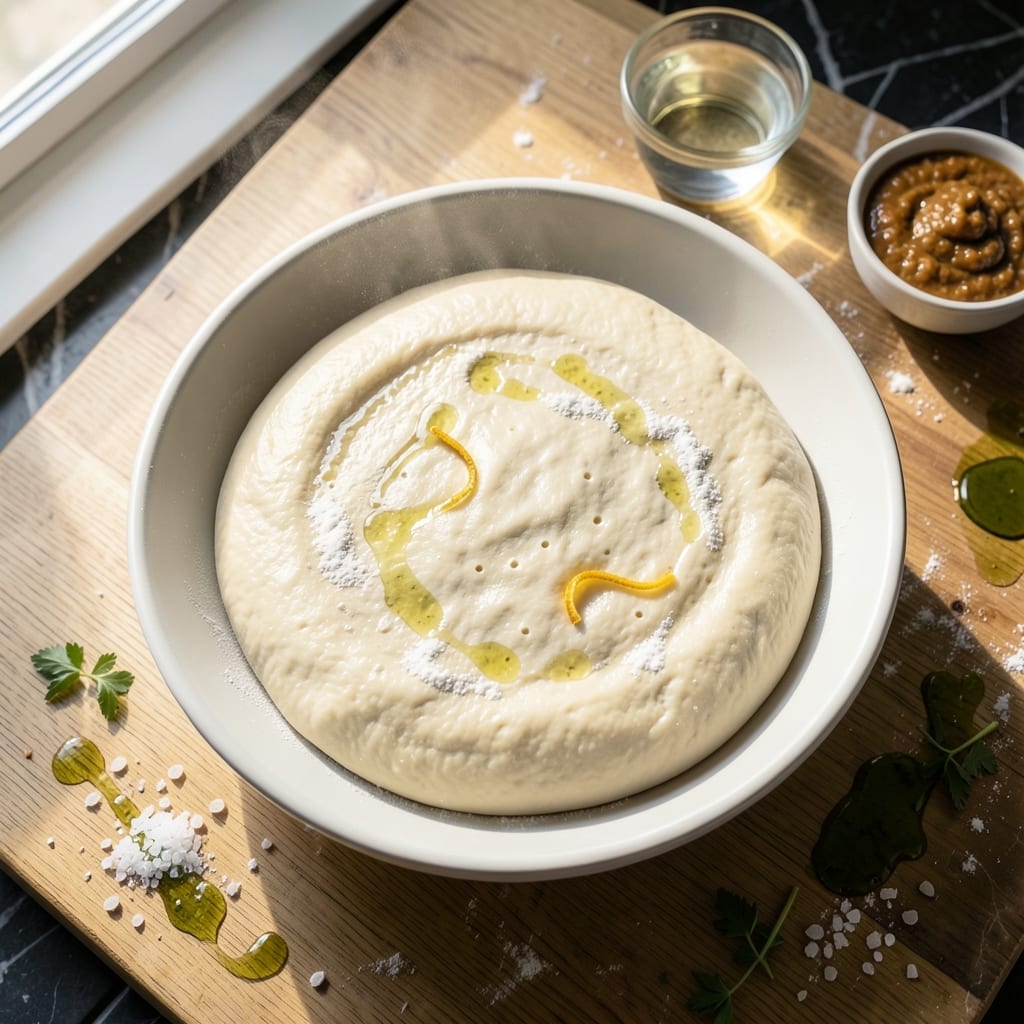
This pizza dough recipe delivers a chewy crust with those coveted airy bubble pockets that make artisanal pies so special. I developed this method after years of testing to create restaurant-quality results at home without professional equipment.
The key is a slow fermentation process that builds flavor and creates the perfect texture. With just 5 ingredients and minimal active time, you can prepare dough that bakes up golden and crispy on the outside while staying soft and elastic inside.
This foundation works for any pizza style, from classic Margherita to loaded meat combinations. The dough handles toppings beautifully, maintaining its structure while still delivering that signature chew.
Let the dough rise in your refrigerator for best results. The longer fermentation develops complex flavors that set this apart from standard recipes.
Ingredients for Casey’s Pizza Dough
Five ingredients transform into chewy, bubbly pizza crust with restaurant-quality texture at home.
| Ingredient | Amount | Notes |
|---|---|---|
| Bread Flour 🌾 | 3 ½ cups | High-protein for chewiness |
| Water 💧 | 1 ½ cups | Warm, about 110°F |
| Active Dry Yeast 🍞 | 2 ¼ tsp | One packet, proofed |
| Sea Salt 🧂 | 2 tsp | Fine grain preferred |
| Extra-Virgin Olive Oil 🫒 | 2 tbsp | For dough elasticity |
The flour is non-negotiable—bread flour’s higher protein content creates that signature chew. King Arthur or Bob’s Red Mill are reliable brands. Yeast freshness is critical; check the expiration date and store unopened packets in the freezer. For water, use filtered if your tap has strong chlorine taste (it can inhibit yeast activity). The olive oil should be high-quality extra-virgin for best flavor development during fermentation.
No bread flour? All-purpose plus 1 tbsp vital wheat gluten per cup gets close. Short on yeast? Instant yeast at 25% less quantity works—skip the proofing step. Sea salt can be swapped for kosher salt at 1.5x the volume. The water temperature matters: too hot kills yeast (above 120°F), too cold slows activation (below 100°F). A kitchen thermometer is worth the investment here.
Dough ferments best in the fridge for 24-48 hours. Store in an oiled bowl with plastic wrap directly on the surface to prevent crusting. For longer storage, portion into balls, wrap in plastic, and freeze for up to 3 months. Thaw overnight in the fridge before using.
Why You’ll Love This Recipe
- No-Fuss Mixing: I just dump the bread flour, yeast, and sea salt in a bowl with water and olive oil—no fancy steps.
- Crispy Yet Chewy: The olive oil gives it that perfect golden crunch while keeping the inside soft and stretchy.
- Endless Topping Fun: Honestly, this dough handles anything from a simple margherita to a loaded veggie feast.
- Budget Friendly: Five basic ingredients I always have on hand, and it makes enough for two large pizzas.
Step-by-Step Instructions for Pizza Dough
Master the technique that creates that signature chewy texture with perfect air pockets every time.
Step 1: Activate the Yeast in Warm Water
Begin by dissolving the 2.25 tsp Active Dry Yeast in 1.5 cups warm Water (aim for 110°F). I use a thermometer for precision—too hot kills the yeast, too cold slows activation. Let it sit for 5-10 minutes until it becomes frothy with small bubbles.
This proofing step confirms your yeast is alive and active. If you don’t see bubbles after 10 minutes, start over with fresh yeast. The water’s warmth jumpstarts fermentation, which is crucial for developing those airy pockets in your crust.
Step 2: Combine Dry Ingredients and Wet Mixture
In a large mixing bowl, whisk together the 3.5 cups Bread Flour and 2 tsp Sea Salt. The high-protein content of bread flour creates the gluten structure needed for that chewy texture. Make a well in the center and pour in the yeast mixture along with 2 tbsp Extra-Virgin Olive Oil.
The olive oil adds elasticity and richness to the dough. Use a wooden spoon to stir until a shaggy dough forms. You’ll notice it starts pulling away from the bowl sides—this indicates the gluten is beginning to develop.
Step 3: Knead Until Smooth and Elastic
Turn the dough onto a lightly floured surface and knead for 8-10 minutes by hand. I push the dough away with the heel of my hand, then fold it back over itself in a rhythmic motion. The dough should become smooth and slightly tacky but not sticky.
You’ll know it’s ready when you can stretch a small piece thin enough to see light through it without tearing (the windowpane test). This level of gluten development traps gas during rising, creating those coveted air pockets in your finished crust.
Step 4: First Rise Until Doubled in Volume
Place the dough in a lightly oiled bowl, turning once to coat all sides. Cover with a damp towel and let rise in a warm, draft-free place for 1-2 hours or until doubled in size. I like to use my oven with the light on for consistent warmth.
The dough should spring back slowly when pressed lightly with your finger. If it springs back quickly, it needs more time. This first rise allows the yeast to ferment, developing flavor and creating air bubbles throughout the dough.
Step 5: Shape and Second Rise for Optimal Texture
Punch down the dough to release air, then divide into portions for your pizzas. Shape each portion into a ball and place on a lightly floured surface. Cover and let rest for another 30-45 minutes.
This second rise relaxes the gluten, making the dough easier to stretch without tearing. You’ll notice the dough becomes more pliable and develops a slightly puffy appearance. At this point, it’s ready to be stretched into your pizza shape and topped with your favorite ingredients.
Pro Tips For Making Casey’S Pizza Dough
- Warm the Water: Use 110°F water for the yeast—any hotter and you’ll kill it, any colder and it won’t activate properly. I learned this the hard way after a few doughs that refused to rise.
- Knead Longer: Don’t stop at 5 minutes; give it 8-10 minutes of solid kneading until the dough is smooth and elastic. It’s the thing that matters most for that chewy texture.
- Use Bread Flour: Skip all-purpose flour—bread flour’s higher protein content makes a real difference in getting that crisp yet chewy crust.
- Let It Rest: After shaping, let the dough rest for 30 minutes before stretching. Sounds weird, but it works—prevents it from snapping back like a rubber band.
Serving Suggestions for This Recipe
Classic Presentation
Stretch the dough thin in the center with a slightly thicker 1-inch border for that perfect crust. I use my hands to create a rustic, irregular shape—don’t worry about perfect circles. Bake on a preheated pizza stone at 475°F for the crispiest bottom. 💛
Topping Arrangement
Less is more with this dough—it’s rich enough to stand alone. For a Margherita, spread ½ cup tomato sauce thinly, then add 8 oz fresh mozzarella torn into pieces. Distribute 6-8 fresh basil leaves after baking to prevent wilting.
Finishing Touches
A drizzle of high-quality olive oil right before serving enhances the crust’s flavor. I like to sprinkle flaky sea salt and red pepper flakes for contrast. Freshly grated Parmigiano-Reggiano adds a nutty depth to any topping combination.
Serving Style
Use a wooden pizza peel to slide your pie onto the stone, then transfer to a cutting board. Let it rest for 2-3 minutes before slicing—this allows the cheese to set. I cut mine into 8 slices for easy sharing.
Accompaniments
Serve with a simple arugula salad dressed with lemon and olive oil. The peppery greens cut through the richness. A chilled Pinot Grigio or sparkling water with lemon pairs beautifully with the chewy crust. 🍷
Nutrition Facts
Frequently Asked Questions
Can I use all-purpose flour instead of bread flour?
Yes, but add 1 tbsp vital wheat gluten per cup to boost protein. Bread flour’s higher protein creates better chew, but this substitution works in a pinch. The texture will be slightly less elastic.
How long can I refrigerate the dough?
Store in an oiled bowl with plastic wrap for 24-48 hours. The cold fermentation develops complex flavors and improves texture. Avoid exceeding 72 hours as it may overproof.
Why didn’t my dough rise properly?
Check yeast freshness first—old yeast loses potency. Ensure water temperature stays between 100-110°F. Drafts or cold environments can also slow rising.
Can I freeze the dough for later use?
Portion into balls, wrap tightly, and freeze for up to 3 months. Thaw overnight in the fridge before using. Avoid refreezing after thawing.

- 6 Egg Cake Recipe with Oil: Light as Air With Buttery Moisture - October 4, 2026
- 4 Bean Casserole Recipe: One-Pan Heartiness With Smoky Paprika Depth - October 4, 2026
- 3-Ingredient Keto Mug Cake Recipe: Microwave Magic in 2 Minutes - October 4, 2026