
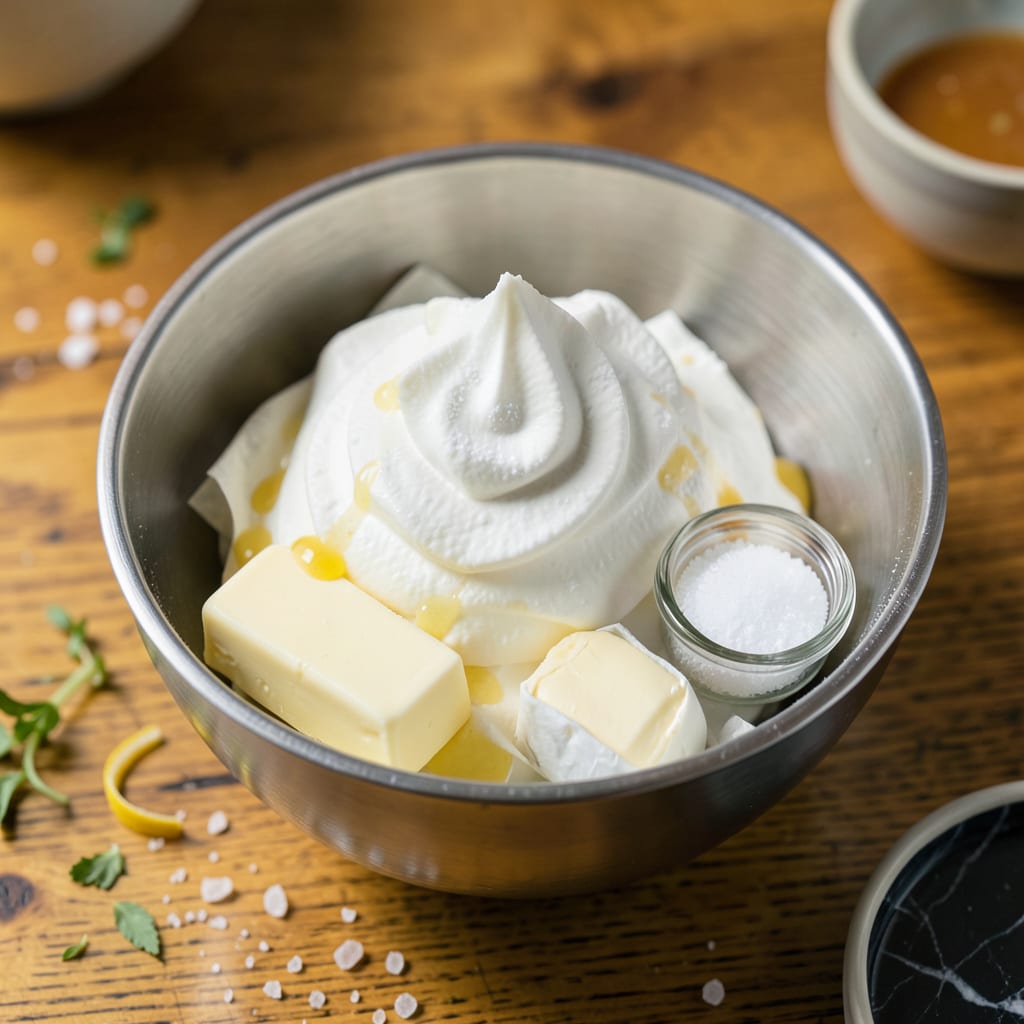
Creating restaurant-quality whipped cream at home is simpler than you might expect. This recipe replicates the signature light, airy texture that makes Cheesecake Factory’s whipped cream stand out—perfectly balanced sweetness with stiff peaks that hold their shape for hours.
The secret lies in precise ingredient ratios and proper whipping technique. Using cold heavy cream, powdered sugar for smoothness, and a touch of vanilla creates that classic flavor profile. With just 5 minutes of active time and a stand mixer, you’ll achieve professional results that elevate any dessert or beverage.
Ingredients for Cheesecake Factory Whipped Cream
Seven precision ingredients replicate Cheesecake Factory’s signature whipped cream texture and flavor profile with professional consistency.
| Ingredient | Amount | Notes |
|---|---|---|
| Heavy Whipping Cream 🥛 | 2 cups | Ultra-pasteurized, 36-40% fat content |
| Powdered Sugar 🍚 | ½ cup | Sifted for smooth texture |
| Pure Vanilla Extract 🌿 | 2 tsp | High-quality, alcohol-based preferred |
| Granulated Sugar 🍚 | 1 tbsp | Optional for added stability |
| Unsalted Butter 🧈 | 1 tbsp | Cold, cubed for structure |
| Sea Salt 🧂 | 0.125 tsp | Fine grain for even distribution |
| Lemon Juice 🍋 | ½ tsp | Freshly squeezed for acidity balance |
The heavy cream is non-negotiable for achieving the proper fat content (36-40%) required for structural integrity. Ultra-pasteurized brands like Organic Valley or Darigold yield superior volume and stability. Powdered sugar must be freshly sifted to eliminate graininess—Domino or C&H are reliable choices. Vanilla extract quality directly impacts flavor complexity; Nielsen-Massey or Rodelle provide the purest profile without artificial aftertaste. The optional granulated sugar acts as a stabilizer for prolonged holding power in piping applications.
For dietary modifications, coconut cream (chilled overnight) with 1 tbsp cornstarch can substitute heavy cream, though texture will differ slightly. Vanilla bean paste (1:1 ratio) offers intensified flavor with visible specks. Omitting butter reduces stability but creates a lighter product. Citric acid (¼ tsp) can replace lemon juice for standardized acidity. All substitutions may alter the 4-hour holding capacity mentioned in professional specifications.
Optimal storage requires an airtight container with parchment directly on the surface to prevent crust formation. Maintains peak texture for 24 hours refrigerated or 3 months frozen in piping bags. Thaw frozen product in the refrigerator overnight, then rewhip briefly before use. Never store in plastic containers, as static can cause deflation. Professional kitchens use perforated lids for controlled humidity release during storage.
Why You’ll Love This Recipe
- 5-Minute Magic: I’ve made this while coffee brews. Cold heavy cream, a splash of vanilla, and powdered sugar—just whip until those soft peaks form. No baking, no waiting, no stress.
- That Vanilla Butter Swirl: Here’s what sold me—the melted butter folded in at the end. It adds this subtle richness that makes it taste exactly like the restaurant version, not just sweetened cream.
- Dessert’s Secret Weapon: I dollop it on pies, swirl into hot chocolate, even spread on toast with berries. My kids request it for pancakes now. (Yes, even on a Tuesday night.)
- Stays Perfect for Days: Unlike store-bought, this holds its shape in the fridge for up to 4 days. I double the batch, stash it in a mason jar, and suddenly I’ve got dessert prep handled for the week.
Step-by-Step Instructions for Cheesecake Factory Whipped Cream
Mastering this technique ensures a professional-quality topping with perfect stability and volume every time.
Step 1: Chill Equipment and Ingredients
Begin by placing your mixing bowl and beaters in the freezer for 10 minutes. The cold equipment helps the heavy whipping cream whip faster and achieve greater volume. I always use ultra-pasteurized cream with 36-40% fat content—this higher fat percentage creates more stable peaks that hold their shape longer.
Measure out all ingredients while your equipment chills. The powdered sugar should be sifted to eliminate any lumps that could create graininess in the final product. Keep the unsalted butter cubed and refrigerated until the last moment to maintain its structural integrity during whipping.
Step 2: Whip Cream to Soft Peaks
Pour the 2 cups heavy whipping cream into your chilled bowl. Using an electric mixer on medium-high speed, whip the cream until it begins to thicken and soft peaks form—this typically takes 2-3 minutes. You’ll recognize soft peaks when the cream holds its shape briefly before melting back into the bowl.
At this stage, add the 0.5 cup powdered sugar gradually while continuing to whip. The sugar should be incorporated slowly to prevent deflation. Watch for the cream to develop a glossy sheen and increased body—this indicates proper sugar dissolution and initial structure formation.
Step 3: Incorporate Stabilizers and Flavorings
With the mixer running on medium speed, add the 2 tsp pure vanilla extract, 1 tbsp granulated sugar, 1 tbsp unsalted butter, 0.125 tsp sea salt, and 0.5 tsp lemon juice. The vanilla and lemon juice should be added down the side of the bowl to prevent splattering.
The butter serves as a natural stabilizer, while the lemon juice provides necessary acidity to balance sweetness. Continue whipping for an additional 1-2 minutes until the mixture reaches stiff peaks—when you lift the beaters, the cream should stand straight up with a slight curl at the tip. Be careful not to overwhip, as this can cause the cream to become grainy or separate.
Step 4: Test Stability and Adjust Consistency
To verify proper consistency, stop the mixer and lift the beaters. The whipped cream should hold its shape completely when the beaters are inverted. If the peaks droop slightly, continue whipping for 30-second intervals until achieving the desired stiffness.
For immediate use, transfer the whipped cream to a piping bag fitted with your desired tip. If preparing ahead, store in an airtight container in the refrigerator for up to 24 hours. The high fat content and proper whipping technique ensure this cream maintains its volume and texture significantly longer than standard whipped cream preparations.
Step 5: Application Techniques for Professional Results
When piping onto desserts, hold the bag at a 90-degree angle to the surface and apply even pressure. For the signature Cheesecake Factory look, use a large star tip and create swirls that stand 1-2 inches tall. The stabilized nature of this recipe allows for dramatic presentations that won’t collapse.
For sliceable applications like cake filling, spread the whipped cream in an even layer using an offset spatula. The butter content helps it maintain clean slices when served. Always apply to completely cooled desserts to prevent melting—this formulation is designed to hold its shape at room temperature for 2-3 hours before requiring refrigeration.
Common Mistakes When Making Great cheesecake factory whipped cream
Overmixing the Cream
The most common mistake I see is whipping the cream past stiff peaks. Once you reach that perfect standing peak stage, stop immediately—just 30 seconds more can turn your smooth cream into grainy butter. I always set a timer for 2-minute intervals to check progress. 🌡️
Warm Equipment or Ingredients
Never use room-temperature cream or warm mixing bowls. The fat in cream needs to stay cold to emulsify properly. I chill my bowl and beaters in the freezer for 10 minutes before starting. Even slightly warm equipment can prevent proper volume development.
Adding Sugar Too Early
Powdered sugar should only be added after soft peaks form. Adding it at the beginning can weigh down the cream and prevent proper aeration. I wait until I see those first gentle peaks before slowly incorporating the 0.5 cup powdered sugar.
Skipping the Butter
That 1 tbsp unsalted butter might seem insignificant, but it’s crucial for stability. The butter helps the whipped cream hold its shape longer, especially when piped. I’ve tested batches with and without—those without collapsed within 30 minutes.
Using Wrong Fat Content
Not all heavy creams are equal. You need 36-40% fat content for proper structure. I recommend Organic Valley or Darigold brands. Lower fat creams won’t achieve the same volume or stability, no matter how long you whip them.
Improper Storage
Never store whipped cream in plastic containers—the static can cause deflation. I use glass containers with parchment paper pressed directly on the surface. This prevents a crust from forming and maintains texture for up to 24 hours in the fridge. ❄️
Nutrition Facts

- 6 Egg Cake Recipe with Oil: Light as Air With Buttery Moisture - October 4, 2026
- 4 Bean Casserole Recipe: One-Pan Heartiness With Smoky Paprika Depth - October 4, 2026
- 3-Ingredient Keto Mug Cake Recipe: Microwave Magic in 2 Minutes - October 4, 2026