
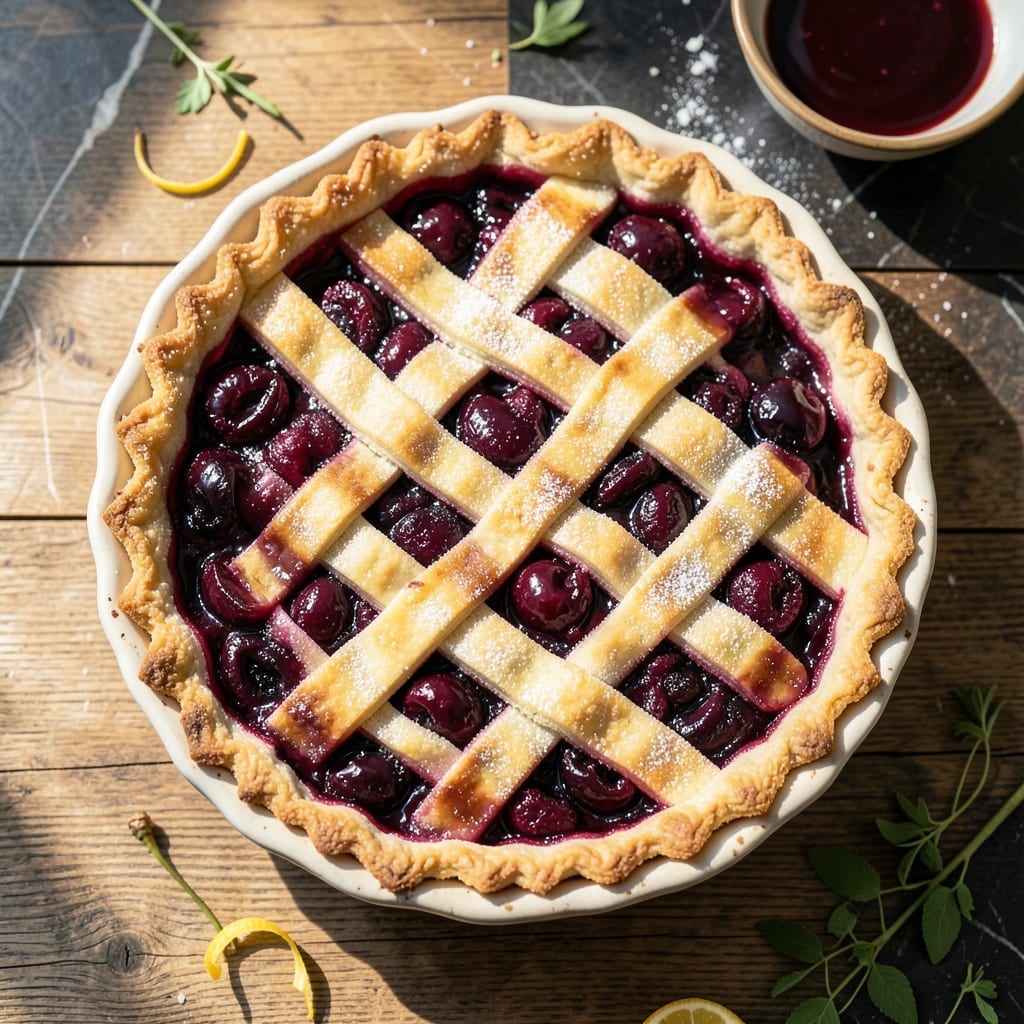
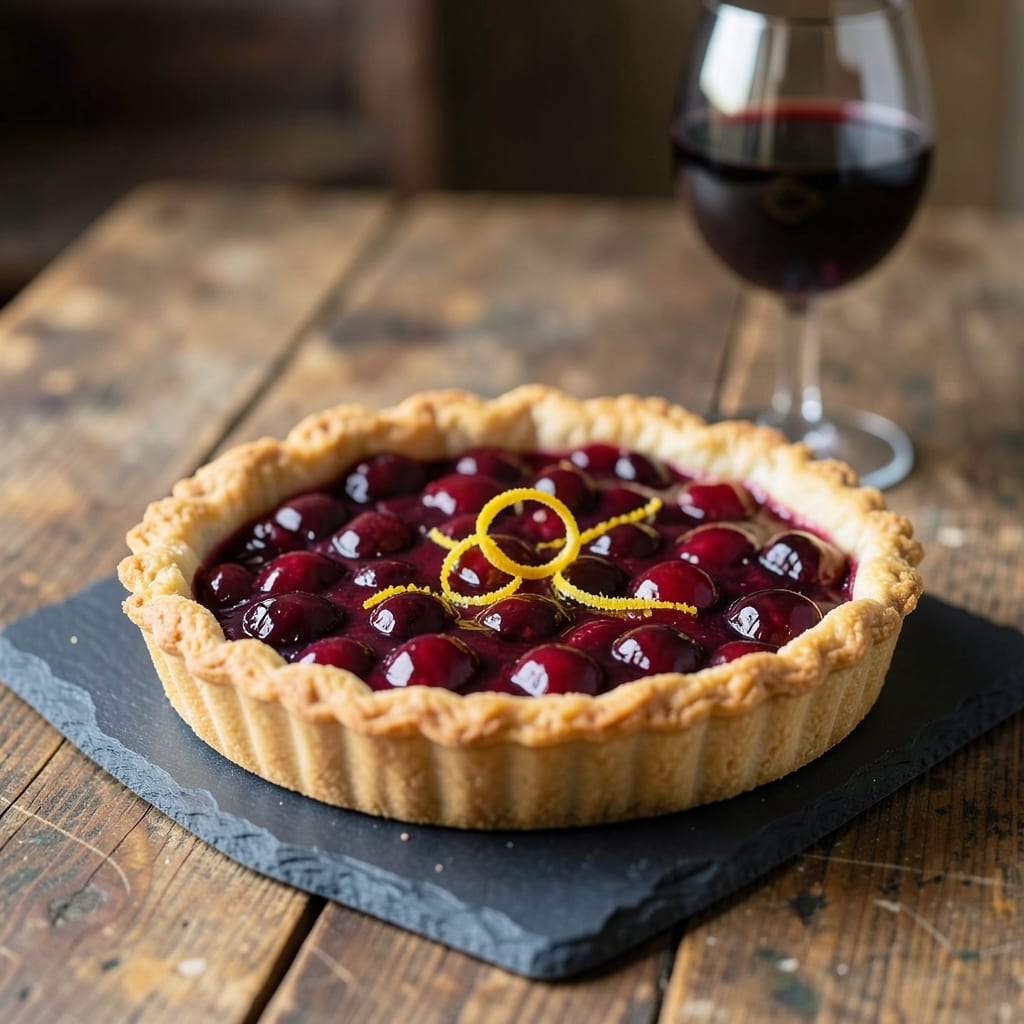
This pie delivers a flaky crust and perfectly balanced tart-sweet filling, proving frozen cherries can rival fresh. The secret lies in proper thawing and a precise thickening method.
You’ll achieve golden pastry and vibrant filling with minimal effort. The technique ensures no soggy bottoms and a filling that sets beautifully every time.
Ingredients for Cherry Pie Recipe Using Frozen Cherries
These quality ingredients create a pie with flaky crust and perfectly balanced tart-sweet filling.
| Ingredient | Amount | Notes |
|---|---|---|
| All-Purpose Flour 🌾 | 2 ½ cups | Plus extra for dusting |
| Granulated Sugar 🍚 | ¾ cup | Divided for filling and crust |
| Unsalted Butter 🧈 | 1 cup | Cold, cubed for crust |
| Ice Water 💧 | ¼ cup | Plus 1 tbsp as needed |
| Frozen Tart Cherries 🍒 | 6 cups | Thawed and drained |
| Cornstarch 🌾 | ¼ cup | For thickening filling |
| Lemon Juice 🍋 | 1 tbsp | Freshly squeezed |
| Almond Extract 🌰 | ½ tsp | Pure extract preferred |
| Vanilla Extract 🍃 | 1 tsp | Pure extract preferred |
| Salt 🧂 | ¼ tsp | Fine sea salt |
| Egg 🥚 | 1 whole | For egg wash |
| Light Brown Sugar 🍚 | 1 tbsp | For sprinkling on crust |
[recipeingredientscaler]
The butter is critical here—use a high-fat European-style brand like Plugrá or Kerrygold for maximum flakiness. King Arthur Flour is ideal for the crust, but any all-purpose works. For the cherries, Oregon Fruit Products or Woodstock Farms frozen tart cherries (often labeled ‘Montmorency’) deliver the best flavor. Ensure they’re fully thawed and drained to prevent a watery filling.
No almond extract? Substitute vanilla at twice the amount, but the almond adds depth. Cornstarch can be swapped with instant tapioca at a 1:1 ratio for thickening. If using sweet cherries, reduce sugar by one-third and add an extra teaspoon of lemon juice for balance. The egg wash can be replaced with a tablespoon of milk or cream for a lighter finish.
The dough can be made 2 days ahead and refrigerated, or frozen for up to 3 months. The prepared pie bakes best the same day but keeps well at room temperature for 2 days. Reheat slices in a 350°F oven for 10 minutes to revive the crust’s crispness.
Why You’ll Love This Recipe
- No-Thaw Needed: I just dump the frozen cherries straight into the filling—no waiting, no fuss, and they release the perfect amount of juice as they bake.
- Buttery Crust Perfection: The flaky layers from cold butter and ice water wrap around that sweet-tart cherry filling like a warm hug.
- Weekend or Weeknight: Honestly, I’ve served this for Sunday dessert and also just because it’s Tuesday and we needed a pick-me-up.
- Budget-Friendly Crowd Pleaser: A bag of frozen tart cherries costs less than fresh, and one pie feeds my whole family with slices left for breakfast the next day.
Step-by-Step Instructions for Cherry Pie with Frozen Cherries
Master these precise steps for a golden, flaky crust and a perfectly balanced tart-sweet filling.
Step 1: Prepare the Pie Crust Dough
In a large bowl, combine the 2.5 cups all-purpose flour and 0.25 tsp salt. Cut in the 1 cup cold unsalted butter, cubed, using a pastry cutter or fork until the mixture resembles coarse crumbs with some pea-sized butter pieces remaining.
Gradually add the 0.25 cup ice water, 1 tablespoon at a time, mixing gently with a fork until the dough just begins to come together. The dough should hold when pressed but not be sticky. Divide into two equal portions, shape into disks, and wrap in plastic. Chill for 1 hour—this resting period relaxes the gluten for easier rolling and prevents shrinking during baking.
Step 2: Make the Cherry Filling
In a large bowl, gently toss the 6 cups thawed and drained frozen tart cherries with 0.75 cup granulated sugar, 0.25 cup cornstarch, 1 tablespoon lemon juice, 0.5 tsp almond extract, and 1 tsp vanilla extract.
Let the filling sit for 15 minutes to allow the cornstarch to begin absorbing the juices. Stir once more before assembling the pie—this ensures the filling thickens evenly. The mixture should look glossy and slightly syrupy, a sign the starch is activating properly.
Step 3: Assemble the Pie
On a lightly floured surface, roll one dough disk into a 12-inch circle. Transfer to a 9-inch pie dish, pressing gently into the bottom and up the sides. Trim the edges, leaving a ½-inch overhang. Spoon the cherry filling into the crust, spreading it evenly and leaving any accumulated liquid behind.
Roll the second dough disk into another 12-inch circle. Place it over the filling, then trim and crimp the edges to seal. Cut 4-5 slits in the top crust to allow steam to escape. Brush the entire surface with a beaten egg and sprinkle with 1 tablespoon light brown sugar.
Step 4: Bake to Golden Perfection
Preheat the oven to 375°F. Place the pie on a baking sheet to catch any drips. Bake on the lower oven rack for 50-60 minutes until the crust is deep golden brown and the filling is bubbling through the vents.
If the edges begin browning too quickly, cover them with aluminum foil. The pie is done when the surface is uniformly golden brown and the juices are thick and syrupy. Remove from the oven and cool on a wire rack for at least 2 hours before slicing—this allows the filling to set completely.
Pro Tips For Making Cherry Pie Recipe Using Frozen Cherries
- Thaw and Drain: Always thaw frozen cherries completely and drain excess liquid—about 30 minutes on the counter—to prevent a soggy crust. I learned this the hard way after my first pie turned into a soupy mess.
- Chill the Dough: Let the pie dough rest in the fridge for at least 1 hour before rolling. After burning three batches with shrinking crusts, I finally figured out this step keeps the butter cold and the layers flaky.
- Vent the Top: Cut 4-5 small slits in the top crust to let steam escape, or your filling will bubble out and make a mess in the oven. My grandmother swore by this, and she was right.
- Use Ice Water: When making the crust, use actual ice water—about 3-4 tablespoons—to keep the butter from melting too soon. Sounds weird, but it works: the colder the dough, the better the texture.
Essential Equipment for cherry pie recipe using frozen cherries
Must-Have Tools
To nail your cherry pie recipe using frozen cherries, start with a 9-inch pie dish—glass or ceramic works best for even baking. A rolling pin is non-negotiable for smoothing out that flaky crust, and a pastry cutter or fork helps blend cold butter into the dough. Don’t forget a mixing bowl for the filling!
Nice-to-Have
A food processor (like the Cuisinart DFP-14BCNY) speeds up crust prep, while a pie crust shield prevents over-browning. For precision, a kitchen scale ensures consistent measurements. A bench scraper also makes dividing dough a breeze.
Budget Alternatives
No pastry cutter? Use two forks or a butter knife. Swap a wine bottle for a rolling pin, and a muffin tin can double as a pie dish in a pinch. Parchment paper works as a DIY crust shield—just cover the edges! 💡
Nutrition Facts

- 6 Egg Cake Recipe with Oil: Light as Air With Buttery Moisture - October 4, 2026
- 4 Bean Casserole Recipe: One-Pan Heartiness With Smoky Paprika Depth - October 4, 2026
- 3-Ingredient Keto Mug Cake Recipe: Microwave Magic in 2 Minutes - October 4, 2026