
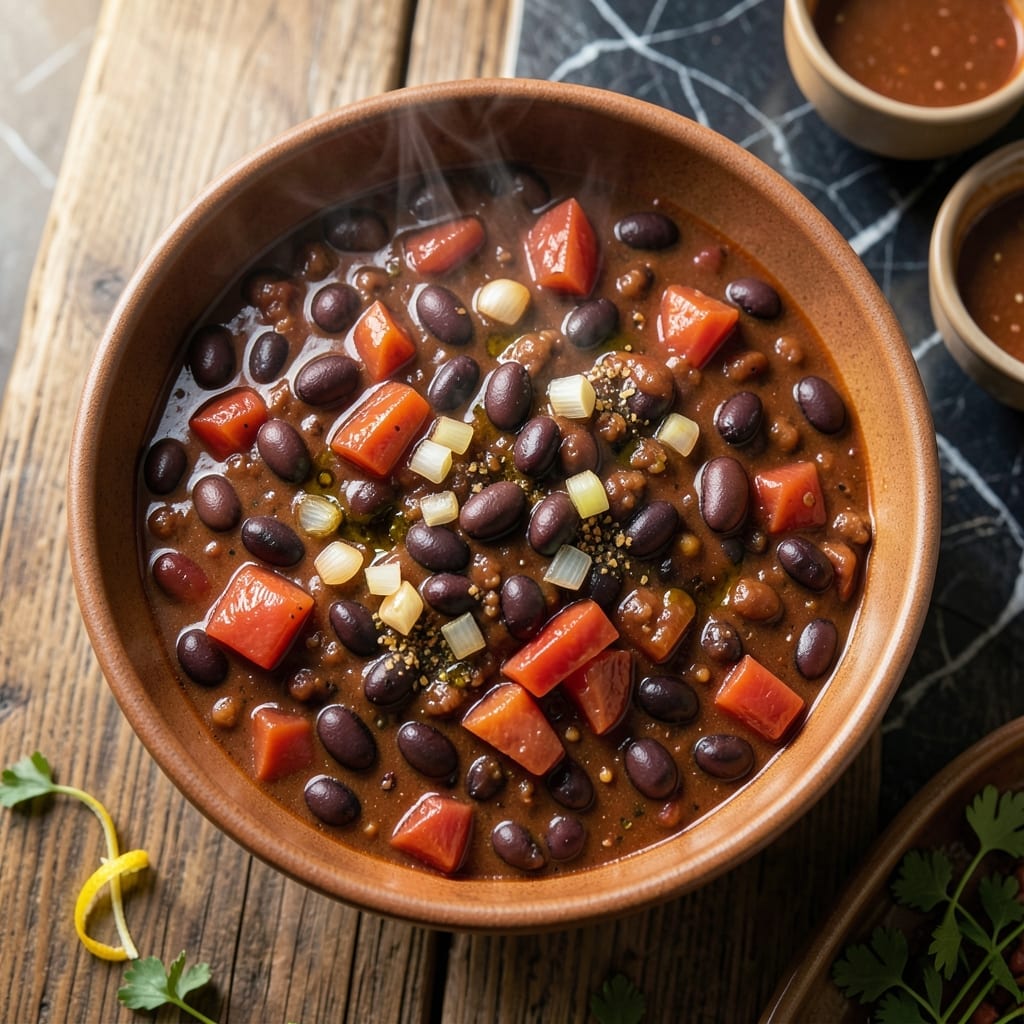
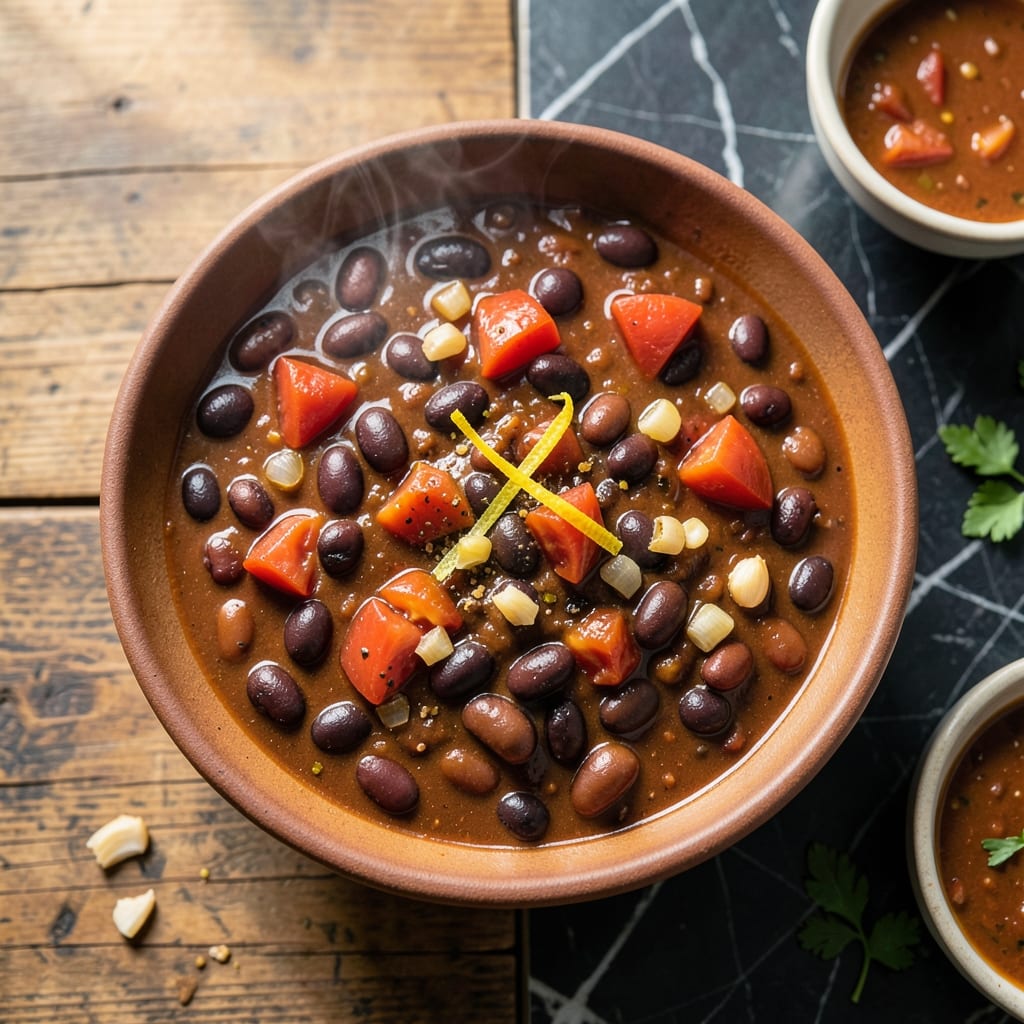
This one-pot chili brings everyone to the table with its rich, hearty flavors and satisfying texture. I’ve refined this recipe over years of feeding crowds, ensuring it delivers deep, comforting warmth in every bite.
Perfect for gatherings, this dish combines simple ingredients into a meal that’s as easy to make as it is to love. The beans add substance, while the slow simmer builds layers of flavor that taste like tradition.
Ingredients for Chili Recipe with Beans
Simple pantry staples and fresh veggies build this satisfying one-pot meal everyone loves.
| Ingredient | Amount | Notes |
|---|---|---|
| Black Beans 🫘 | 2 cans | Drained and rinsed thoroughly |
| Kidney Beans 🫘 | 2 cans | Drained and rinsed thoroughly |
| Diced Tomatoes 🍅 | 2 cans | With juices, fire-roasted preferred |
| Tomato Paste 🍅 | ¼ cup | For depth of flavor |
| Yellow Onion 🧅 | 1 whole | Medium, finely diced |
| Garlic Cloves 🧄 | 4 cloves | Minced for aromatic base |
| Green Bell Pepper 🌶️ | 1 whole | Diced, about 1 cup |
| Jalapeño Pepper 🌶️ | 1 whole | Seeds removed, finely diced |
| Chili Powder 🌶️ | 2 tbsp | Mild or hot variety |
| Ground Cumin 🌿 | 1 tbsp | Toasted for deeper flavor |
| Smoked Paprika 🌶️ | 1 tsp | For smoky depth |
| Dried Oregano 🍃 | 1 tsp | Mexican oregano preferred |
| Vegetable Broth 🥣 | 4 cups | Low-sodium for control |
| Olive Oil 🫒 | 2 tbsp | Extra-virgin for richness |
| Salt 🧂 | 1 tsp | Kosher or sea salt |
The beans are the backbone here. Canned beans from Eden Organic or Goya are reliable for texture and flavor. Fire-roasted diced tomatoes add a smoky depth that plain tomatoes can’t match—Muir Glen is my go-to brand. For the broth, low-sodium vegetable broth lets you control the salt content as the chili simmers and reduces. Fresh produce like the bell pepper and jalapeño should be firm and vibrant (avoid any with soft spots).
Need to swap a bean? Pinto beans work just as well as black or kidney. No fresh peppers? Frozen bell peppers (thawed and drained) save the day. Out of tomato paste? Double the chili powder plus a splash of broth gets you close. For heat control, reduce or omit the jalapeño seeds. The smoked paprika is key for that traditional chili flavor—if you don’t have it, regular paprika plus a pinch of liquid smoke works in a pinch.
This chili tastes even better the next day once all the flavors meld. Store leftovers in airtight containers in the fridge for up to 5 days or freeze for 3 months. Reheat gently on the stove with a splash of broth to restore the perfect consistency (the microwave works too, but stir often).
Why You’ll Love This Recipe
- Dump and Stir: I just toss in the cans of beans, tomatoes, and a quick chop of onion—no fancy steps.
- Rich and Hearty: The kidney beans and black beans soak up the tomato paste for a deep, savory bite.
- Feeds a Crowd: I make a big pot on Sunday and it covers lunches for the whole week.
- Leftovers for Days: Honestly, it tastes even better the next day, and my wallet loves the budget-friendly ingredients.
Step-by-Step Instructions for Chili With Beans
This one-pot method delivers rich, hearty chili with minimal cleanup and maximum flavor.
Step 1: Sauté the Aromatic Base
Heat the 2 tbsp Olive Oil in a large Dutch oven or heavy pot over medium heat. Add the finely diced 1 whole Yellow Onion and cook for 4-5 minutes until the pieces soften and become translucent.
Next, stir in the diced 1 whole Green Bell Pepper and finely diced 1 whole Jalapeño Pepper. Continue cooking for another 3-4 minutes until the vegetables begin to soften. Add the 4 cloves Garlic Cloves and cook for 30 seconds until fragrant, stirring constantly to prevent burning.
Step 2: Toast the Spices and Build Flavor
Push the vegetables to one side of the pot and add the 2 tbsp Chili Powder, 1 tbsp Ground Cumin, 1 tsp Smoked Paprika, and 1 tsp Dried Oregano to the cleared space. Toast the spices for 30-45 seconds until they become aromatic—this step deepens their flavors.
Stir the spices into the vegetables, then add the 0.25 cup Tomato Paste. Cook for 2 minutes, stirring frequently, until the paste darkens slightly in color. This process removes the raw taste and enhances the richness of the dish.
Step 3: Combine All Ingredients and Simmer
Pour in the 2 cans Diced Tomatoes (with juices) and 4 cups Vegetable Broth, scraping the bottom of the pot to release any browned bits. Add the 2 cans Black Beans and 2 cans Kidney Beans, both drained and rinsed thoroughly.
Stir in the 1 tsp Salt and bring the mixture to a boil. Once boiling, reduce the heat to low, cover the pot, and let the chili simmer for 25-30 minutes. Stir occasionally to prevent sticking.
Step 4: Adjust Consistency and Seasoning
After simmering, remove the lid and check the consistency. If the chili is too thick, add a splash of water or additional broth to reach your desired texture. Taste and adjust seasoning if needed—you may want to add more Salt or a pinch of Chili Powder for extra depth.
Let the chili simmer uncovered for another 10 minutes to allow the flavors to meld together fully. The beans should be tender, and the sauce should coat the back of a spoon. Serve hot, and enjoy the hearty, comforting result of this one-pot meal.
Pro Tips For Making Chili Recipe With Beans
- Bloom the Paste: Cook the tomato paste for 2-3 minutes in the pot before adding liquids—this deepens the flavor and removes the raw tinny taste. I learned this the hard way after wondering why my chili always tasted flat.
- Rinse the Beans: Drain and rinse both the black and kidney beans thoroughly to remove excess starch and sodium. It’s a small step that actually changes the outcome, giving you a cleaner, more balanced bite.
- Skip Pre-Salting Beans: Add salt only after the beans have simmered for at least 20 minutes, or they’ll stay tough. My grandmother swore by this, and she was right: patience here means tender beans every time.
- Use Canned Tomatoes: Sounds weird, but it works: canned diced tomatoes break down faster and blend into the chili better than fresh. I was skeptical until I tried it—now I never go back.
Serving Suggestions for This Recipe
🥘 Plating Styles
For a casual gathering, serve your chili recipe with beans in deep bowls with a rustic touch. For a more formal presentation, opt for shallow, wide-rimmed dishes to showcase the rich texture. At buffets, use a slow cooker or chafing dish to keep it warm and inviting for guests to serve themselves.
🌿 Garnishing Techniques
Enhance your chili with fresh toppings like chopped cilantro, diced onions, or shredded cheese. Use sour cream or avocado slices for a creamy contrast. For a pop of color, add a sprinkle of green onions or a drizzle of hot sauce. These small touches elevate both flavor and appearance.
🍽️ Portion Sizes
For individual servings, ladle about 1 to 1.5 cups per bowl, perfect for a hearty meal. For family-style dining, serve the chili in a large pot or dish, allowing everyone to help themselves. Pair with cornbread or tortilla chips for a complete experience.
🌡️ Serving Temperature
Serve your chili hot, straight from the pot or after a short resting period to let the flavors meld. If reheating, warm it gently on the stove or in a microwave, stirring occasionally. For best results, avoid boiling to maintain the perfect consistency.
Nutrition Facts

- 6 Egg Cake Recipe with Oil: Light as Air With Buttery Moisture - October 4, 2026
- 4 Bean Casserole Recipe: One-Pan Heartiness With Smoky Paprika Depth - October 4, 2026
- 3-Ingredient Keto Mug Cake Recipe: Microwave Magic in 2 Minutes - October 4, 2026