
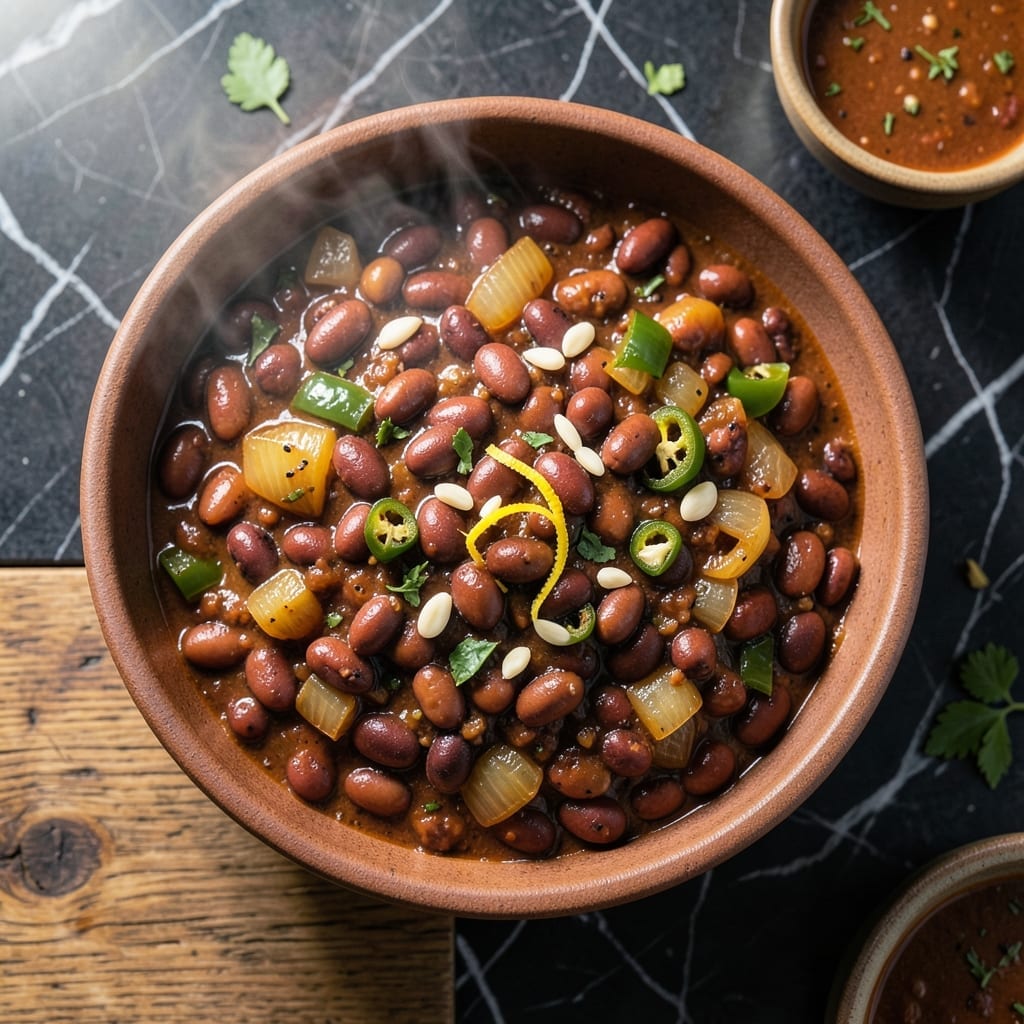
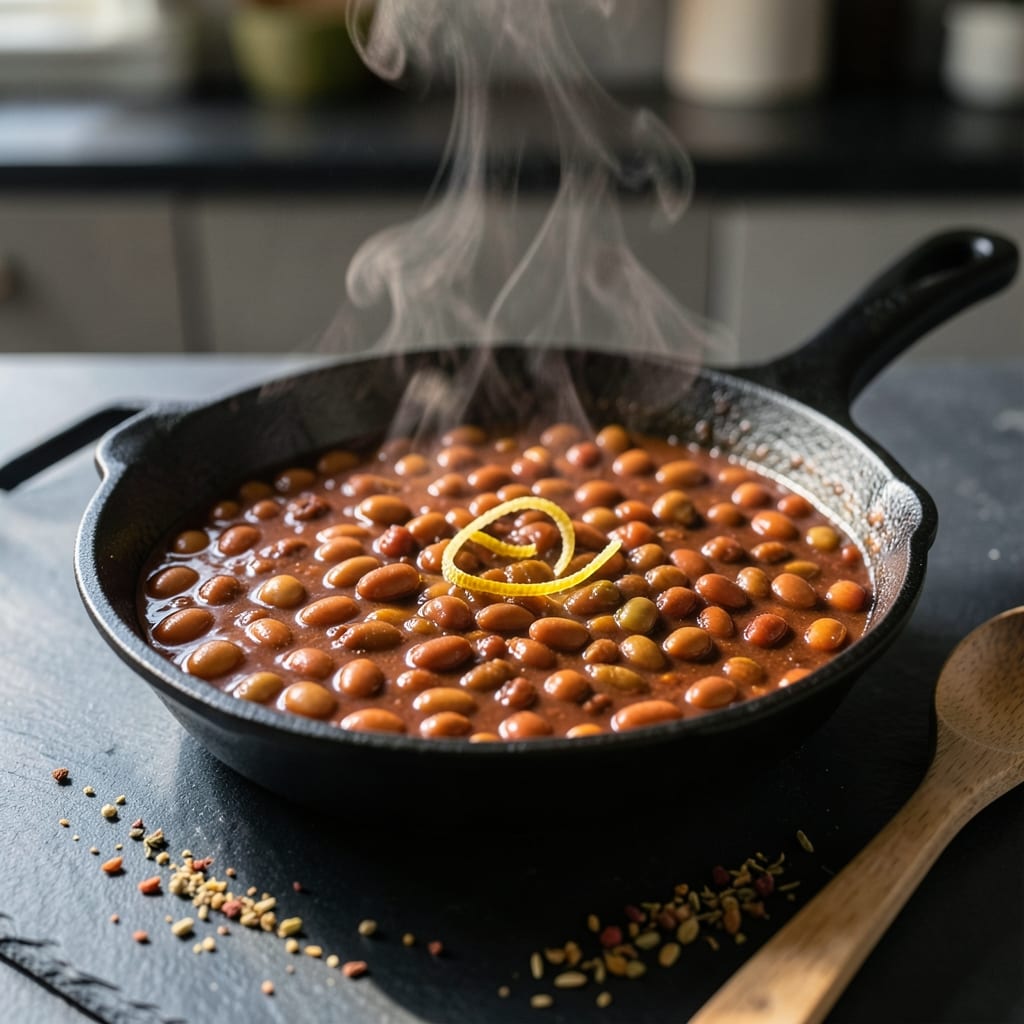
This slow-simmered chili transforms humble dry beans into a rich, hearty dish with deep, layered flavors.
With simple ingredients and patient cooking, you’ll achieve a texture and taste that canned beans simply can’t match.
Ingredients for Chili Recipe with Dry Beans
Simple dry beans and pantry spices create this hearty, flavorful dish with patience.
| Ingredient | Amount | Notes |
|---|---|---|
| Dry Black Beans 🫘 | 1 ½ cups | Rinsed and picked over |
| Dry Kidney Beans 🫘 | 1 ½ cups | Rinsed and picked over |
| Large Yellow Onion 🧅 | 1 whole | Finely diced |
| Garlic Cloves 🧄 | 4 cloves | Minced |
| Green Bell Pepper 🌶️ | 1 whole | Diced |
| Jalapeño Pepper 🌶️ | 1 whole | Seeded, finely diced |
| Canned Diced Tomatoes 🍅 | 2 cans | 14.5 oz each, undrained |
| Tomato Paste 🍅 | 2 tbsp | For depth of flavor |
| Vegetable Broth 🥣 | 4 cups | Low-sodium preferred |
| Chili Powder 🌶️ | 2 tbsp | Mild or hot variety |
| Ground Cumin 🌿 | 1 tbsp | Toasted for deeper flavor |
| Smoked Paprika 🌶️ | 1 tsp | For smoky depth |
| Dried Oregano 🍃 | 1 tsp | Mexican oregano if available |
| Cayenne Pepper 🔥 | ¼ tsp | Adjust for heat preference |
| Olive Oil 🫒 | 2 tbsp | Extra-virgin preferred |
[recipeingredientscaler]
The beans are the foundation here. Black and kidney beans give the best texture and hold up well to long simmering. Look for dry beans that are uniform in size and free of cracks or debris. I prefer organic brands from Whole Foods or Trader Joe’s for consistent quality, but any dry beans from the bulk section will work as long as they’re fresh.
Need to swap the beans? Pinto or red beans work equally well—just soak them first for even cooking. No fresh peppers? Use half the amount of frozen, thawed first. For the broth, homemade vegetable stock adds depth, but store-bought is fine in a pinch. The chili powder is non-negotiable though—it’s the backbone of the flavor.
This chili actually improves overnight. Store in the fridge for up to 5 days or freeze for 3 months. Reheat gently to keep the beans intact. Soaked beans can be prepped a day ahead—just drain and rinse before using.
Why You’ll Love This Recipe
- Set and Forget: I toss in the dry beans with onion, garlic, and bell pepper, then let it simmer—no pre-soaking, no fuss.
- Deep, Rich Taste: The kidney and black beans soak up the garlic and peppers, making every bite hearty and full of flavor.
- Meal Prep Magic: I make a big pot on Sunday, and it tastes even better reheated for lunches all week.
- Pennywise Comfort: Honestly, a pound of dry beans costs pennies and stretches to feed my whole family twice over.
Step-by-Step Instructions for Chili With Dry Beans
This method ensures perfectly tender beans and deep, layered flavors in every bite.
Step 1: Soak and Prepare the Beans
Combine the 1.5 cups Dry Black Beans and 1.5 cups Dry Kidney Beans in a large bowl. Cover them with 6 cups of cold water and let soak overnight, or for at least 8 hours. I always add an extra 2 inches of water above the beans to account for absorption.
Drain and rinse the soaked beans thoroughly under cold water. This removes excess starch and any residual soaking liquid, which can cause digestive discomfort. The beans should look plump and feel slightly firm—this means they’re ready for cooking.
Step 2: Sauté the Aromatics for Depth
Heat the 2 tbsp Olive Oil in a large, heavy-bottomed pot over medium heat. Add the finely diced Large Yellow Onion, diced Green Bell Pepper, and seeded, finely diced Jalapeño Pepper. Cook for 6-8 minutes, stirring occasionally, until the vegetables soften and the onion becomes translucent.
Stir in the minced Garlic Cloves and cook for 1 minute until fragrant. Be careful not to let the garlic brown—it can turn bitter quickly. This base builds the foundation of flavor for the chili, so take your time here.
Step 3: Toast the Spices and Add Remaining Ingredients
Add the 2 tbsp Chili Powder, 1 tbsp Ground Cumin, 1 tsp Smoked Paprika, 1 tsp Dried Oregano, and 0.25 tsp Cayenne Pepper to the pot. Toast the spices for 30 seconds, stirring constantly, until they become aromatic. This step wakes up the flavors and ensures they bloom in the oil.
Stir in the 2 tbsp Tomato Paste and cook for 2 minutes, allowing it to caramelize slightly. Then add the 2 cans Canned Diced Tomatoes (with their juices), the soaked and drained beans, and the 4 cups Vegetable Broth. Stir well to combine.
Step 4: Simmer Until Beans Are Tender
Bring the mixture to a boil, then reduce the heat to low so it maintains a gentle simmer. Cover the pot and let it cook for 1.5 to 2 hours, stirring occasionally. You’ll know the chili is ready when the beans are completely tender and the liquid has thickened slightly.
If the chili becomes too thick before the beans are done, add ½ cup of water or broth and continue simmering. I check the beans at the 1.5-hour mark—they should mash easily between your fingers when pressed.
Step 5: Adjust Seasoning and Rest Before Serving
Once the beans are tender, taste the chili and adjust the seasoning if needed. The flavors will meld as it rests, so I often wait 10 minutes before making any final adjustments. If you prefer a thicker chili, simmer uncovered for an additional 10-15 minutes.
Let the chili rest off the heat for 10 minutes before serving. This allows the flavors to deepen and the beans to absorb some of the liquid. Serve it hot, and enjoy the rich, hearty taste of slow-simmered comfort.
Pro Tips For Making Chili Recipe With Dry Beans
- Soak Overnight: I learned this the hard way—dry beans need at least 8 hours in water to soften properly, or you’ll end up with a chili that’s half-crunchy, half-mush.
- Sauté the Aromatics: Cook the onion, garlic, and bell pepper in oil for 5-7 minutes until soft before adding anything else—this builds the flavor base that makes chili taste rich instead of flat.
- Skip the Salt Early: Adding salt before the beans are fully tender can make them tough, so hold off until the last 30 minutes of cooking.
- Use Bean Broth: After soaking, drain the beans but save that liquid—it’s packed with starch and flavor, and I use it instead of plain water for deeper taste.
Common Mistakes When Making Perfect Results
🔥 Skipping the Soak for Dry Beans
Dry beans need time to soften, and skipping the soak can leave them tough and unevenly cooked, even after hours of simmering. This can also lead to digestive discomfort for some.
Fix: Soak beans overnight in plenty of water, or use the quick-soak method: boil for 2 minutes, then let sit for 1 hour.
🍳 Under-Seasoning the Chili
Chili with dry beans often tastes bland if seasoned only at the end. Beans absorb flavors, so adding spices too late means missing out on deep, layered taste.
Fix: Season in stages—sauté spices with onions, add more when liquid goes in, and adjust at the end. Don’t forget salt!
⏰ Rushing the Cooking Time
Dry beans require slow, steady heat to become tender. A rushed chili will have crunchy beans and thin broth, as flavors won’t have time to meld.
Fix: Simmer for at least 1.5–2 hours (or use a pressure cooker for 30–45 minutes). Stir occasionally and add water if needed.
🎯 Ignoring Acid Balance
Chili can taste flat without a touch of acidity to brighten the rich, earthy flavors. Too much tomato or none at all can throw off the balance.
Fix: Add a splash of vinegar, lime juice, or diced tomatoes toward the end. Taste and adjust for that perfect zing!
Nutrition Facts

- 6 Egg Cake Recipe with Oil: Light as Air With Buttery Moisture - October 4, 2026
- 4 Bean Casserole Recipe: One-Pan Heartiness With Smoky Paprika Depth - October 4, 2026
- 3-Ingredient Keto Mug Cake Recipe: Microwave Magic in 2 Minutes - October 4, 2026