
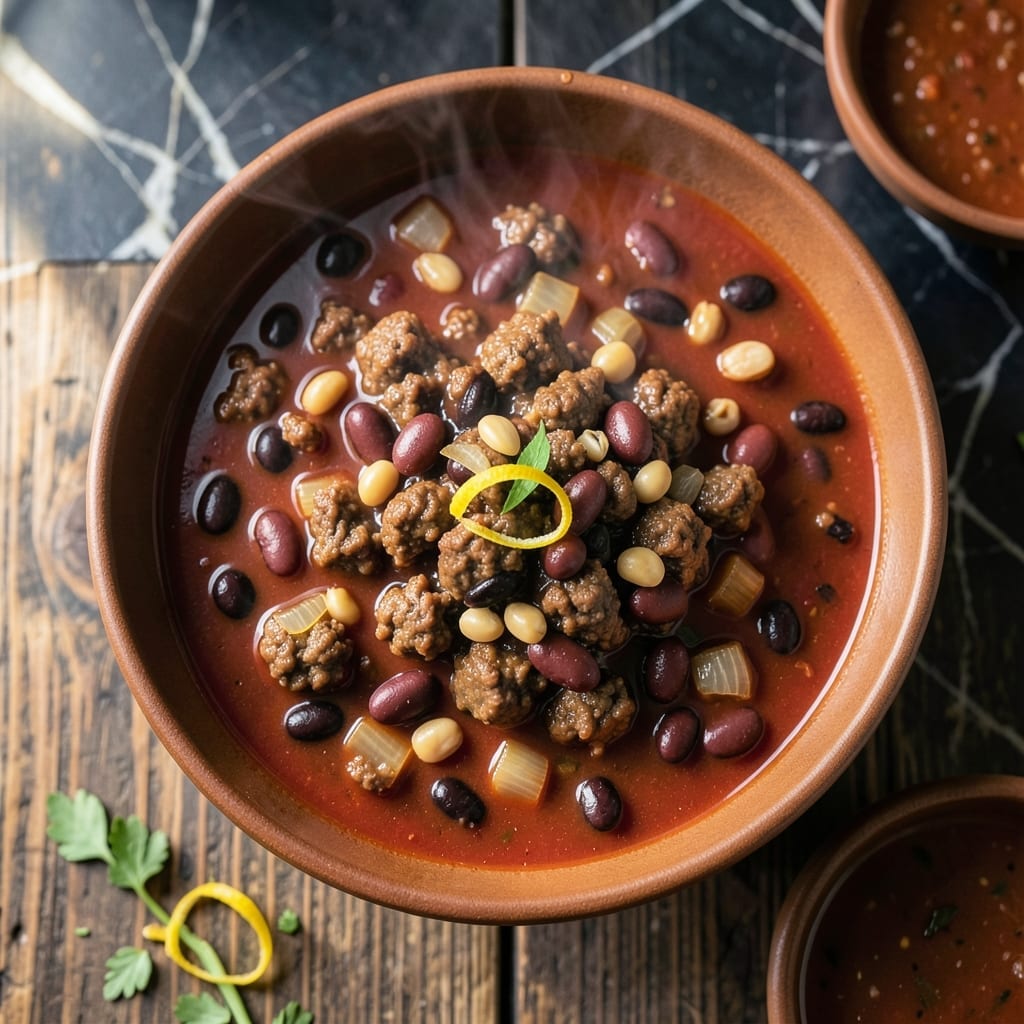
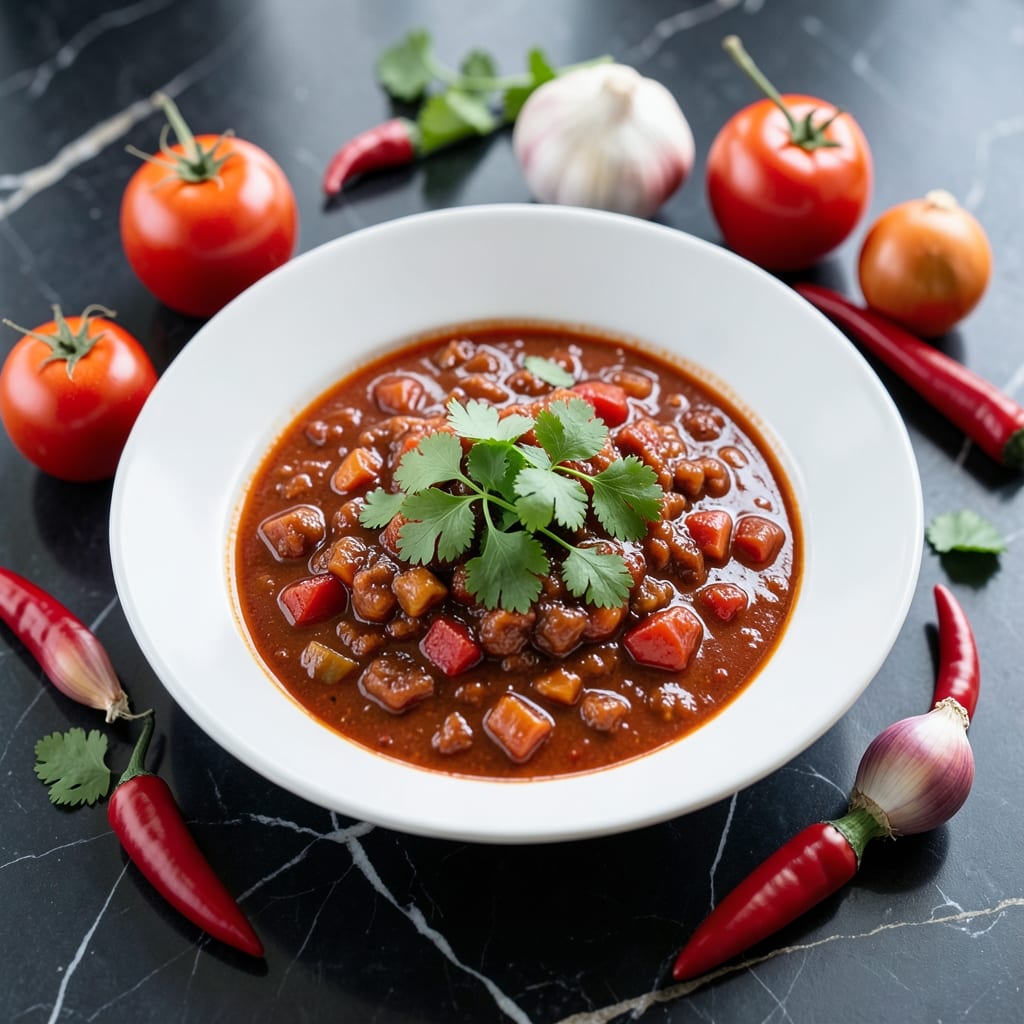
This chili delivers bold flavor with a hearty texture that satisfies every time. The tomato juice base creates depth while keeping the dish light and balanced.
Simple ingredients come together with minimal effort for a restaurant-quality result. Perfect for cold nights or casual gatherings, this version never disappoints.
Ingredients for Chili Recipe with Tomato Juice
Bold chili begins with quality beef and beans plus a tomato juice base for depth.
| Ingredient | Amount | Notes |
|---|---|---|
| Ground Beef 🥩 | 1 ½ lb | 80/20 lean-to-fat ratio preferred |
| Tomato Juice 🍅 | 4 cups | Low-sodium for balance control |
| Kidney Beans 🌶️ | 2 cans | Drained and rinsed thoroughly |
| Black Beans 🌶️ | 1 can | Drained and rinsed thoroughly |
| Yellow Onion 🧅 | 1 whole | Medium-sized, finely diced |
| Green Bell Pepper 🌶️ | 1 whole | Seeds removed, finely diced |
| Garlic Cloves 🧄 | 4 cloves | Minced for even distribution |
| Chili Powder 🌶️ | 2 tbsp | Mild or hot variety as preferred |
| Ground Cumin 🌿 | 1 tbsp | Toasted for enhanced aroma |
| Smoked Paprika 🌶️ | 1 tsp | For depth of flavor |
| Dried Oregano 🍃 | 1 tsp | Crushed between fingers before adding |
| Salt 🧂 | 1 ½ tsp | Diamond Crystal kosher salt recommended |
| Black Pepper 🌶️ | ½ tsp | Freshly ground for best results |
| Beef Broth 🥩 | 1 cup | Low-sodium preferred for control |
| Olive Oil 🫒 | 2 tbsp | For sautéing aromatics |
[recipeingredientscaler]
For optimal quality, select 80/20 ground chuck—the fat content ensures rich flavor without excessive grease. Certified Angus Beef offers superior marbling, available at Whole Foods or Costco. The tomato juice should be low-sodium to allow precise seasoning control. V8 or Clamato (despite the name) both work exceptionally well for this application.
No kidney beans? Pinto beans offer similar texture and absorption. Out of chili powder? Combine 1 tbsp cumin + 1 tsp each paprika and cayenne for a passable substitute. Fresh tomatoes can replace half the juice (blend with a pinch of sugar). Fire-roasted diced tomatoes add smoky depth if you want to elevate the dish.
This chili improves overnight as flavors meld. Store in airtight containers for up to 5 days refrigerated, or freeze for 3 months. Reheat gently on the stove, adding a splash of broth if needed to restore consistency.
Why You’ll Love This Recipe
- I’ll be real: this makes enough for leftovers, and it tastes even better the next day.
- One Pot Wonder: I brown the beef, dump in the tomato juice and beans, and let it simmer—no fancy steps.
- Rich Tomato Depth: The tomato juice soaks into the beef and beans, giving it this cozy, savory warmth that’s just right.
- Feeds a Crowd: I’ll be real: this makes enough for leftovers, and it tastes even better the next day.
Step-by-Step Instructions for Chili With Tomato Juice
Achieve perfect balance and depth of flavor with this methodical approach to building your chili.
Step 1: Brown the Ground Beef and Drain Excess Fat
Heat a large Dutch oven over medium-high heat until hot. Add the 1.5 lb Ground Beef and cook, breaking it up with a wooden spoon, for 6-8 minutes until deeply browned and no pink remains.
As the beef cooks, it will release fat. Once fully browned, drain off all but 1 tablespoon of the rendered fat—this prevents the chili from becoming greasy while preserving enough for flavor. The beef should have a deep mahogany color, not gray.
Step 2: Sauté Aromatics Until Softened
Return the Dutch oven to medium heat and add the 2 tbsp Olive Oil. Toss in the finely diced Yellow Onion and finely diced Green Bell Pepper. Cook for 5-7 minutes, stirring occasionally, until the vegetables are soft and translucent with slight caramelization around the edges.
Add the 4 cloves Garlic Cloves and cook for 30 seconds until fragrant—just until the raw garlic smell dissipates. Be careful not to let it brown or it will turn bitter. This aromatic base is crucial for building the chili’s complex flavor profile.
Step 3: Toast Spices and Build the Foundation
Stir in the 2 tbsp Chili Powder, 1 tbsp Ground Cumin, 1 tsp Smoked Paprika, 1 tsp Dried Oregano, 1.5 tsp Salt, and 0.5 tsp Black Pepper. Cook for 1 minute, stirring constantly, until the spices become deeply aromatic and slightly darkened in color.
This toasting step awakens the spices’ essential oils, creating a more robust and layered flavor. Immediately pour in the 4 cups Tomato Juice and 1 cup Beef Broth, scraping up any browned bits from the bottom of the pot with a wooden spoon. These fond bits are packed with flavor.
Step 4: Simmer with Beans Until Thickened
Add the 2 cans Kidney Beans and 1 can Black Beans (both drained and rinsed) to the pot. Stir well to combine. Bring the mixture to a boil, then reduce the heat to low and let it simmer uncovered for 45-60 minutes.
Stir occasionally and maintain a gentle simmer—you should see small bubbles breaking the surface, but not a rolling boil. The chili is ready when it has thickened enough to coat the back of a spoon and the beans have absorbed the rich, spiced liquid. The flavors will deepen and meld beautifully during this time.
Pro Tips For Making Chili Recipe With Tomato Juice
- Brown the Beef Well: Cook the ground beef until it’s deeply browned, not just gray—this builds a rich, meaty foundation for your chili. I learned this the hard way after years of under-browning and wondering why my chili tasted flat.
- Drain the Beans: Rinse and drain the kidney and black beans before adding them to the pot. Skipping this step leaves the chili watery and can give it a starchy taste.
- Simmer Low and Slow: Once everything’s in the pot, keep the heat low and let it simmer for at least 30 minutes—longer if you can. This lets the tomato juice mellow out and the flavors meld together.
- Add Onions Early: Sauté the yellow onion with the beef at the start so it softens and sweetens as it cooks. Tossing it in later leaves it raw and harsh in the finished dish.
Serving Suggestions for This chili recipe with tomato juice
🍽️ Plating Styles
Whether you’re serving a casual meal or hosting a dinner party, this chili recipe with tomato juice adapts beautifully to any occasion. For a relaxed, homey feel, serve it in deep, earthenware bowls to retain heat. For a more formal presentation, opt for shallow, wide-rimmed dishes that allow the rich colors and textures to shine. At a buffet, keep it warm in a slow cooker or chafing dish so guests can help themselves.
🎨 Garnishing Techniques
Elevate your chili with simple yet impactful garnishes. Sprinkle fresh cilantro or parsley for a pop of color and brightness. A dollop of sour cream or Greek yogurt adds creaminess, while shredded cheddar or crumbled queso fresco brings a savory depth. For a crunchy contrast, top with diced avocado, green onions, or crushed tortilla chips. A drizzle of hot sauce or lime crema can tie it all together beautifully.
🍚 Portion Sizes
For individual servings, ladle about 1 to 1.5 cups of chili into each bowl, ensuring generous portions without overwhelming your guests. If serving family-style, use a large, pre-warmed pot or serving dish and provide ladles for easy scooping. Pair with cornbread, rice, or crusty bread to make it a complete, satisfying meal.
🌡️ Serving Temperature
Chili is best served hot but not boiling. Let it rest for 5-10 minutes after cooking to allow the flavors to meld. If reheating, warm it gently on the stove or in the microwave, stirring occasionally to distribute the heat evenly. For a make-ahead meal, store it in the fridge and reheat slowly to maintain its rich, hearty texture.
Nutrition Facts

- 6 Egg Cake Recipe with Oil: Light as Air With Buttery Moisture - October 4, 2026
- 4 Bean Casserole Recipe: One-Pan Heartiness With Smoky Paprika Depth - October 4, 2026
- 3-Ingredient Keto Mug Cake Recipe: Microwave Magic in 2 Minutes - October 4, 2026