
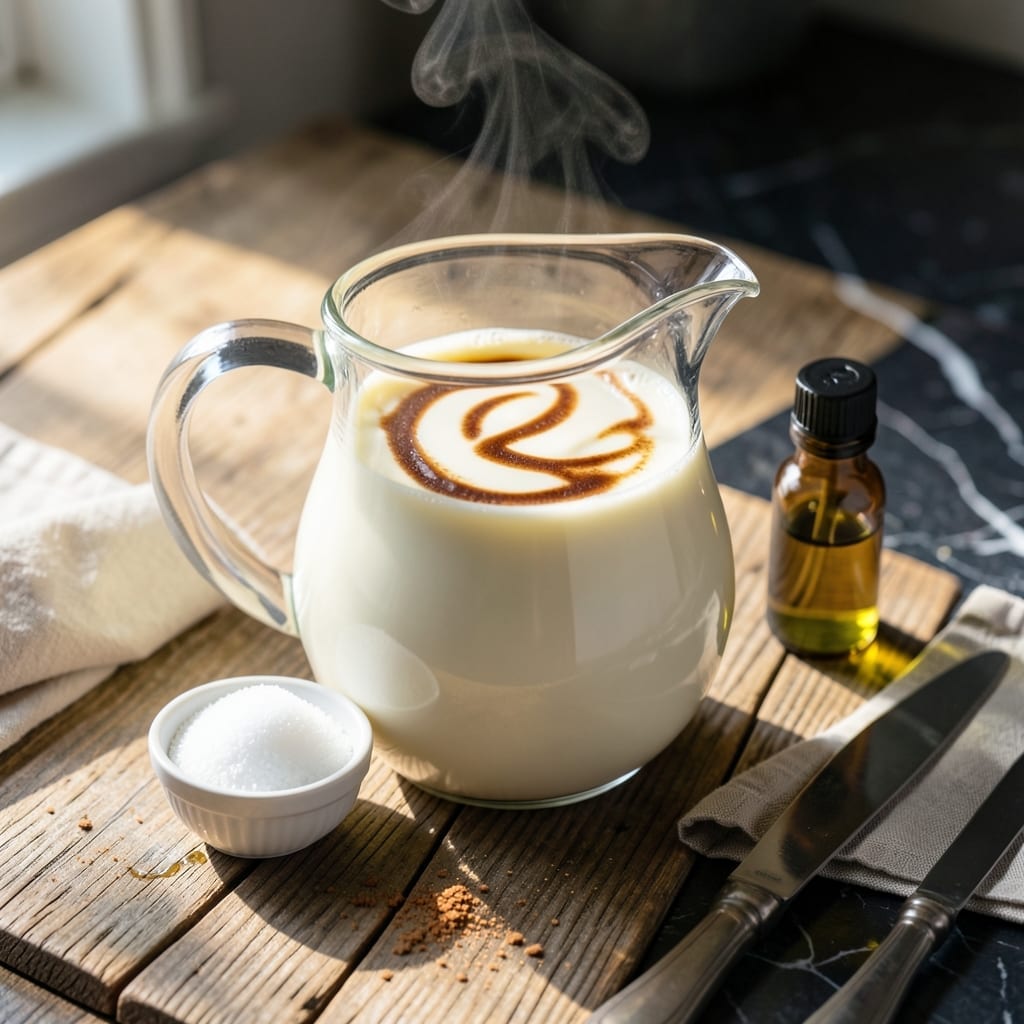
I’ve been making my own coffee creamer for years, and this version with sweetened condensed milk and evaporated milk is the richest, creamiest one yet.
It takes just 5 minutes to whisk together, and you control the sweetness and flavor. No artificial ingredients, just pure, velvety smoothness in every cup.
Store it in the fridge for up to 2 weeks, and shake before each use. The difference from store-bought is undeniable.
Once you try this, you’ll never go back to the cartons. It’s that simple, and that good.
Ingredients for Coffee Creamer Recipe with Sweetened Condensed Milk and Evaporated Milk
Eight ingredients transform your morning coffee into velvety, creamy perfection in minutes.
| Ingredient | Amount | Notes |
|---|---|---|
| Sweetened Condensed Milk 🥛 | 1 can | 14 oz can, full-fat for richness |
| Evaporated Milk 🥛 | 1 can | 12 oz can, whole milk version |
| Whole Milk 🥛 | 1 cup | Adjust for preferred creaminess |
| Granulated Sugar 🍚 | 2 tbsp | Adjust to taste preference |
| Vanilla Extract 🌿 | 2 tsp | Pure extract for best flavor |
| Almond Extract 🌰 | ¼ tsp | Optional for depth of flavor |
| Ground Cinnamon 🌿 | ¼ tsp | Optional for warm spice note |
| Unsalted Butter 🧈 | 1 tbsp | Optional for extra richness |
The sweetened condensed milk is the star—Eagle Brand or Borden at any grocery store works. Evaporated milk adds body without thinning out; Pet or store brands are fine. Whole milk adjusts the richness, but 2% works too (just slightly less decadent). Look for pure vanilla extract—imitation tastes artificial here.
No evaporated milk? Half-and-half at one-to-one gets you close. Want it dairy-free? Coconut milk full-fat for evaporated, oat milk for the fresh. Swap vanilla for maple syrup or almond extract for different flavors. The sugar can be reduced or swapped for honey or agave (just note honey isn’t vegan if that matters).
Shake before each use—it separates naturally. Keeps 2 weeks in the fridge. Freeze leftovers for up to 3 months (thaw overnight before using). Glass jar or bottle with tight lid works best.
Why You’ll Love This Recipe
- 5-Minute Mix: I just dump everything in a jar, shake, and it’s done—no cooking, no fuss.
- Rich & Creamy: The sweetened condensed milk gives this deep, caramelized sweetness that store-bought can’t touch.
- Fridge Staple: I make a big batch on Sunday and it keeps for weeks, so my morning coffee is always covered.
- Budget Win: Honestly, it costs pennies compared to fancy bottled creamers, and tastes twice as good.
Step-by-Step Instructions for Coffee Creamer
Here’s the method I use to create a creamy, dreamy addition to your morning coffee.
Step 1: Combine the Dairy Bases
In a medium saucepan, pour in the 1 can Sweetened Condensed Milk and 1 can Evaporated Milk. These two ingredients form the rich, velvety foundation of your creamer. Add the 1 cup Whole Milk to lighten the mixture slightly for perfect pour-ability.
Place the saucepan over medium-low heat and stir gently to combine. You want to warm this mixture slowly—too high heat can cause the dairy to scorch or separate. Stir frequently until the mixture is just warm to the touch, about 5 minutes.
Step 2: Sweeten and Flavor the Creamer
Once the dairy mixture is warm, add the 2 tbsp Granulated Sugar and stir until completely dissolved. This step ensures your creamer has a consistent sweetness throughout, with no grainy texture.
Next, stir in the 2 tsp Vanilla Extract, 0.25 tsp Almond Extract, and 0.25 tsp Ground Cinnamon. The vanilla provides that classic, comforting flavor, while the almond extract adds subtle depth. The cinnamon gives a warm, spiced note that pairs beautifully with coffee. Let this mixture simmer on low heat for 3-4 minutes.
Step 3: Incorporate the Butter for Extra Richness
Add the 1 tbsp Unsalted Butter to the saucepan and stir until fully melted and incorporated. The butter enriches the creamer further, giving it a luxurious mouthfeel that elevates your coffee experience.
Continue heating the mixture on low for another 2-3 minutes, stirring occasionally. You’ll notice the creamer taking on a smooth, silky consistency. Be careful not to let it boil—this can cause separation or a grainy texture.
Step 4: Cool and Store the Creamer
Remove the saucepan from the heat and let the creamer cool to room temperature, about 20-30 minutes. This step is important to prevent condensation from forming when you transfer it to a storage container.
Once cooled, pour the creamer into a clean glass jar or bottle with a tight-fitting lid. I like to use a funnel for a mess-free transfer. Store it in the refrigerator, where it will keep for up to 2 weeks. Shake or stir well before each use, as the ingredients may settle slightly over time.
Pro Tips For Making Coffee Creamer Recipe With Sweetened Condensed Milk And Evaporated Milk
- Warm the Milks: Heat the evaporated milk and whole milk together gently—just until warm, not boiling. I learned this the hard way after my first batch separated when I dumped cold milk into the sweetened condensed milk.
- Dissolve Sugar First: Mix the granulated sugar into the warm milk mixture before adding the condensed milk. It dissolves faster and prevents that grainy texture that ruins the smoothness.
- Skip the Boil: Resist the urge to simmer the mixture—it can cause the sweetened condensed milk to caramelize and thicken unevenly. A gentle warm-through is all you need.
- Chill Before Using: Let the creamer cool completely in the fridge for at least an hour. Sounds obvious, but pouring it hot into your coffee just makes a sad, watered-down cup.
Serving Suggestions for This Recipe
Hot Coffee Pairings
This creamer shines in black coffee or cold brew concentrate—the richness stands up to bold roasts. I love it in a 12-ounce mug with my morning French press. Dark roasts like Sumatra or Guatemalan balanced beautifully with the sweetness. 🔥
Iced Coffee Creations
Pour 2 tablespoons over ice with cold brew for a creamy iced coffee. The creamer won’t separate like store-bought versions. Try it in a 16-ounce glass with a splash of oat milk for extra volume.
Specialty Drink Ideas
Use it to make a homemade latte—just add 2 ounces to 8 ounces of hot espresso. For a dirty chai, mix 1 tablespoon with chai concentrate and steamed milk. The vanilla and cinnamon notes complement spiced drinks perfectly.
Dessert Coffee Touch
Drizzle over affogato (vanilla ice cream with espresso) for a restaurant-worthy treat. Or stir into hot chocolate for a mocha-like experience. The creamer’s thickness makes it ideal for these indulgent applications.
Gifting & Presentation
Pour into 4-ounce swing-top bottles for adorable homemade gifts. Tie a ribbon and include a tag with serving suggestions. I use Ball Mason jars for a rustic look. Always label with the date and “shake before use.” ✨
Flavor Boost Tips
Add a pinch of sea salt to your coffee grounds before brewing to enhance the creamer’s sweetness. Or sprinkle cocoa powder on top of your coffee after adding the creamer for a mocha effect.
Nutrition Facts
Frequently Asked Questions
Can I use low-fat evaporated milk?
Yes, but full-fat gives the creamiest texture. Low-fat versions may thin out the mixture slightly. For best results, stick with whole milk products.
How long does this creamer last in the fridge?
It stays fresh for up to 2 weeks when stored in an airtight container. Always shake before using, as natural separation occurs over time.
Can I make this dairy-free?
Swap the dairy for coconut milk (full-fat) instead of evaporated milk and oat milk for the whole milk. The sweetness will still shine.
Why does my creamer separate?
This is normal—just shake well before each use. If it’s overly separated, warm it gently and stir to recombine. Avoid boiling.

- 6 Egg Cake Recipe with Oil: Light as Air With Buttery Moisture - October 4, 2026
- 4 Bean Casserole Recipe: One-Pan Heartiness With Smoky Paprika Depth - October 4, 2026
- 3-Ingredient Keto Mug Cake Recipe: Microwave Magic in 2 Minutes - October 4, 2026