
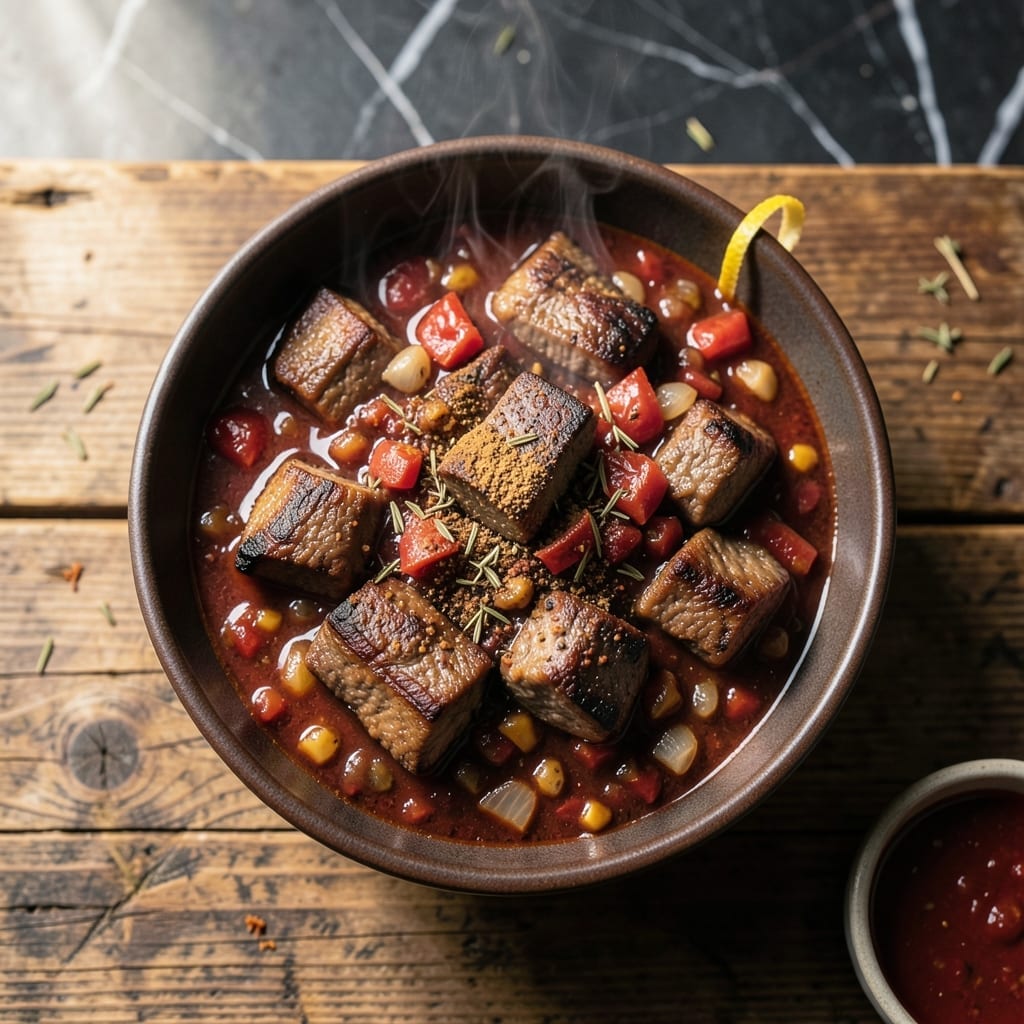
This Texas-style chili delivers bold flavors with a perfect balance of meat, spices, and heat. I’ve refined this recipe over years to capture the essence of traditional cowboy chili—no beans, just rich, slow-simmered beef and a robust spice blend.
The key is browning the meat thoroughly and blooming the spices in hot oil to unlock their full potential. A long, slow simmer ensures the meat becomes fork-tender while the flavors meld into a deep, complex sauce.
What you’ll get is a hearty, thick chili with layers of smoky, spicy, and slightly sweet notes. It’s the kind of dish that tastes even better the next day, as the flavors continue to develop.
Serve with corn bread or over rice for a satisfying meal that’s perfect for any gathering.
Ingredients for Dennison’s Chili
Texas chili means beef, spices, and slow simmering. No beans, just bold flavor.
| Ingredient | Amount | Notes |
|---|---|---|
| Beef Chuck Roast 🥩 | 2 lb | Cubed into 1-inch pieces |
| Chili Powder 🌶️ | 3 tbsp | Use a high-quality blend |
| Ground Cumin 🌿 | 1 ½ tbsp | Toasted for deeper flavor |
| Dried Oregano 🍃 | 1 tbsp | Mexican oregano preferred |
| Smoked Paprika 🌶️ | 1 tbsp | Adds essential smokiness |
| Cayenne Pepper 🔥 | ½ tsp | Adjust for heat preference |
| Garlic Powder 🧄 | 1 tbsp | Not garlic salt |
| Onion Powder 🧅 | 1 tbsp | Fresh ground preferred |
| Yellow Onion 🧅 | 1 whole | Finely diced |
| Beef Broth 🥣 | 2 cups | Low-sodium recommended |
| Tomato Paste 🍅 | 2 tbsp | For depth of flavor |
| Apple Cider Vinegar 🍏 | 1 tbsp | Balances the richness |
| Olive Oil 🫒 | 2 tbsp | For browning meat |
| Salt 🧂 | 1 tsp | Adjust to taste |
| Black Pepper 🌶️ | 1 tsp | Freshly ground |
The beef is everything here. Chuck roast is the way to go—it has the fat and connective tissue that breaks down into tender, flavorful bites. I grab mine from Costco when I can (great price for quality), but any grocery store with a decent butcher counter will work. Look for good marbling—it’s your insurance for rich flavor. Cut the cubes yourself if you want even cooking.
No chuck? Brisket or short ribs can work, but they need a longer simmer. Out of chili powder? Blend 2 tbsp paprika with 1 tsp each of cumin, oregano, and cayenne—close enough. The smoked paprika is non-negotiable for that Texas taste, but if you’ve only got regular, add a pinch of liquid smoke (just a pinch!). Beef broth can be swapped with water and a bouillon cube in a pinch.
Chili actually gets better overnight. It’ll keep in the fridge for 4-5 days, and freezes beautifully for up to 3 months. I always double the batch—leftovers are a gift (trust me on this).
Why You’ll Love This Recipe
- I’ll be real: this tastes even better the next day, and it freezes like a dream for lazy future me.
- One Pot Wonder: I dump everything in, let the beef chuck and spices work their magic, and walk away.
- Deep Smoky Kick: That smoked paprika and cumin combo hits just right—warm, earthy, and seriously satisfying.
- Freezer’s Best Friend: I’ll be real: this tastes even better the next day, and it freezes like a dream for lazy future me.
Step-by-Step Instructions for Hearty Texas-Style Chili
This method builds deep flavor layer by layer. Trust the process.
Step 1: Brown the Beef Chuck Roast
Heat the 2 tablespoons olive oil in a large pot or Dutch oven over medium-high heat. When it shimmers, add the cubed 2 lb Beef Chuck Roast. I like to work in batches to avoid crowding the pan—this ensures each piece gets a good sear instead of steaming.
Cook for 5-7 minutes until the beef is deeply browned on all sides. You want a rich, dark crust on the meat; that’s where a ton of flavor develops. Sprinkle the 1 teaspoon salt and 1 teaspoon black pepper over the beef as it cooks to season it evenly.
Step 2: Sauté the Aromatics and Toast the Spices
Once the beef is browned, add the finely diced 1 whole Yellow Onion to the pot. Cook for 3-4 minutes until softened and just starting to turn light brown. Stir in the 2 tablespoons tomato paste and cook for 1-2 minutes until it darkens slightly.
Add the 3 tablespoons chili powder, 1.5 tablespoons ground cumin, 1 tablespoon dried oregano, 1 tablespoon smoked paprika, 0.5 teaspoon cayenne pepper, 1 tablespoon garlic powder, and 1 tablespoon onion powder. Stir constantly for 30 seconds until fragrant—this toasts the spices and wakes up their flavors.
Step 3: Simmer the Chili Low and Slow
Pour in the 2 cups beef broth and 1 tablespoon apple cider vinegar, scraping up any browned bits from the bottom of the pot. These bits, called fond, add incredible depth to your chili. Stir everything together and bring to a gentle boil.
Reduce the heat to low, cover, and let it simmer for 1.5 to 2 hours. Stir occasionally and check that the liquid isn’t reducing too quickly. The beef should become fork-tender and the flavors will meld into a rich, hearty stew. If it thickens too much, add a splash of water or broth.
Step 4: Adjust and Serve
After simmering, taste and adjust the seasoning if needed. The apple cider vinegar should balance the richness, but if you want more brightness, add another splash. The chili is ready when the beef is falling apart and the sauce has thickened enough to coat the back of a spoon.
Let it sit for 10 minutes off the heat before serving. This allows the flavors to settle and the chili to reach its peak. Serve hot with your favorite toppings—shredded cheese, sour cream, or diced green onions work great.
Pro Tips For Making Dennison’S Chili
- Brown the Beef Well: I learned this the hard way—don’t rush browning the chuck roast. Let it sear in batches over medium-high heat until deeply browned, about 4-5 minutes per side, to build that rich, meaty base.
- Bloom the Spices: After the beef, toast the chili powder, cumin, oregano, and smoked paprika in the pot for 30 seconds until fragrant. This wakes up their flavors and prevents a dull, raw spice taste.
- Skip the Pre-Cooked Beans: Dennison’s chili is all about the beef, so resist the urge to add pre-cooked beans—they just dilute the meaty depth. If you want beans, cook them separately and stir in at the end.
- Simmer Low and Slow: Once everything’s in the pot, keep it at a gentle simmer, not a boil. Low heat for 2-3 hours lets the chuck roast break down into tender, flavorful bites without turning tough.
Storing and Reheating Leftovers
Refrigerator Storage
Let your chili cool to room temperature within 2 hours before storing. I use glass containers with locking lids to prevent leaks. This dish keeps beautifully in the fridge at 40°F or below for up to 5 days. The flavors actually deepen overnight, making leftovers a treat. ❄️
Freezer Storage
For longer storage, portion into freezer-safe bags or containers. I prefer quart-sized freezer bags—they stack flat and thaw quickly. Leave 1-inch headspace for expansion, and it’ll stay at peak quality for 3 months. Squeeze out excess air to prevent freezer burn.
Stovetop Reheating
This is my go-to method for best texture. Warm over medium-low heat in a heavy pot, adding ¼ cup beef broth to loosen the sauce. Stir occasionally for 10-15 minutes until heated through. Taste and adjust seasoning—it often needs a pinch of salt after reheating. 🔥
Microwave Reheating
For quick servings, microwave individual portions covered with a damp paper towel. Heat on 70% power for 2-3 minutes, stir, then continue in 1-minute bursts until reaching 165°F. Add a splash of water if it looks too thick.
Nutrition Facts
Frequently Asked Questions
Why doesn’t this recipe include beans?
Traditional Texas chili is all about the beef and spices. Beans aren’t part of the authentic style, which focuses on rich, meaty flavors and a thick, hearty sauce.
Can I use ground beef instead of chuck roast?
Yes, but chuck roast is preferred for its fat content and texture. Ground beef works in a pinch, but may result in a less rich, slightly drier chili.
How do I make it less spicy?
Reduce the cayenne pepper to ¼ teaspoon or omit it entirely. For milder heat, also cut the chili powder by 1 tablespoon.
What’s the best way to thicken the chili?
Simmer uncovered for an extra 15-20 minutes. For quicker results, mash some beef against the pot or add a cornstarch slurry.

- 6 Egg Cake Recipe with Oil: Light as Air With Buttery Moisture - October 4, 2026
- 4 Bean Casserole Recipe: One-Pan Heartiness With Smoky Paprika Depth - October 4, 2026
- 3-Ingredient Keto Mug Cake Recipe: Microwave Magic in 2 Minutes - October 4, 2026