
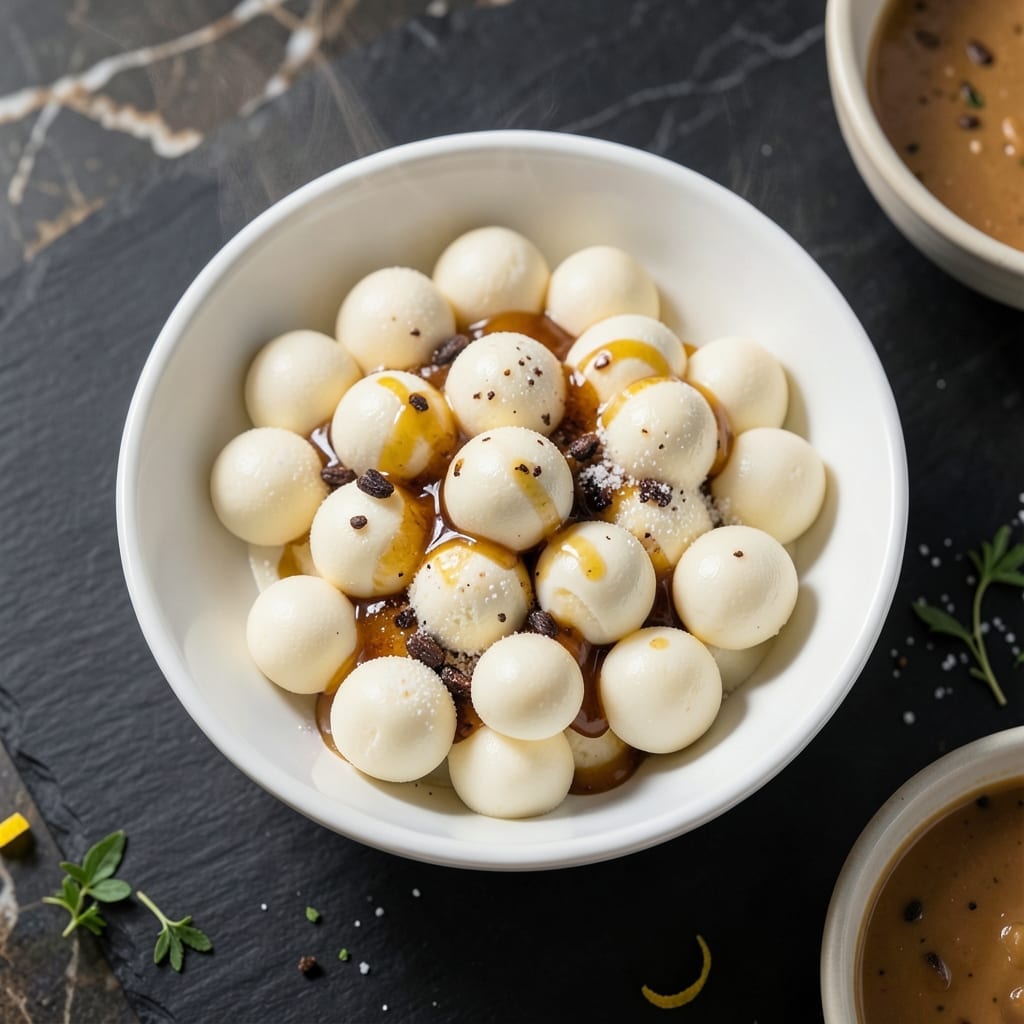
I cracked the code for making Dippin’ Dots-style ice cream beads at home without any fancy equipment. No liquid nitrogen, no special machines—just your freezer and a little patience.
The trick is in the timing and temperature. You’ll drizzle your ice cream base onto a chilled tray, then freeze it in 15-minute intervals, scraping and re-drizzling until you get those perfect little beads.
What you end up with is homemade ice cream that looks and tastes just like the fair favorite. The beads stay separate, maintain their shape, and deliver that fun, pop-in-your-mouth texture.
This method works with any ice cream flavor you love. Ready to make magic happen in your freezer?
Ingredients for Dippin Dots Recipe Without Liquid Nitrogen
Simple ingredients transform into those nostalgic ice cream beads right at home.
| Ingredient | Amount | Notes |
|---|---|---|
| Heavy Cream 🥛 | 2 cups | Full-fat for smooth texture |
| Whole Milk 🥛 | 1 cup | Cold, for best results |
| Granulated Sugar 🍚 | ¾ cup | Adjust to sweetness preference |
| Vanilla Extract 🌿 | 2 tsp | Pure for best flavor |
| Salt 🧂 | ¼ tsp | Balances sweetness |
| Large Egg Yolks 🥚 | 4 pieces | Pasteurized if concerned |
| Baking Sheet 🍪 | 1 whole | Rimmed for easy drizzling |
| Parchment Paper 📄 | 1 sheet | Prevents sticking |
| Mixing Bowl 🥣 | 1 whole | Medium or large size |
| Whisk 🥄 | 1 whole | For smooth base |
The cream and milk are the backbone here—organic or high-quality brands like Organic Valley or Darigold give the richest texture. Don’t skimp on the fat content; full-fat is what makes these beads so satisfying. Egg yolks (pasteurized if you’re nervous about raw eggs) add that custardy depth. Trader Joe’s has great prices on heavy cream if you’re stocking up for multiple batches.
No vanilla extract? A vanilla bean scraped and simmered in the milk works even better (just strain it out before mixing). Sugar can be swapped for honey or maple syrup—use about 25% less since they’re sweeter. No egg yolks? Cornstarch slurry at 1 tbsp per cup of liquid can help stabilize, but the texture won’t be quite as creamy. The baking sheet needs to be completely flat for even drizzling.
The ice cream base keeps in the fridge for 2-3 days before freezing, but it’s best fresh. Beads are freezer-safe for 2-3 months in an airtight container—just separate layers with parchment to prevent clumping. Pull them out 5 minutes before serving to soften slightly.
Why You’ll Love This Recipe
- No Fuss Freezing: I just pour the cream and milk mixture into a shallow pan, freeze it, and scrape—no fancy equipment or liquid nitrogen needed.
- Rich Vanilla Flavor: The heavy cream and real vanilla extract give these little dots that deep, creamy taste you’d expect from the original.
- Kid-Friendly Fun: Honestly, my kids love helping scrape the dots as they form, and it’s a hit at birthdays or after-school snacks.
- Budget Savings: Skipping the liquid nitrogen means I make this for a fraction of the store-bought price, and leftovers keep well in the freezer.
Step-by-Step Instructions for Homemade Ice Cream Beads
This method delivers that nostalgic Dippin’ Dots texture using just your freezer—no special equipment needed.
Step 1: Make the Ice Cream Base
In the mixing bowl, whisk together the egg yolks and granulated sugar until the mixture turns pale yellow and thickens slightly. This process, called ribboning, creates a smooth, velvety texture for your ice cream base.
Slowly pour in the heavy cream and whole milk while continuing to whisk. This gradual addition prevents the yolks from cooking and ensures a perfectly emulsified mixture. Stir in the vanilla extract and salt until fully combined.
Step 2: Freeze the Base in Thin Layers
Line the baking sheet with the parchment paper, ensuring it covers the entire surface. Pour about half of your ice cream base onto the prepared baking sheet, spreading it into an even layer about ¼ inch thick.
Place the baking sheet in the freezer. After 30 minutes, check that the edges are starting to firm up but the center is still slightly soft. This is the perfect time to drizzle the remaining base over the first layer, creating a thicker sheet.
Step 3: Break Into Beads
Once the entire mixture has frozen solid, typically after 2-3 hours, remove the baking sheet from the freezer. The base should be firm enough to break easily with your hands or a spoon.
Break the frozen sheet into small, irregular bead-like pieces. Don’t worry about making them perfectly round—part of the charm is their rustic, homemade appearance. Return the beads to the baking sheet.
Step 4: Final Freeze for Perfect Texture
Spread the ice cream beads in a single layer on the baking sheet, ensuring they’re not touching each other. This prevents them from freezing together into one large mass.
Freeze the beads for an additional 1-2 hours until completely solid. You’ll know they’re ready when each bead holds its shape and feels hard to the touch. This final freeze ensures they maintain their individual bead form when served.
Serve immediately for the best texture, or store in an airtight container in the freezer for up to 1 week.
Pro Tips For Making Dippin Dots Recipe Without Liquid Nitrogen
- Chill the Mixture: Freeze your heavy cream, milk, sugar, and vanilla mixture for at least 2 hours before scooping—it firms up just enough to hold its shape when you drop it onto the baking sheet.
- Use Cold Utensils: Keep your spoon or melon baller in the freezer between batches so the dots don’t start melting as you form them.
- Skip Warm Bowls: I learned this the hard way—always use a chilled metal bowl when mixing to keep the base as cold as possible before freezing.
- Freeze in Batches: Work in small batches and return the rest to the freezer between trays to prevent the mixture from softening while you shape it.
Flavor Customization for dippin dots recipe without liquid nitrogen
Classic Vanilla Twist
For a deeper vanilla flavor, split and scrape 1 vanilla bean into your base along with the extract. I also add ½ tsp vanilla bean paste for extra depth. The tiny black specks make it look as good as it tastes.
Chocolate Lover’s Dream
Mix ¼ cup cocoa powder into your base for chocolate beads. For extra richness, fold in ½ cup melted dark chocolate after the base is made. I use Ghirardelli 60% cacao for the perfect balance of sweet and bitter. 🔥
Fruity Burst
Add ½ cup pureed strawberries or raspberries to your base for fruity beads. Strain the puree first to remove seeds. For tropical flavor, try mango or passionfruit puree—just reduce the milk by 2 tbsp to compensate for the added liquid.
Cookie Dough Delight
Fold in ½ cup chunks of pre-made cookie dough (egg-free for safety) after your base is complete. I use Pillsbury for convenience. The cookie dough pieces freeze beautifully and add that nostalgic texture.
Coffee Buzz
Dissolve 2 tbsp instant espresso powder in 1 tbsp hot water, then mix into your base. For extra coffee flavor, add 1 tsp coffee extract. I love using Medaglia d’Oro espresso powder for this variation.
Spiced Chai Version
Add 1 tsp chai spice blend (or ½ tsp each cinnamon, cardamom, ginger, and cloves) to your base. Steep the spices in the warm milk first for maximum flavor. This tastes like a cozy winter treat. ✨
Nutrition Facts
Frequently Asked Questions
Can I use a different sweetener?
Yes, you can substitute honey or maple syrup for sugar. Use about 25% less since these are sweeter. Just note that the texture might vary slightly.
How do I prevent the beads from sticking together?
Freeze them in a single layer first, then transfer to an airtight container. Separate layers with parchment paper to keep them individual.
Why are my beads melting too fast?
They may need more freezing time. Ensure they’re fully solid before serving, and keep them in the freezer until ready to eat.
Can I make this with dairy-free ingredients?
Use coconut milk and a dairy-free cream alternative. Adjust sweetness to taste, as some alternatives can be less sweet.

- 6 Egg Cake Recipe with Oil: Light as Air With Buttery Moisture - October 4, 2026
- 4 Bean Casserole Recipe: One-Pan Heartiness With Smoky Paprika Depth - October 4, 2026
- 3-Ingredient Keto Mug Cake Recipe: Microwave Magic in 2 Minutes - October 4, 2026