
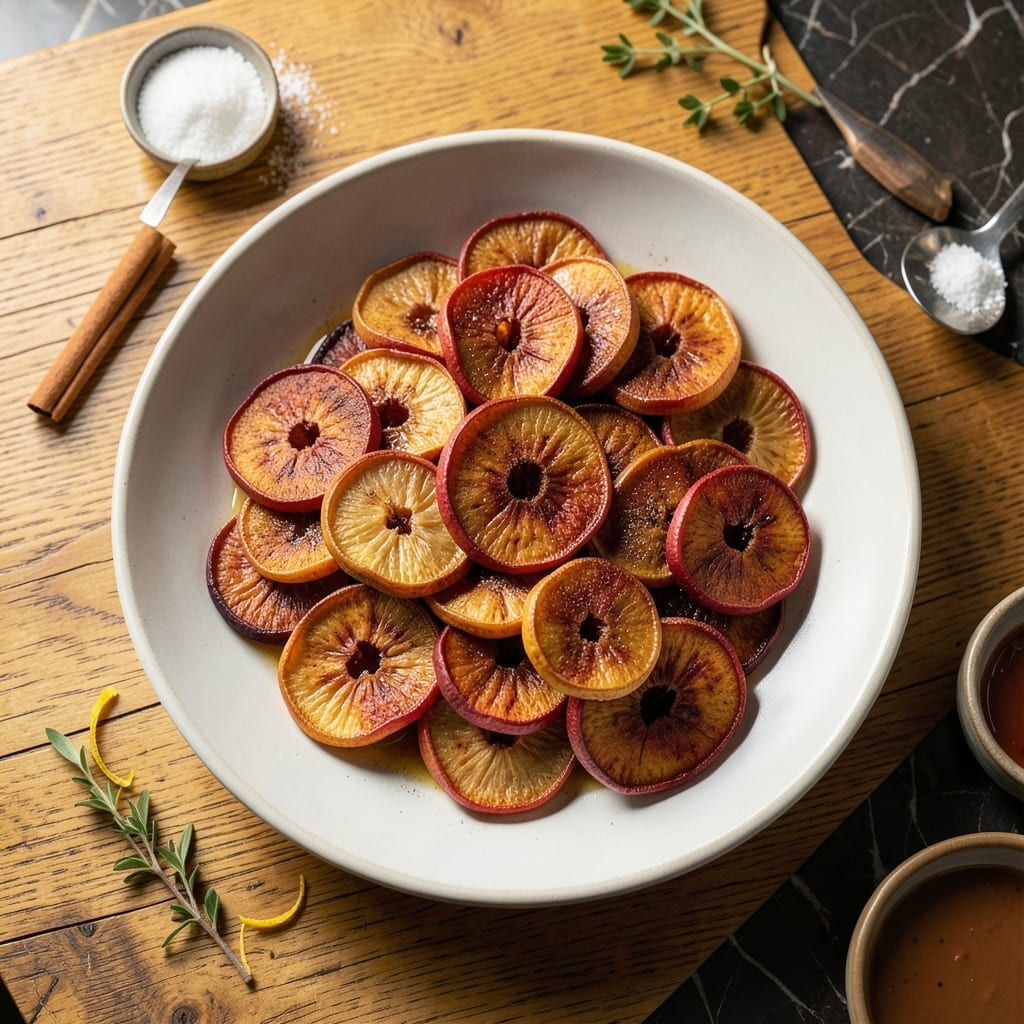
This dehydrator method preserves the natural sweetness of apples while creating a chewy, long-lasting snack. Thin, even slices are key to achieving consistent results.
With precise temperature control and proper timing, you’ll transform fresh fruit into perfectly dried apple pieces every time. No preservatives, just pure apple flavor.
Ingredients for Dried Apples Recipe Dehydrator
A few fresh apples and pantry staples transform into a chewy, naturally sweet snack.
| Ingredient | Amount | Notes |
|---|---|---|
| Apples 🍎 | 6 whole | Sweet variety, cored and thinly sliced |
| Lemon Juice 🍋 | 2 tbsp | Freshly squeezed for color retention |
| Water 💧 | 1 cup | For soaking slices |
| Ground Cinnamon 🌿 | 1 tsp | Optional for spiced flavor |
| Granulated Sugar 🧂 | 2 tbsp | Optional for extra sweetness |
| Vanilla Extract 🌿 | ½ tsp | Optional for depth of flavor |
| Salt 🧂 | ¼ tsp | Kosher or sea salt preferred |
The apples are everything here. Honeycrisp or Fuji give the best texture and sweetness—avoid mealy varieties like Red Delicious. Look for fruit that’s firm and vibrant in color with no bruising. Most supermarkets carry these year-round, but farmers markets often have peak-season apples that dehydrate exceptionally well. A mandoline slicer makes quick work of uniform slices (1/8-inch thick is ideal).
Skip the soak if you’re short on time, but it prevents browning and adds subtle flavor. No lemon juice? Pineapple juice at the same ratio works in a pinch. For a spiced twist, pumpkin pie spice at half the amount of cinnamon adds complexity. Want to go savory? Swap sugar for a pinch of smoked paprika. Avoid overripe apples—they’ll turn mushy instead of chewy.
Store dried apples in an airtight container at room temperature for up to 2 weeks, or refrigerate for 1 month. For longer storage, freeze in a single layer first, then transfer to bags—they’ll keep for 6-12 months. Revive any lost chewiness by briefly soaking in warm water.
Why You’ll Love This Recipe
- Set It & Forget: I slice the apples, dust them with cinnamon sugar, and let the dehydrator do all the work while I go about my day.
- Sweet & Tangy: The cinnamon and sugar coat every bite, and that hint of lemon juice keeps the flavor bright.
- Snack Stash: I keep a jar on my desk, toss some in trail mix, or pack them in lunches for a naturally sweet treat.
- Pantry Hero: A 5-pound bag of apples turns into weeks of snacks for pennies, and it’s way cheaper than store-bought.
Step-by-Step Instructions for Dried Apples Dehydrator
This method ensures consistent texture and flavor preservation throughout the dehydration process.
Step 1: Prepare the Anti-Browning Solution
In a large bowl, combine the 1 cup Water, 2 tbsp Lemon Juice, 2 tbsp Granulated Sugar, 0.5 tsp Vanilla Extract, and 0.25 tsp Salt. Stir until the sugar and salt dissolve completely. The lemon juice prevents browning while the sugar enhances the apples’ natural sweetness.
This solution creates a protective barrier against oxidation, keeping your apple slices vibrant. I use a whisk to ensure all components are fully integrated—you should see no visible sugar granules at the bottom of the bowl.
Step 2: Slice and Soak the Apples
Core and thinly slice the 6 whole Apples into uniform ⅛-inch thick pieces. Consistency in thickness is crucial for even dehydration. Use a mandoline for precision if available, or a sharp chef’s knife with a steady hand.
Immediately submerge the apple slices in the prepared solution, ensuring all pieces are fully coated. Let them soak for 5-10 minutes—long enough to prevent browning but not so long that they absorb excess moisture. Drain thoroughly before proceeding to remove surface liquid that could extend drying time.
Step 3: Season and Arrange for Dehydration
If using, lightly dust the drained apple slices with 1 tsp Ground Cinnamon for added warmth and depth. The cinnamon should adhere to the slightly tacky surface from the soaking solution. Distribute the slices in a single layer on dehydrator trays, ensuring they don’t touch or overlap.
Proper spacing allows for optimal air circulation, which is essential for even drying. I arrange the slices in a circular pattern starting from the outer edge of each tray and working inward. This method maximizes tray capacity without sacrificing airflow.
Step 4: Dehydrate at Optimal Temperature
Set your dehydrator to 135°F and begin the drying process. Arrange the trays so that the most densely packed one is in the center, where airflow is typically strongest. Rotate the trays every 2 hours to ensure consistent exposure to heat and air movement.
Dehydrate for 6-8 hours until the apple slices are leathery but still slightly pliable. They should have no visible moisture and should not stick to the trays when lightly pressed. The edges may curl slightly, which is normal. For a crispier result, continue drying for an additional 1-2 hours.
Step 5: Cool and Store Properly
Remove the dehydrated apple slices from the trays and let them cool completely on a wire rack for 30-60 minutes. This cooling period allows any residual moisture to evaporate, preventing condensation that could lead to mold during storage.
Once cooled, store the dried apples in an airtight container with a desiccant packet if available. Keep in a cool, dark place where they will maintain their quality for 4-6 months. Check periodically for any signs of moisture and discard any pieces that show mold or an off odor.
Pro Tips For Making Dried Apples Recipe Dehydrator
- Slice Evenly: Cut apples into 1/4-inch slices—any thicker and they won’t dry properly, any thinner and they’ll turn to chips. I learned this the hard way after ending up with half-mushy, half-brittle batches.
- Soak in Lemon Water: Toss apple slices in a mix of 1 cup water and 2 tablespoons lemon juice for 5 minutes to prevent browning. Sounds tedious, but it keeps them looking fresh and bright in the dehydrator.
- Skip Overcrowding: Leave space between slices on the dehydrator trays—about 1/2 inch apart. After burning a few batches from uneven airflow, I finally figured out that cramming them in just leads to uneven drying.
- Rotate Trays Halfway: Swap the trays top to bottom halfway through drying (usually after 2-3 hours) for even results. My grandmother swore by this, and she was right: the bottom trays always dry faster.
Regional Styles of This dried apples recipe dehydrator
Texas Style 🌵
In Texas, dried apples often take on a bold, smoky twist. Locals love using a salt-and-pepper rub with a hint of cayenne for a spicy kick. Hickory or mesquite wood is commonly used in dehydrators to infuse a deep, rich flavor. The apples are typically sliced thin and dehydrated at 135°F for 8-10 hours, ensuring a chewy texture with a smoky edge. This style reflects Texas’ love for hearty, flavor-packed snacks.
Carolina Style 🍯
Carolina’s take on dried apples leans sweet and tangy. A light coating of honey or molasses is often applied before dehydrating, giving the fruit a glossy finish. The process involves low-and-slow drying at 125°F for 10-12 hours, preserving the apples’ natural juiciness. This method nods to the region’s tradition of balancing sweet and savory in its cuisine.
Kansas City Style 🍎
Kansas City’s version emphasizes a sweet and sticky glaze, often made with brown sugar and cinnamon. The apples are dehydrated at 140°F for 6-8 hours, creating a slightly crisp exterior with a tender bite. This style mirrors the city’s famous barbecue culture, where sweet sauces reign supreme.
Memphis Style 🔥
Memphis brings a unique dry-rub approach to dried apples, using a mix of paprika, garlic powder, and brown sugar. The apples are dehydrated at 130°F for 9-11 hours, resulting in a chewy texture with a spicy-sweet crust. This style pays homage to Memphis’ love for dry-rubbed meats, adapted for a fruity twist.
Nutrition Facts

- 6 Egg Cake Recipe with Oil: Light as Air With Buttery Moisture - October 4, 2026
- 4 Bean Casserole Recipe: One-Pan Heartiness With Smoky Paprika Depth - October 4, 2026
- 3-Ingredient Keto Mug Cake Recipe: Microwave Magic in 2 Minutes - October 4, 2026