
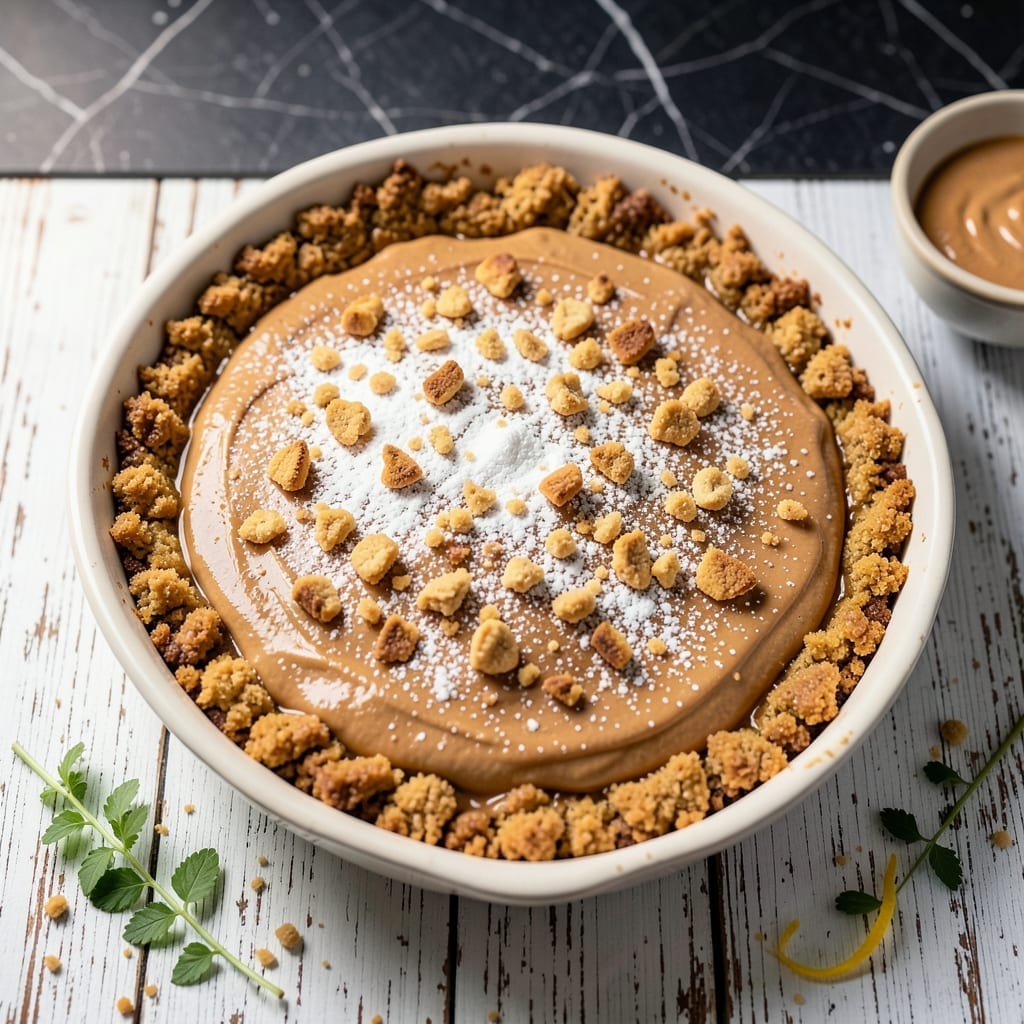
This no-bake recipe delivers layers of gooey perfection with minimal effort. No oven required—just mix, layer, and chill for a treat that’s ready in 2 hours.
The beauty lies in its simplicity. A buttery base supports sweet, rich fillings that come together without fuss. It’s a foolproof method for a crowd-pleasing dessert.
What you get is a bar so indulgent, it’s hard to believe it’s this easy. The layers meld into a texture that’s soft, chewy, and utterly satisfying.
Perfect for potlucks or a last-minute sweet fix. Here’s how to make them.
Ingredients for Dump Bars
A buttery crust, rich peanut butter, and gooey chocolate make these irresistible no-bake bars.
| Ingredient | Amount | Notes |
|---|---|---|
| Graham Cracker Crumbs 🍪 | 2 cups | Finely crushed for base layer |
| Unsalted Butter 🧈 | ¾ cup | Melted for binding crust |
| Granulated Sugar 🍚 | ¼ cup | For sweetening crust mixture |
| Creamy Peanut Butter 🥜 | 1 cup | Smooth, no-stir variety preferred |
| Powdered Sugar 🍚 | 1 ½ cups | Sifted for smooth texture |
| Vanilla Extract 🌿 | 1 tsp | Pure extract for best flavor |
| Chocolate Chips 🍫 | 2 cups | Semi-sweet or milk variety |
| Sweetened Condensed Milk 🥛 | 1 can | 14 oz can, standard size |
| Chopped Nuts 🌰 | ½ cup | Pecans or walnuts recommended |
| Shredded Coconut 🥥 | ½ cup | Sweetened or unsweetened |
| Marshmallows 🍬 | 2 cups | Mini or regular, cut in half |
| Salt 🧂 | ¼ tsp | Fine sea salt for balance |
The graham cracker crumbs form the foundation—use name-brand like Honey Maid for consistent texture. Butter quality matters here; European-style unsalted gives superior richness. For the chocolate layer, Ghirardelli or Guittard chips melt beautifully. The sweetened condensed milk should be Eagle Brand for reliable thickness. Avoid generic brands that may separate.
No peanut butter? Almond butter works at a 1:1 ratio but may require warming to soften. Swap chocolate chips for butterscotch or white chocolate for variation. Low on marshmallows? Dried fruit like raisins at half the amount adds chewiness. The nuts can be omitted entirely, or toasted coconut flakes provide similar texture. Always use real vanilla, not imitation.
Layered bars keep 4-5 days at room temperature in an airtight container. For longer storage, refrigerate up to 1 week or freeze for 3 months. Slice after fully chilled—cutting too soon causes messy layers. Bring to room temperature before serving for optimal gooey texture.
Why You’ll Love This Recipe
- One Bowl Wonder: I just dump everything in, mix, and press—no fancy steps, no extra dishes.
- Peanut Butter Bliss: That creamy peanut butter swirled with sweet graham crust is dangerously addictive.
- Potluck MVP: I bring these to every gathering and they disappear before the main course.
- Budget Friendly: Five simple ingredients I already have in my pantry and they stretch to feed a crowd.
Step-by-Step Instructions for Dump Bars
Here’s the method. Simple, layered, and completely no-bake as promised.
Step 1: Prepare the Graham Cracker Crust Base
In a medium bowl, combine the 2 cups Graham Cracker Crumbs, 0.75 cup Unsalted Butter (melted), 0.25 cup Granulated Sugar, and 0.25 tsp Salt. Stir until the mixture resembles wet sand and holds together when pressed between your fingers.
Press this mixture firmly into the bottom of a 9×13-inch baking dish using the back of a spoon or a flat-bottomed glass. I find that pressing in small sections and rotating the dish helps achieve an even layer. Chill in the refrigerator for 15 minutes to set the base solidly.
Step 2: Create the Peanut Butter Filling Layer
In a separate bowl, beat the 1 cup Creamy Peanut Butter, 1.5 cups Powdered Sugar, and 1 tsp Vanilla Extract together until smooth and fully combined. The mixture should be thick but spreadable—if it seems too stiff, let it sit at room temperature for 5 minutes.
Spread this peanut butter mixture evenly over the chilled graham cracker base. Use an offset spatula for the smoothest results. You want this layer to be about ¼-inch thick across the entire surface. Return the dish to the refrigerator while you prepare the next layer.
Step 3: Add the Marshmallow and Chocolate Chip Layer
Sprinkle the 2 cups Marshmallows evenly over the peanut butter layer. I use mini marshmallows for better coverage, but regular marshmallows cut in half work equally well. Press them lightly into the peanut butter so they adhere.
Next, scatter the 2 cups Chocolate Chips over the marshmallows. Distribute them evenly, ensuring every bite will have a generous amount of chocolate. Then sprinkle the 0.5 cup Chopped Nuts and 0.5 cup Shredded Coconut over the top, pressing gently so they stick.
Step 4: Bind with Sweetened Condensed Milk
Drizzle the 1 can Sweetened Condensed Milk evenly over the entire surface. Use the back of a spoon to spread it gently, ensuring it seeps into all the crevices between the marshmallows, chocolate chips, nuts, and coconut.
This step binds all the layers together and adds a rich, caramel-like flavor as it soaks in. You should see the condensed milk pooling slightly in some areas—that’s perfect. Cover the dish with plastic wrap and refrigerate for at least 4 hours, or overnight for the cleanest slices.
Step 5: Chill, Slice, and Serve
Once fully chilled, remove the dish from the refrigerator and let it sit at room temperature for 10 minutes before slicing. This brief rest makes the bars easier to cut without the layers separating.
Use a sharp knife dipped in hot water for clean cuts. Wipe the knife between slices to maintain neat edges. Cut into 16-24 squares, depending on your preferred portion size. Serve immediately or store in an airtight container in the refrigerator for up to 5 days.
Pro Tips For Making Dump Bars
- Press Harder: Pack that graham cracker crust into the pan like you mean it—I learned this the hard way when my bars crumbled apart after baking.
- Melt Slowly: Heat the butter and peanut butter together on low, stirring constantly. After burning one batch, I finally figured out patience prevents separation.
- Sift the Powder: Run the powdered sugar through a sifter first, even if it’s tedious. My grandmother swore by this, and she was right: no lumps in the filling.
- Chill Completely: Give them a solid 2 hours in the fridge before cutting—yes, even if you’re impatient like me. Sounds weird, but it works for clean slices.
Make-Ahead Tips for This dump bars
Overnight Prep
I always mix and layer everything the night before—I love waking up to a ready-to-slice dessert. The 4-hour chill time works, but overnight lets the flavors meld beautifully. Just cover tightly with plastic wrap before refrigerating.
Portion Control
Cut into bars before storing for grab-and-go treats. I use a 9×13-inch dish and slice into 24 small squares for perfect single servings. Stack them in an airtight container with parchment between layers.
Freezer Friendly
These freeze wonderfully for up to 3 months. Wrap individual bars in wax paper, then place in a freezer bag. Thaw at room temperature for 30 minutes before serving. They taste just as fresh as day one. ❄️
Room Temp Trick
Let the chilled bars sit out for 10-15 minutes before serving. This softens them slightly for that perfect gooey texture. I learned this the hard way—straight-from-fridge bars are too firm to enjoy fully.
Layer Integrity
If transporting, wait until arrival to slice. The condensed milk needs time to fully set the layers. I use a cooling rack over the dish during transit to prevent sliding.
Reviving Leftovers
If bars dry out slightly, a 5-second microwave burst brings back the gooeyness. Or, place them in a 300°F oven for 2-3 minutes to refresh. Trust me, they’ll taste freshly made. 💛
Nutrition Facts
Frequently Asked Questions
Can I make these without peanut butter?
Yes! Swap in 1 cup almond butter or sunflower seed butter for a nut-free version. The texture remains the same, though almond butter may need warming to soften.
How long do they need to chill?
Refrigerate for at least 4 hours, but overnight is ideal for clean slices. The condensed milk needs time to bind all the layers together.
Why are my layers sliding apart?
This usually means the bars weren’t chilled long enough. Ensure the condensed milk fully sets before slicing, and use a sharp, hot knife for clean cuts.
Can I add other mix-ins?
Try ½ cup toffee bits, ½ cup pretzel pieces, or ¼ cup sprinkles for fun variations. Just keep the total volume similar.

- 6 Egg Cake Recipe with Oil: Light as Air With Buttery Moisture - October 4, 2026
- 4 Bean Casserole Recipe: One-Pan Heartiness With Smoky Paprika Depth - October 4, 2026
- 3-Ingredient Keto Mug Cake Recipe: Microwave Magic in 2 Minutes - October 4, 2026