
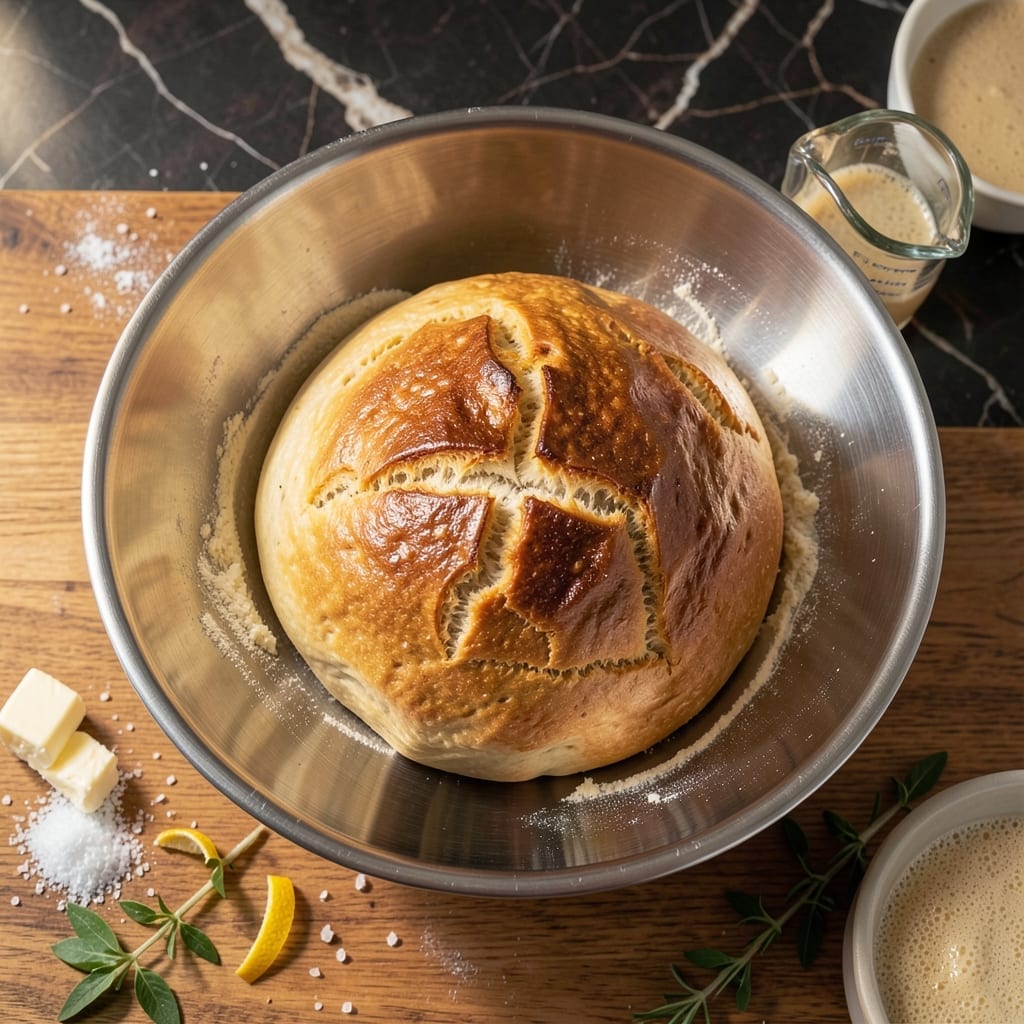
Nothing beats the smell of fresh-baked bread filling your kitchen, and this method makes it accessible to everyone. Using a stand mixer handles the heavy lifting, so you get artisan results without the effort. I developed this after years of kneading by hand.
The dough comes together in minutes with simple pantry staples. The mixer’s dough hook does all the work, creating a smooth, elastic dough that’s ready for its first rise. This is bread-making at its most straightforward.
After proofing, you’ll bake a golden loaf with a crisp crust and soft, airy interior. The process is nearly foolproof, and the results taste like they came from a professional bakery. First-timers consistently achieve success with this approach.
Perfect for sandwiches, toast, or serving warm with butter. Here’s how to begin.
Ingredients for Easy Kitchenaid Bread
A few pantry staples and your mixer do all the heavy lifting for this loaf.
| Ingredient | Amount | Notes |
|---|---|---|
| Bread Flour 🌾 | 4 cups | All-purpose works in a pinch |
| Warm Water 💧 | 1 ¼ cups | About 110°F, not hot |
| Active Dry Yeast 🍞 | 2 ¼ tsp | One packet, proofed first |
| Granulated Sugar 🍚 | 1 tbsp | Feeds the yeast |
| Kosher Salt 🧂 | 2 tsp | Diamond Crystal preferred |
| Unsalted Butter 🧈 | 2 tbsp | Softened, for dough |
| Olive Oil 🫒 | 1 tbsp | For greasing bowl |
| Large Egg 🥚 | 1 whole | Optional, for richer dough |
| Honey 🍯 | 1 tbsp | Optional, for slight sweetness |
| Vital Wheat Gluten 🌾 | 1 tbsp | Improves texture, optional |
The flour is everything here. King Arthur Bread Flour gives you that perfect chewy texture—all-purpose works but won’t rise quite as high. Yeast needs to be fresh (check the expiration date). I grab mine from Whole Foods bulk section so it’s always active. Water temp matters: too hot kills the yeast, too cold slows activation. Aim for bathwater-warm.
No bread flour? All-purpose plus 1 tbsp vital wheat gluten per cup gets you close. Out of honey? Maple syrup or sugar works just as well. Butter can be swapped for olive oil if you prefer a dairy-free option (though this recipe isn’t). The egg is totally optional—skip it for a slightly denser but still delicious loaf.
Dough rises best in a warm, draft-free spot (turn your oven light on). Baked loaf keeps 3-4 days wrapped at room temp, or freeze slices for 3 months. Pro tip: slice before freezing for easy toast-ready portions.
Why You’ll Love This Recipe
- One Bowl Wonder: I just dump everything in the mixer and let the dough hook do the work—no kneading by hand, no messy counters.
- Crusty Perfection: The warm water activates that yeast so well I get a golden, crackly crust with a soft, pillowy center every single time.
- Meal Prep Hero: Between us, I make two loaves on Sunday and we’re set for sandwiches, toast, and even croutons all week long.
- Pantry Staples: Honestly, it’s just flour, water, yeast, sugar, and salt—things I always have, so fresh bread is never more than a couple hours away.
Step-by-Step Instructions for Kitchenaid Bread
This foolproof method delivers perfect artisan bread with minimal effort on your part.
Step 1: Activate the Yeast and Prepare Wet Ingredients
In the bowl of your stand mixer, combine the 1.25 cups warm water, 2.25 tsp active dry yeast, and 1 tbsp granulated sugar. Let it sit for 5-7 minutes until the mixture becomes frothy and doubles in volume—this visual cue confirms your yeast is alive and active.
Once the yeast activates, add the 1 whole large egg, 1 tbsp honey, and 2 tbsp softened unsalted butter. I always crack the egg into a separate small bowl first to ensure no shell fragments make their way in. The mixture should look slightly bubbly before moving on.
Step 2: Combine Dry Ingredients and Begin Kneading
Secure the bowl in your stand mixer with the dough hook attachment. Add the 4 cups bread flour, 2 tsp kosher salt, and 1 tbsp vital wheat gluten to the wet ingredients. The salt should go in last to prevent it from directly contacting the yeast, which could inhibit activation.
Turn the mixer to low speed and let it combine for 1-2 minutes until the flour is mostly incorporated. You’ll see the dough start to pull away from the sides of the bowl—that’s your signal to increase the speed to medium and knead for another 6-8 minutes until smooth and elastic.
Step 3: First Rise Until Doubled in Size
Lightly grease a large bowl with the 1 tbsp olive oil and transfer the dough into it. Turn the dough once to coat all sides with oil, which prevents a dry crust from forming during the rise. Cover the bowl with a clean kitchen towel or plastic wrap.
Place the bowl in a warm, draft-free spot and let it rise for 1-2 hours or until the dough has doubled in size. I like to check by pressing a finger gently into the dough—if the indent remains, it’s ready. If your kitchen is cool, this might take a bit longer, so be patient.
Step 4: Shape, Second Rise, and Bake
Punch down the risen dough to release the air, then turn it out onto a lightly floured surface. Shape it into a round loaf by folding the edges under and pinching the seam. Place the loaf seam-side down on a baking sheet lined with parchment paper.
Cover loosely and let it rise again for 30-45 minutes until puffy. Preheat your oven to 375°F during the last 15 minutes of rising. Bake for 25-30 minutes until the top is golden brown and the loaf sounds hollow when tapped on the bottom.
Step 5: Cool Completely Before Slicing
Transfer the baked loaf to a wire rack and let it cool for at least 1 hour before slicing. I know the smell is tempting, but cutting too soon will result in a gummy texture. The bread continues to set as it cools, and this patience ensures a perfect crumb.
Once cooled, slice with a serrated bread knife using a gentle sawing motion. The crust should be crisp, the interior soft and airy, and each slice should hold its shape without collapsing. Store any leftovers in an airtight container at room temperature.
Pro Tips For Making Easy Kitchenaid Bread
- Test Your Yeast: I learned this the hard way—always bloom your active dry yeast in the warm sugar water for 5-10 minutes first. If it doesn’t get foamy, your bread won’t rise, and you’ll waste flour.
- Use Room-Temp Water: After killing yeast with hot water one too many times, I now use a thermometer: 110°F max. Any hotter and you’ll ruin the rise before it starts.
- Skip Cheap Flour: Bread flour’s higher protein content actually changes the outcome here—all-purpose just doesn’t give you that chewy texture. Worth the extra $1.
- Let It Double: Resist the urge to rush the first rise. Give it a full 1-2 hours in a warm spot until the dough has truly doubled—your loaf will be lighter and fluffier.
Perfect Pairings for This easy kitchenaid bread
Bread & Butter
Nothing beats warm slices with salted butter—I use Plugrá European Style for its rich, creamy flavor. The contrast of crisp crust and soft interior soaks up melted butter perfectly. Try it with honey butter for a sweet twist. 💛
Soup Pairings
A hearty tomato soup or butternut squash bisque makes an ideal match. The bread’s mild flavor complements without competing. I love dipping thick slices into Ina Garten’s roasted tomato soup recipe.
Cheese Boards
Add slices to a charcuterie spread with sharp cheddar, brie, and prosciutto. The neutral taste balances bold cheeses. Serve with olive oil and balsamic vinegar for dipping.
Breakfast Ideas
Use for French toast or avocado toast the next morning. The sturdy texture holds up to toppings. I toast slices, rub with garlic, then top with smashed avocado and flaky salt. 🔥
For French toast, soak 1-inch slices in egg-milk mixture, then cook on medium heat until golden.
Sandwich Stars
This bread makes incredible BLTs or turkey clubs. The crust stays crisp under fillings. I layer mine with bacon, arugula, and sriracha mayo for kick.
Nutrition Facts
Frequently Asked Questions
Can I use all-purpose flour instead of bread flour?
Yes! Add 1 tbsp vital wheat gluten per cup to mimic bread flour’s protein content. The loaf will be slightly less chewy but still delicious.
Why didn’t my dough rise properly?
Check your yeast expiration date first. Water too hot (over 115°F) or cold can also kill activation. Ensure your kitchen is warm enough for proofing.
How do I know when the bread is fully baked?
Tap the bottom—it should sound hollow. The internal temperature should reach 190-200°F. A golden-brown crust is another clear sign.
Can I make this dough ahead of time?
Yes! After kneading, refrigerate the dough overnight. Let it warm to room temp before shaping and the final rise. This slow ferment enhances flavor.

- 6 Egg Cake Recipe with Oil: Light as Air With Buttery Moisture - October 4, 2026
- 4 Bean Casserole Recipe: One-Pan Heartiness With Smoky Paprika Depth - October 4, 2026
- 3-Ingredient Keto Mug Cake Recipe: Microwave Magic in 2 Minutes - October 4, 2026