
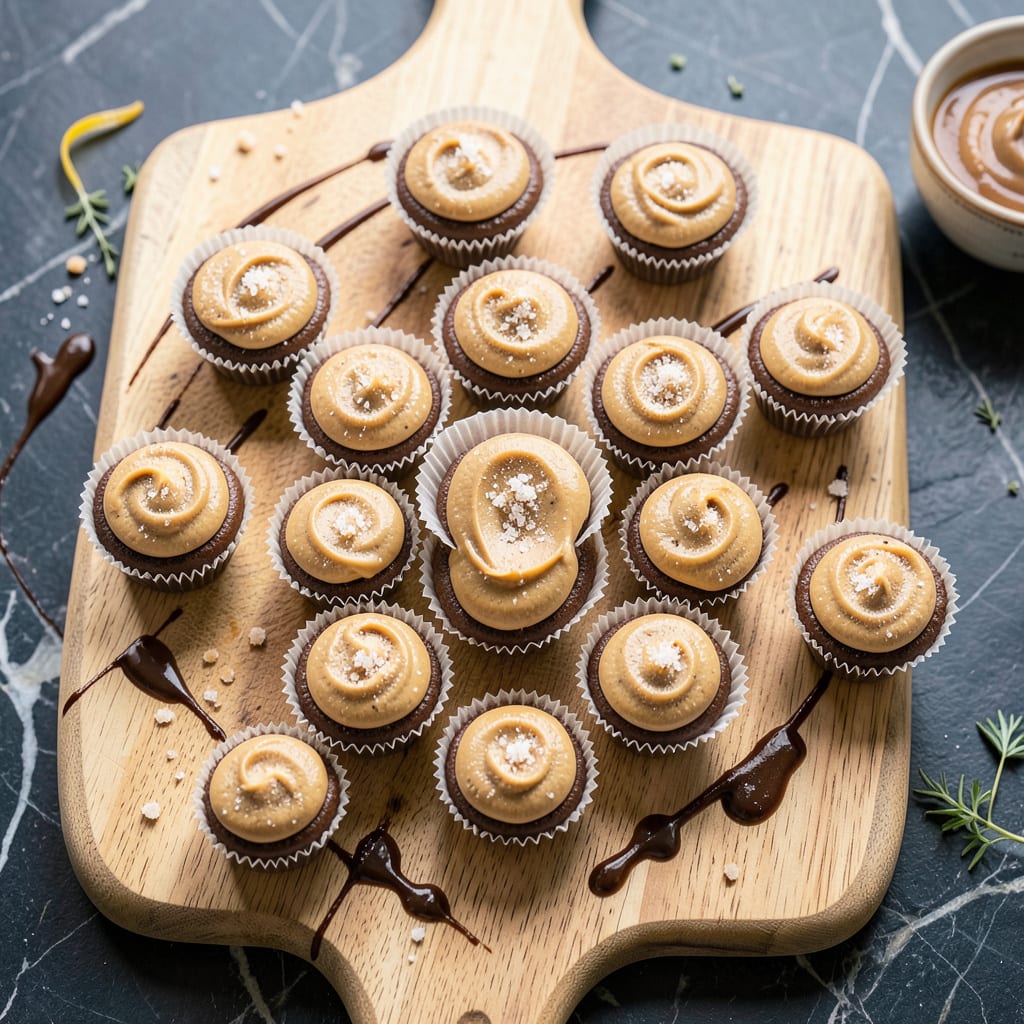
Homemade peanut butter cups that rival store-bought versions can be made in your kitchen with just 15 minutes of active time. This recipe eliminates the need for complicated candy-making techniques, using simple ingredients and a straightforward layering method that anyone can master.
The result is a perfect balance of creamy peanut butter filling encased in a smooth chocolate shell. With no baking required and minimal equipment, these treats deliver professional-quality results without the fuss. Ideal for satisfying sweet cravings or gifting to chocolate lovers.
Ingredients for Easy Peanut Butter Cup
Seven simple ingredients transform into professional-quality peanut butter cups with minimal effort and maximum flavor.
| Ingredient | Amount | Notes |
|---|---|---|
| Semi-Sweet Chocolate Chips 🍫 | 2 cups | High-quality, 60% cacao minimum |
| Coconut Oil 🥥 | 1 tbsp | Unrefined, for smooth texture |
| Creamy Peanut Butter 🥜 | 1 cup | Natural, no added sugar preferred |
| Powdered Sugar 🍬 | ½ cup | Sifted for smooth filling |
| Vanilla Extract 🌿 | ½ tsp | Pure extract for best flavor |
| Sea Salt 🧂 | ¼ tsp | Fine grain, for balance |
| Mini Cupcake Liners 🧁 | 12 pieces | Standard size, unwaxed preferred |
The chocolate quality is paramount for this recipe. Optimal results require 60% cacao minimum semi-sweet chips—Ghirardelli or Guittard brands deliver consistent melting properties. Coconut oil acts as the perfect stabilizer; unrefined, cold-pressed varieties from Trader Joe’s or Whole Foods maintain the chocolate’s sheen without altering flavor. For the peanut butter filling, natural, no-stir varieties like Smucker’s Natural provide the ideal creamy texture without separation issues during mixing.
Substitutions must maintain the recipe’s structural integrity. Milk chocolate chips may be used at a 1:1 ratio, though the result will be sweeter. For nut-free versions, sunflower seed butter (like SunButter) replaces peanut butter directly, though the flavor profile will differ. Powdered sugar alternatives like powdered erythritol work for sugar-free versions, but may require additional binding (1 tsp melted coconut oil). Standard cupcake liners can replace mini liners, though yield will decrease to 6 servings.
Storage requires careful temperature control. Completed cups keep at room temperature for 5 days in airtight containers, or 2 weeks refrigerated. For longer storage, freeze on a tray before transferring to bags—maintains quality for 3 months. Avoid condensation during thawing by keeping sealed until reaching room temperature. The coconut oil may cause slight softening in warm environments; brief refrigeration restores texture.
Why You’ll Love This Recipe
- No Melted Mess: I’ve tried fancy tempering methods before—this coconut oil trick with the chocolate chips actually works. Just melt, stir, and pour; no seizing, no streaks, no stress.
- That First Bite: Honestly, the contrast gets me every time: slightly snappy dark chocolate shell giving way to that salty-sweet peanut butter filling. The vanilla in the mix? Non-negotiable.
- Gift or Guilty Secret: I’ve packed these in little bags for teacher gifts, stashed them in my desk for 3 p.m. crashes, and even served them after dinner like I planned ahead. (Spoiler: I never plan ahead.)
- Pantry MVP: Between us, I keep these ingredients on hand year-round because they’re cheaper than store-bought cups and taste 10x better. Leftovers? Ha. They vanish in 24 hours—if they last that long.
Step-by-Step Instructions for Easy Peanut Butter Cups
This no-bake method delivers perfectly smooth peanut butter cups with minimal effort and maximum flavor.
Step 1: Prepare the Chocolate Shells
Line a mini muffin tin with the 12 pieces mini cupcake liners. In a microwave-safe bowl, combine the 2 cups semi-sweet chocolate chips and 1 tbsp coconut oil. Microwave in 30-second intervals, stirring between each, until completely melted and smooth.
The coconut oil ensures the chocolate remains glossy and sets properly at room temperature. Use a spoon to divide the melted chocolate evenly among the liners, filling each about one-third full. Tap the tin gently on the counter to level the chocolate and remove air bubbles.
Step 2: Create the Peanut Butter Filling
In a medium bowl, combine the 1 cup creamy peanut butter, 0.5 cup powdered sugar, 0.5 tsp vanilla extract, and 0.25 tsp sea salt. Stir vigorously until the mixture is completely smooth and free of lumps. The powdered sugar should be fully incorporated, creating a thick but spreadable filling.
Taste and adjust the salt level if needed—the sea salt enhances the peanut butter’s natural richness. Divide the filling evenly among the chocolate-lined cups, pressing gently to create a flat surface. Leave about ¼-inch of space at the top for the final chocolate layer.
Step 3: Seal with Chocolate and Chill
Reheat the remaining chocolate mixture if it has begun to thicken, using 10-second microwave bursts until pourable. Spoon the chocolate over each peanut butter center, completely covering the filling. The top layer should be slightly thicker than the bottom to create a balanced ratio.
Refrigerate the cups for 15-20 minutes until the chocolate is fully set. You’ll know they’re ready when the tops are firm to the touch and no longer sticky. Avoid freezing, as this can cause the chocolate to develop a dull appearance.
Step 4: Serve and Store
Peel away the liners and transfer the peanut butter cups to an airtight container. For best texture, serve at room temperature—the chocolate will have a satisfying snap while the peanut butter remains creamy. The contrast between the firm chocolate shell and soft filling is what makes this recipe exceptional.
Store any leftovers in the refrigerator for up to 1 week, though they’re best enjoyed within 3 days when the textures are at their peak. For longer storage, freeze in a single layer before transferring to a sealed container, where they’ll keep for up to 1 month.
Health Benefits of This easy peanut butter cup
Healthy Fats Boost
These homemade treats pack a powerful nutritional punch with natural peanut butter as the star ingredient. Just 1 cup provides about 16g of plant-based protein and 8g of fiber, making them more satisfying than traditional candy. The healthy monounsaturated fats in peanut butter support heart health while keeping you fuller longer. 💪
Antioxidant-Rich Chocolate
Using 60% cacao chocolate means you’re getting beneficial flavonoids with every bite. Dark chocolate contains antioxidants that may help reduce inflammation and improve blood flow. A 2-cup serving of quality chocolate chips provides about 20% of your daily iron needs—more than you’d expect from a sweet treat!
Lower Sugar Option
By controlling the ingredients, you can reduce sugar significantly compared to store-bought versions. The recipe uses just 0.5 cup powdered sugar for the entire batch, which is about 50% less than commercial brands. I’ve found this sweetness level perfectly balances the natural richness of peanut butter without being overwhelming.
Energy Boosting
The combination of peanut butter’s protein and chocolate’s natural caffeine provides a balanced energy lift. Perfect for a mid-afternoon pick-me-up or pre-workout snack. The coconut oil adds medium-chain triglycerides that your body can quickly convert to energy. I often make these before hiking trips for a natural energy source.
Portion Control
Making your own allows for perfect portion control—each mini cup contains about 150 calories, compared to 200+ calories in standard store-bought versions. The mini size satisfies cravings without overindulgence. I’ve found that having these pre-portioned helps me enjoy treats mindfully without guilt.
Allergen Control
When you make them at home, you know exactly what’s inside—no mystery ingredients or unnecessary additives. This recipe is naturally gluten-free and can easily be made dairy-free by using vegan chocolate chips. For nut-free versions, simply swap in sunflower seed butter while maintaining the same great texture. ✨
Nutrition Facts

- 6 Egg Cake Recipe with Oil: Light as Air With Buttery Moisture - October 4, 2026
- 4 Bean Casserole Recipe: One-Pan Heartiness With Smoky Paprika Depth - October 4, 2026
- 3-Ingredient Keto Mug Cake Recipe: Microwave Magic in 2 Minutes - October 4, 2026