
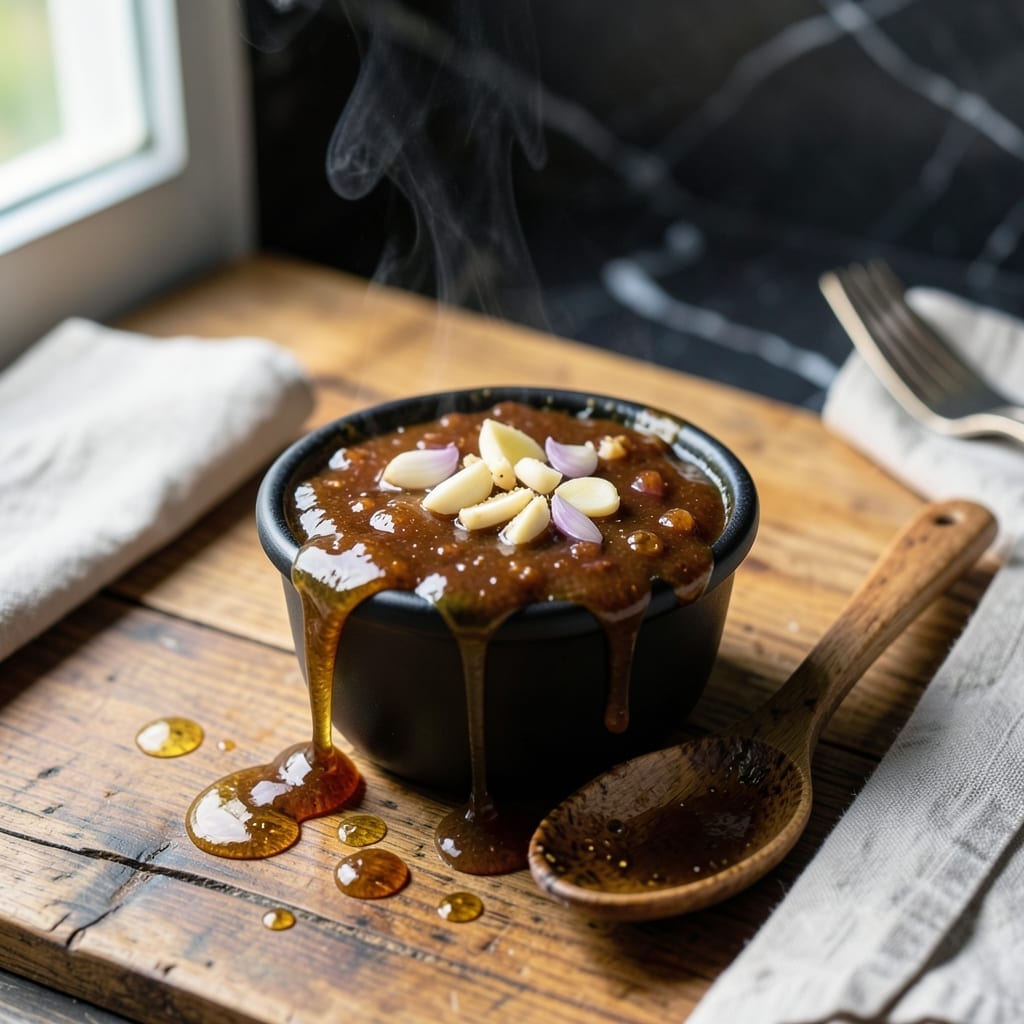
This versatile glaze transforms ordinary dishes with its perfect balance of sweetness and umami depth. I’ve refined this recipe over years of testing to create a foolproof sauce that takes minutes to prepare.
With just a handful of pantry staples, you’ll achieve a glossy, sticky texture that clings beautifully to proteins and vegetables. The key lies in the slow reduction, which intensifies the flavors without burning.
Use it as a marinade, drizzle over roasted meats, or toss with stir-fried vegetables. Its adaptability makes it a staple in my kitchen for quick, flavorful meals.
Store in an airtight container for up to a week—though it rarely lasts that long.
Ingredients for Easy Sweet Soy Glaze
Nine pantry staples create this glossy, umami-packed sweet soy glaze everyone will love.
| Ingredient | Amount | Notes |
|---|---|---|
| Soy Sauce 🥄 | ½ cup | Low-sodium for balance control |
| Brown Sugar 🍚 | ½ cup | Packed, light or dark |
| Rice Vinegar 🍶 | 2 tbsp | For tangy brightness |
| Fresh Ginger 🌿 | 1 tbsp | Grated, peeled first |
| Garlic Cloves 🧄 | 3 cloves | Minced finely for even flavor |
| Sesame Oil 🫒 | 1 tsp | Toasted variety for depth |
| Cornstarch 🌾 | 1 tsp | Slurry with water to thicken |
| Water 💧 | 1 tbsp | For cornstarch slurry |
| Red Pepper Flakes 🌶️ | ¼ tsp | Adjust for desired heat |
The soy sauce is the backbone here. Kikkoman low-sodium is my go-to—consistent flavor without overpowering saltiness. Brown sugar adds that caramelized depth; I keep Domino on hand but any brand works. Fresh ginger and garlic are non-negotiable (the jarred stuff lacks punch). Trader Joe’s has great prices on both if you’re restocking your stash.
No rice vinegar? Apple cider vinegar at half the amount works in a pinch. Swap brown sugar for maple syrup at a 1:1 ratio (vegan-friendly and adds complexity). Missing sesame oil? Neutral oil plus a drop of toasted sesame if you have it. The cornstarch slurry is what gives that glossy cling—don’t skip it. Red pepper flakes can be omitted if heat isn’t your thing.
This keeps beautifully in the fridge for up to 1 week in an airtight jar. The flavors actually deepen over time, so making it a day ahead isn’t a bad idea. Freezes for 3 months too—portion into ice cube trays for easy single-serving use.
Why You’ll Love This Recipe
- I’ll be real: I always have these five ingredients on hand, so this glaze saves me from last-minute takeout runs.
- Five-Minute Magic: I can mix the soy sauce, brown sugar, and rice vinegar in one pan while the ginger and garlic sizzle—done before the rice finishes cooking.
- Sticky Sweet Perfection: The brown sugar caramelizes with the soy into this glossy, finger-licking glaze that clings to everything from chicken to roasted veggies.
- Weeknight MVP: Honestly, it’s my Tuesday dinner hero—brush it on salmon, tofu, or even grilled pineapple and call it a meal.
Step-by-Step Instructions for Sweet Soy Glaze
This simple stovetop method delivers a glossy, umami-rich glaze with minimal effort.
Step 1: Combine the Base Ingredients
In a medium saucepan over medium heat, combine the 0.5 cup Soy Sauce, 0.5 cup Brown Sugar, and 2 tbsp Rice Vinegar. Stir with a wooden spoon until the brown sugar begins to dissolve and the mixture starts to bubble gently at the edges.
This initial combination builds the foundation of your glaze, balancing salty, sweet, and tangy elements. Keep the heat steady—too high and the sugar may burn, too low and it won’t reduce properly. You’ll notice the mixture darken slightly as the sugar caramelizes.
Step 2: Add Aromatics and Simmer
Stir in the 1 tbsp Fresh Ginger, 3 cloves Garlic Cloves, and 0.25 tsp Red Pepper Flakes. Let the mixture simmer for 3-4 minutes until the aromatics become fragrant and the liquid reduces by about one-third.
The ginger and garlic infuse the glaze with depth, while the red pepper flakes add a subtle warmth. Watch for small bubbles breaking the surface consistently—that’s your cue the simmer is active. The glaze should start to thicken slightly but still be pourable at this stage.
Step 3: Create and Incorporate the Slurry
In a small bowl, whisk together the 1 tsp Cornstarch and 1 tbsp Water until smooth. Slowly pour this slurry into the simmering glaze while stirring constantly. The mixture will thicken almost immediately as the cornstarch activates.
Continue cooking for 1-2 minutes until the glaze coats the back of a spoon and drizzles off in a slow, steady ribbon. This is the moment the glaze transforms from a thin sauce to a luscious, sticky consistency perfect for drizzling or brushing.
Step 4: Finish with Sesame Oil
Remove the saucepan from heat and stir in the 1 tsp Sesame Oil. This final addition adds a nutty depth that rounds out the flavors. Taste and adjust seasoning if needed, though the balance should be spot-on with the measured ingredients.
Let the glaze cool for 5 minutes before using. It will thicken further as it cools, reaching the ideal texture for glazing proteins, drizzling over vegetables, or tossing with noodles. The finished product should be glossy, slightly sticky, and packed with umami richness.
Pro Tips For Making Easy Sweet Soy Glaze
- Simmer, Don’t Boil: Keep the heat at medium-low so the brown sugar melts gently without burning—I learned this the hard way after scraping blackened glaze off the pan twice.
- Grate the Ginger: Fresh ginger releases more flavor when finely grated, and it dissolves better into the glaze than chopped pieces.
- Skip the Substitutes: Rice vinegar’s mild tang balances the sweetness perfectly; swapping it with white or apple cider vinegar makes the glaze taste harsh.
- Strain the Solids: After cooking, strain out the ginger and garlic for a silky-smooth glaze—sounds like extra work, but it’s worth the 30 seconds.
Essential Equipment for This Recipe
Saucepan Choice
I always use a medium stainless steel saucepan for this recipe. It conducts heat evenly, preventing hot spots that can burn the sugar. All-Clad is my preferred brand, but any heavy-bottomed pan works. Avoid nonstick—it can’t handle the high heat needed for proper reduction. 🔥
Whisk and Spoon
A wooden spoon is essential for stirring during the initial sugar dissolution. Switch to a whisk when adding the cornstarch slurry to prevent lumps. I keep a OXO silicone whisk in my kitchen for this exact purpose.
Measuring Tools
Precise measurements matter here. I use Pyrek glass measuring cups for the liquids and a set of stainless steel measuring spoons for the smaller quantities. The 1 tbsp and 1 tsp measures get the most use with this glaze.
Storage Containers
For storing leftovers, I recommend 8 oz mason jars or OXO airtight containers. The glaze’s sticky nature needs a tight seal. Glass lets you see the beautiful color and check the consistency before using. ❄️
Thermometer Option
While not mandatory, I sometimes use my ThermoWorks instant-read thermometer to monitor the temperature. The ideal range is 220-230°F during reduction. This helps prevent overheating, especially when doubling the batch.
Cleanup Helper
Have a bowl of warm, soapy water ready. The sugar in this glaze caramelizes quickly, making cleanup difficult if left to dry. I soak my tools immediately after use to make washing up a breeze. 💡
Nutrition Facts
Frequently Asked Questions
Can I use honey instead of brown sugar?
Yes! Substitute honey at a 1:1 ratio for a smoother, slightly floral sweetness. Reduce the heat slightly to prevent burning, as honey caramelizes faster than sugar.
How do I thicken it if it’s too runny?
Mix 1/2 tsp cornstarch with 1 tsp cold water and stir into the simmering glaze. Cook for 1-2 minutes until it reaches your desired consistency.
What’s the best way to store leftovers?
Keep in an airtight container in the fridge for up to 1 week. For longer storage, freeze in ice cube trays for up to 3 months.
Can I make this gluten-free?
Swap regular soy sauce for tamari or a certified gluten-free soy sauce. All other ingredients are naturally gluten-free.

- 6 Egg Cake Recipe with Oil: Light as Air With Buttery Moisture - October 4, 2026
- 4 Bean Casserole Recipe: One-Pan Heartiness With Smoky Paprika Depth - October 4, 2026
- 3-Ingredient Keto Mug Cake Recipe: Microwave Magic in 2 Minutes - October 4, 2026