
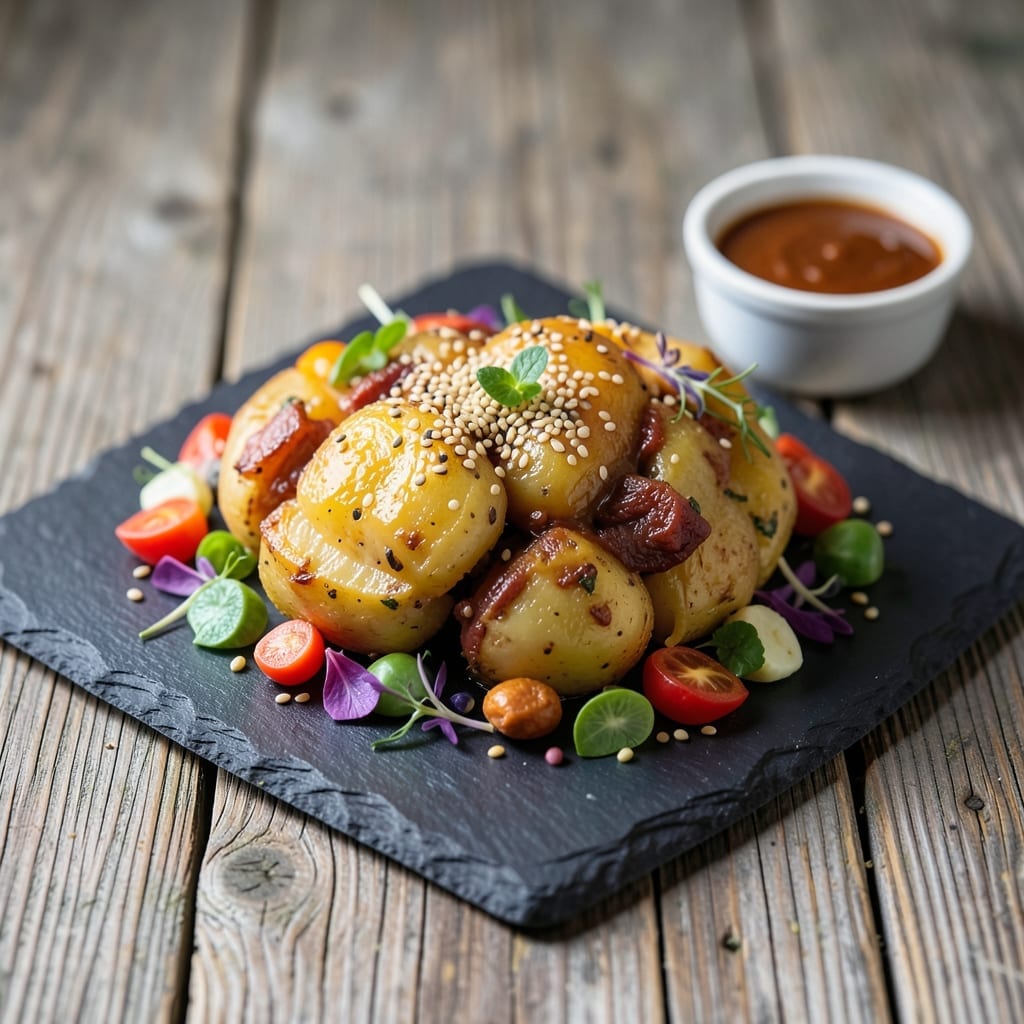
This creamy hash brown casserole delivers all the comfort of classic funeral potatoes without the corn flake topping. The secret lies in a rich, cheesy sauce that bakes into a golden, bubbling finish.
With just a few simple ingredients and one baking dish, you’ll achieve a buttery, creamy side that’s perfect for gatherings or a cozy family meal.
Ingredients for Funeral Potatoes Recipe Without Corn Flakes
Simple ingredients for a creamy, comforting hash brown casserole everyone will love.
| Ingredient | Amount | Notes |
|---|---|---|
| Frozen Hash Browns 🥔 | 30 oz | Thawed, shredded style |
| Unsalted Butter 🧈 | ½ cup | Melted for sauce |
| All-Purpose Flour 🌾 | ¼ cup | For thickening sauce |
| Whole Milk 🥛 | 2 cups | Full-fat for creaminess |
| Chicken Broth 🍲 | 1 cup | Low-sodium preferred |
| Cheddar Cheese 🧀 | 2 cups | Shredded from block |
| Sour Cream 🥣 | 1 cup | Full-fat for richness |
| Cream of Chicken Soup 🥫 | 1 can | 10.5 oz can size |
| Onion 🧅 | ½ whole | Yellow or white, finely diced |
| Garlic Cloves 🧄 | 2 cloves | Minced for depth |
| Salt 🧂 | 1 tsp | Kosher or sea salt |
| Black Pepper 🌶️ | ½ tsp | Freshly ground preferred |
| Dried Thyme 🌿 | ½ tsp | Optional for herbal note |
| Paprika 🌶️ | ¼ tsp | For color and mild heat |
The hash browns are the foundation—Ore-Ida shredded is reliable and widely available at any supermarket. For the cheese, block cheddar shreds better than pre-shredded (which has anti-caking agents). The sour cream and milk should be full-fat for the creamiest texture. I typically use Land O’Lakes butter and Campbell’s cream of chicken soup for consistent results.
Need to make it vegetarian? Swap the chicken broth for vegetable broth and use cream of mushroom soup instead of chicken. No sour cream? Greek yogurt at the same quantity works well. The cheddar can be swapped for Monterey Jack for a milder flavor. For extra richness, some cooks add 1/2 cup of cream cheese to the sauce.
Assemble and bake right away, or prep the night before and refrigerate (add 10-15 minutes to baking time). Leftovers keep for 3-4 days in the fridge and reheat beautifully. For longer storage, freeze before baking—good for 2-3 months.
Why You’ll Love This Recipe
- I’ll be real: it tastes even better reheated the next day, and it freezes like a dream.
- One Pan Wonder: I just dump frozen hash browns into a dish, mix up the creamy butter-flour-milk sauce, and let the oven do the rest.
- Creamy Dream: The chicken broth in the sauce adds this rich, savory depth that makes every bite ridiculously good.
- Potluck Hero: Honestly, it’s my go-to for church gatherings and family dinners—always disappears first.
Step-by-Step Instructions for Buttery Hash Brown Casserole
This method ensures a creamy, golden casserole with minimal effort and maximum flavor.
Step 1: Prepare the Aromatic Base
Finely dice the 0.5 whole onion and mince the 2 cloves garlic cloves. This fine texture ensures they melt into the sauce without overpowering any single bite. I like to use a sharp chef’s knife for this—dull blades bruise the onion and make the job harder.
Melt the 0.5 cup unsalted butter in a saucepan over medium heat. Add the diced onion and cook for 5 minutes until translucent and soft. Stir in the minced garlic and cook for an additional 30 seconds until fragrant. Don’t let the garlic brown—it turns bitter quickly.
Step 2: Create the Creamy Sauce
Sprinkle the 0.25 cup all-purpose flour over the melted butter and onion mixture. Whisk constantly for 1-2 minutes to cook off the raw flour taste. This creates a roux that will thicken your sauce beautifully. You’ll notice the mixture start to bubble and turn a light golden color.
Slowly pour in the 2 cups whole milk and 1 cup chicken broth, whisking continuously to prevent lumps. Add the 1 can cream of chicken soup, 1 cup sour cream, 1 tsp salt, 0.5 tsp black pepper, 0.5 tsp dried thyme, and 0.25 tsp paprika. Stir until smooth and bring to a gentle simmer for 3-4 minutes until thick enough to coat the back of a spoon.
Step 3: Combine and Layer the Casserole
Remove the sauce from heat and stir in 1 cup cheddar cheese until fully melted. This first addition of cheese creates a smooth, velvety base. I always shred my own cheese from a block—pre-shredded cheese has anti-caking agents that prevent it from melting as smoothly.
In a greased 9×13-inch baking dish, spread the 30 oz frozen hash browns (thawed) in an even layer. Pour the sauce evenly over the hash browns. Sprinkle the remaining 1 cup cheddar cheese on top, ensuring full coverage for that perfect golden crust.
Step 4: Bake to Golden Perfection
Preheat your oven to 350°F. Bake the casserole uncovered for 40-45 minutes until the top is bubbly and golden brown and the edges are deeply caramelized. You’ll know it’s done when a knife inserted in the center comes out hot to the touch.
If the top starts browning too quickly, tent loosely with foil for the remaining baking time. This prevents over-browning while allowing the center to cook through completely. The casserole should be set with no jiggle in the center when done.
Pro Tips For Making Funeral Potatoes Recipe Without Corn Flakes
- Thaw the Hash Browns: Let the frozen hash browns sit at room temperature for 20-30 minutes before mixing—I learned this the hard way after ending up with a watery, uneven bake.
- Bloom the Flour: Cook the flour and butter together for a full 2 minutes to remove the raw taste; it actually changes the outcome of your sauce.
- Skip the Overmixing: Stir the potato mixture just until combined, or you’ll end up with a dense, gummy texture instead of that creamy consistency everyone loves.
- Use Warm Broth: Heat the chicken broth before adding it to the sauce—cold liquid makes the butter seize up, and you’ll spend extra time trying to smooth it out.
Storing and Reheating This Recipe
🍽️ Refrigerator Storage
To store your funeral potatoes in the fridge, let the dish cool completely before transferring it to an airtight container. This helps prevent condensation, which can make the casserole soggy. Properly stored, your funeral potatoes will stay fresh for 3–4 days. For best results, cover the container tightly with plastic wrap or a lid before refrigerating.
❄️ Freezer Storage
If you want to extend the shelf life, freezing is a great option. Wrap the cooled casserole tightly in plastic wrap, then place it in a freezer-safe bag or container. Properly wrapped, funeral potatoes can be stored in the freezer for 2–3 months. Be sure to label the container with the date to keep track of freshness.
🔥 Reheating Methods
To reheat, the oven is the best choice for maintaining texture. Preheat your oven to 350°F (175°C) and bake the casserole, covered with foil, for 20–25 minutes or until heated through. For a quicker option, use the microwave: heat individual portions in 1-minute intervals, stirring in between. If using a smoker, set it to 275°F (135°C) and reheat for 30–40 minutes for a smoky flavor boost.
💡 Quality Preservation
To preserve the creamy texture, avoid overcooking during reheating. If thawing from frozen, transfer the casserole to the fridge overnight for even thawing. For extra moisture, add a splash of milk or a pat of butter before reheating. This keeps the potatoes rich and flavorful, just like when they were first made!
Nutrition Facts

- 6 Egg Cake Recipe with Oil: Light as Air With Buttery Moisture - October 4, 2026
- 4 Bean Casserole Recipe: One-Pan Heartiness With Smoky Paprika Depth - October 4, 2026
- 3-Ingredient Keto Mug Cake Recipe: Microwave Magic in 2 Minutes - October 4, 2026