
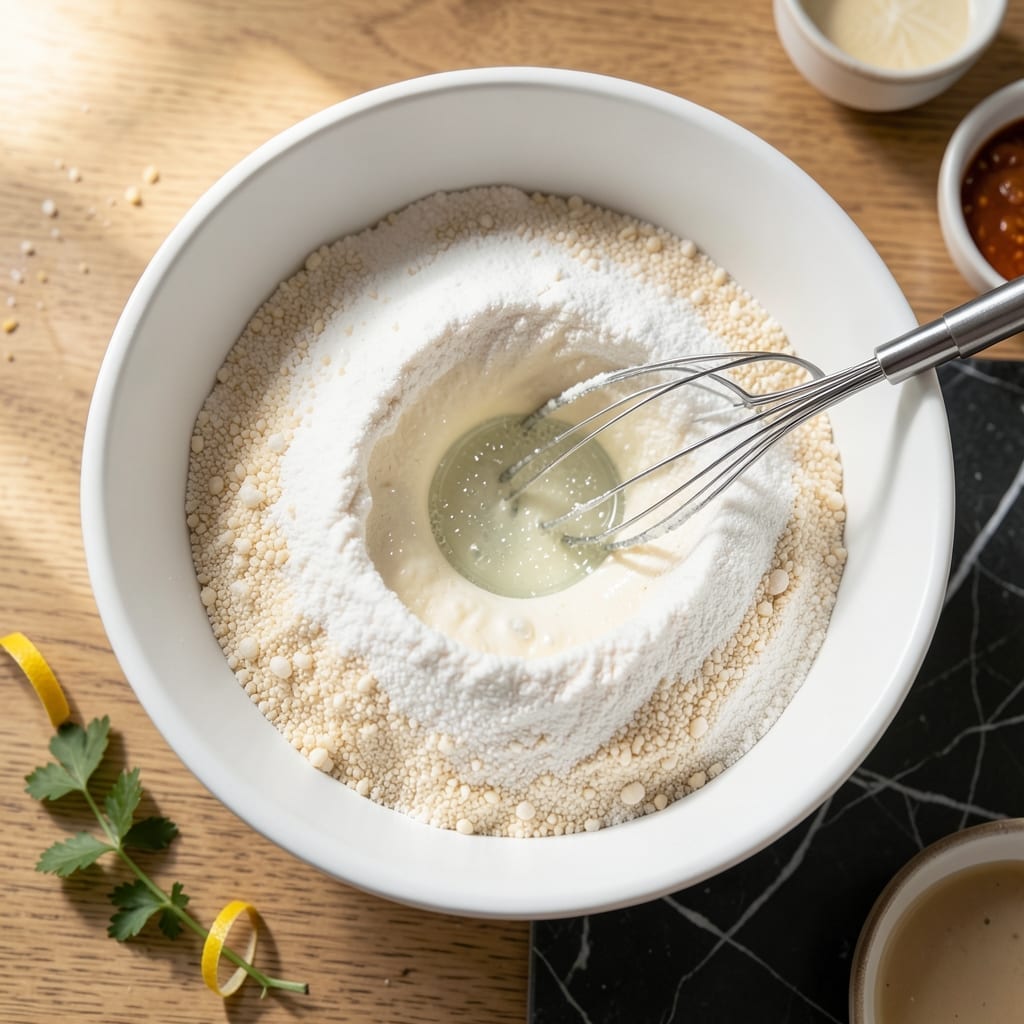
I’ve spent years perfecting a gluten-free batter that actually works for all your favorite foods. This version finally delivers the crispy, golden results we all miss from traditional recipes.
No more dense, gummy textures or batters that slide right off your food. A simple blend of gluten-free flours and one unexpected ingredient creates a base that fries up perfectly every time.
The secret is letting the batter rest for 10 minutes before using. This gives the flours time to hydrate fully, preventing that telltale gritty texture that plagues so many gluten-free attempts.
Use it for onion rings, fish, chicken, or even tempura vegetables. The possibilities are endless with this reliable foundation.
Ingredients for Gluten Free Batter
A carefully balanced blend that finally delivers crispy, golden gluten-free results every time.
| Ingredient | Amount | Notes |
|---|---|---|
| Rice Flour 🌾 | 1 cup | Fine white rice flour preferred |
| Tapioca Starch 🌾 | ½ cup | Also called tapioca flour |
| Cornstarch 🌽 | ½ cup | For extra crispiness |
| Baking Powder 🧂 | 1 ½ tsp | Ensures light texture |
| Salt 🧂 | 1 tsp | Fine sea salt preferred |
| Cold Sparkling Water 💧 | 1 ½ cups | The unexpected ingredient for fizz |
| Large Egg 🥚 | 1 whole | Room temperature for best binding |
| Vodka 🍸 | 2 tbsp | Optional for extra crispiness |
| Xanthan Gum 🧪 | ½ tsp | Gluten-free binder |
| Garlic Powder 🧄 | ½ tsp | Adds subtle savory depth |
| Onion Powder 🧅 | ½ tsp | Balances the flavor profile |
| Paprika 🌶️ | ½ tsp | For color and mild warmth |
Rice flour is the foundation here—Bob’s Red Mill is my go-to, but any fine white rice flour works. The cornstarch is non-negotiable for that perfect crunch (trust me on this). Sparkling water is the secret weapon; San Pellegrino or any plain seltzer does the trick. I grab mine from Whole Foods when I want to restock all my gluten-free staples at once.
No sparkling water? Very cold club soda works too. Skip the vodka if you prefer, but it does help with crispiness. For an egg-free version, 1 tbsp ground flaxseed mixed with 3 tbsp water substitutes well. Xanthan gum can be swapped with guar gum at the same ratio. If you’re out of tapioca starch, arrowroot powder is a decent backup.
The batter keeps in the fridge for up to 24 hours (stir before using). Store dry ingredients in airtight containers for 6-12 months. For best results, always let the batter rest the full 10 minutes before dipping your food.
Why You’ll Love This Recipe
- One Bowl Wonder: I just dump the rice flour, tapioca starch, cornstarch, baking powder, and salt in a bowl—no sifting, no fuss.
- Crispy Perfection: That tapioca starch gives it this light, almost flaky texture that’s honestly hard to believe is gluten free.
- Endless Uses: I’ve used this batter for fish, onion rings, even chicken tenders—my picky nephew doesn’t even realize it’s gluten free.
- Pantry Staples: All the ingredients are cheap, last forever, and I always have them on hand for last-minute cravings.
Step-by-Step Instructions for Gluten Free Batter
This method creates a light, crispy batter that works perfectly for frying or baking.
Step 1: Combine Dry Ingredients for Structure
In a large bowl, whisk together 1 cup Rice Flour, 0.5 cup Tapioca Starch, 0.5 cup Cornstarch, 1.5 tsp Baking Powder, and 1 tsp Salt until no lumps remain. The combination of these starches creates the ideal texture—rice flour provides body while tapioca and cornstarch add crispness.
Add 0.5 tsp Xanthan Gum, 0.5 tsp Garlic Powder, 0.5 tsp Onion Powder, and 0.5 tsp Paprika. Whisk thoroughly to distribute the spices evenly. The xanthan gum acts as a binder, replacing gluten’s structure, while the spices add subtle depth to your creation.
Step 2: Incorporate Wet Ingredients Gently
Create a well in the center of your dry mixture. Add 1 whole Large Egg and 1.5 cups Cold Sparkling Water. The carbonation in the sparkling water creates tiny air pockets, resulting in an exceptionally light texture once cooked.
Using a fork, gently whisk the wet ingredients into the dry, moving outward from the center. Stop mixing as soon as the batter comes together—it’s okay if a few small lumps remain. Overmixing will make your batter tough rather than tender.
Step 3: Add the Secret Crispiness Ingredient
Pour in 2 tbsp Vodka and fold it in with a spatula. The alcohol evaporates quickly during cooking, leaving behind an extra-crispy exterior. This is an optional but highly recommended step for maximum crunch.
The batter should now be smooth and coat the back of a spoon with a ribbon-like consistency. If it seems too thick, add a splash more cold sparkling water, but remember the vodka will thin it slightly as well.
Step 4: Rest the Batter for Optimal Texture
Let the batter rest for 10-15 minutes at room temperature. This allows the starches to fully hydrate and the xanthan gum to activate, creating a more cohesive mixture that will cling better to your food.
You’ll notice the batter thickens slightly during this time. Give it a quick stir before using. The resting period ensures your final product has the perfect balance of crispiness and tenderness, whether you’re making fritters, tempura, or coated proteins.
Pro Tips For Making Gluten Free Batter
- Rest the Batter: After mixing, let the batter sit for 10-15 minutes—this lets the starches hydrate fully and prevents that gritty texture.
- Whisk the Dry: I learned this the hard way: sift the rice flour, tapioca starch, and cornstarch together first to break up lumps before adding liquids.
- Skip Cold Liquids: Use room temperature water or milk—cold liquids can make the batter seize up and turn dense instead of light.
- Boost with Egg: Sounds weird, but it works: adding one egg to the batter gives it structure and a richer flavor without overpowering the gluten-free base.
Storing and Reheating This Dish
Fridge Storage
Transfer any leftover batter to an airtight container immediately after use. It will keep in the fridge at 40°F or below for up to 24 hours. Stir well before using as the starches will settle over time. ❄️
Freezer Storage
For longer storage, freeze the dry mix (without liquids) in a sealed bag for up to 3 months. When ready to use, simply whisk in fresh sparkling water and egg. This preserves the crispy texture better than freezing prepared batter.
Stovetop Reheating
If reheating fried foods, use a 350°F oven for 10-15 minutes to restore crispiness. Microwaving will make them soggy. I always preheat my Lodge cast iron skillet for even results.
Batter Consistency Fix
If stored batter thickens too much, thin it with 1-2 tbsp cold sparkling water until it reaches the original ribbon-like consistency. The carbonation is key, so don’t use flat water.
Pro Storage Tip
Label your container with the date—gluten-free batters can separate faster than traditional ones. I use glass mason jars for easy visibility and stirring. 💡
Nutrition Facts
Frequently Asked Questions
Can I use regular water instead of sparkling?
Sparkling water creates air pockets for extra crispiness. Regular water works in a pinch, but your results will be denser. Stick with cold water for best texture.
Why does the batter need to rest?
Resting for 10 minutes lets starches hydrate fully and xanthan gum activate. This prevents grittiness and helps the coating cling better to food.
What if my batter is too thin?
Add 1-2 tbsp more rice flour until it coats the back of a spoon. Avoid overmixing after adding. The consistency should be like heavy cream.
Can I make this ahead of time?
Prepare the dry mix up to 3 months ahead. Store in an airtight container and add wet ingredients when ready to cook.

- 6 Egg Cake Recipe with Oil: Light as Air With Buttery Moisture - October 4, 2026
- 4 Bean Casserole Recipe: One-Pan Heartiness With Smoky Paprika Depth - October 4, 2026
- 3-Ingredient Keto Mug Cake Recipe: Microwave Magic in 2 Minutes - October 4, 2026