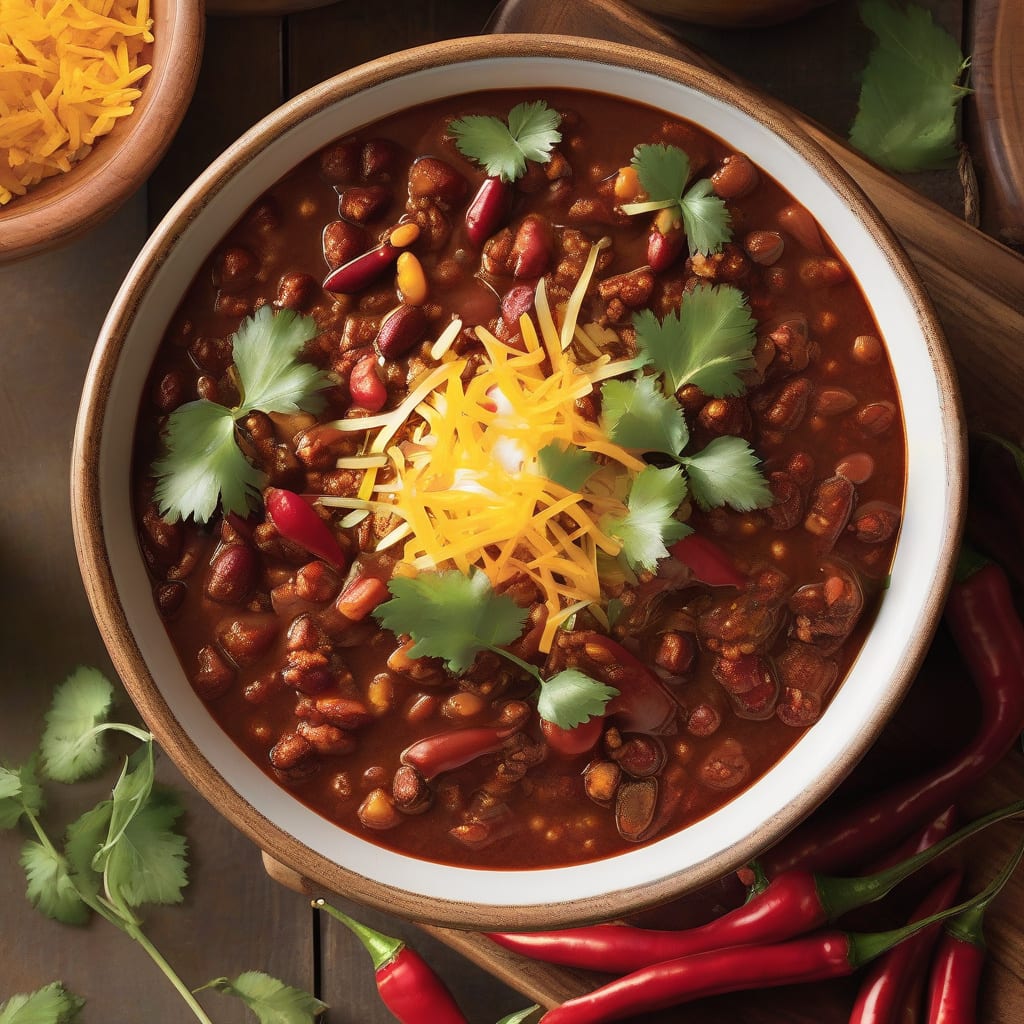
There’s nothing like a warm bowl of chili to bring comfort on a chilly day. This Good Housekeeping Chili Recipe is a hearty, satisfying meal that’s perfect for any occasion, delivering comfort in every bite with its rich flavors and tender texture.
Ready in under an hour, this recipe serves 4-6 people and uses common ingredients like ground beef, beans, and tomatoes, making it a convenient and delicious option for a weeknight dinner that’s both easy to prepare and packed with flavor.
👨🍳
Difficulty
Medium
🥩
Category
Meat
⏱️
Duration
30 min
🔥
Calories
Med Cal
Ingredients for Good Housekeeping Chili
Hearty ingredients come together in this comforting chili recipe, perfect for any occasion.
For the best flavor, use 80/20 ground beef—the extra fat gives richness. Most grocery stores carry it, but if you’re at Whole Foods, look for their grass-fed options. The chili powder is key here; Penzeys has excellent blends. If you’re feeling fancy, toast your own cumin seeds and grind them fresh.
No red bell pepper? Green bell pepper works too. Want more heat? Add more cayenne or throw in some diced jalapeños. The beans can be swapped—pinto or navy work well if you don’t have kidney or black. If using different beans, adjust cooking time as needed. For a smokier flavor, add 1 tsp liquid smoke with the broth.
This chili improves with time—make it ahead and refrigerate for up to 3 days or freeze for 3 months. Reheat gently on the stovetop or in the microwave. Freezer tip: portion into individual containers so you can grab a quick lunch or dinner. It also freezes well in quart-sized containers for bigger batches.
❤️
Why You’ll Love This Recipe
Quick Prep: I can throw this chili together in under 30 minutes, and it’s a total lifesaver on busy weeknights.
Rich Flavor: The combination of ground beef, garlic cloves, and red bell pepper creates a depth of flavor that’s ridiculously good.
Feeds a Crowd: I’ve made this chili for everything from family game nights to potlucks, and it’s always a hit – plus, it’s easy to scale up or down depending on how many people I’m feeding.
Great Leftovers: This recipe makes a big batch, and honestly, the leftovers are just as good the next day – it’s a great way to save time and money on meal prep.
Step-by-Step Instructions for Hearty Chili
Here’s the method that delivers rich, comforting chili every time.
Step 1: Brown the Ground Beef
Heat a large Dutch oven over medium-high heat. Add the 1 lb Ground Beef and cook, breaking it up with a spoon, until it’s browned and fully cooked, about 5-7 minutes. I like to use a mix of 80/20 lean to fat ratio for the best flavor. Drain excess fat if necessary, but leave about 1 tablespoon to keep the chili rich.
The browning process is crucial as it adds depth to the chili. Make sure to break the meat into small pieces as it cooks to ensure even browning. If you notice the meat starting to stick, add a splash of the 1 cup Beef Broth to deglaze the pan.
Step 2: Soften the Vegetables
Add the 1 whole Onion, diced, to the pot and cook until it’s translucent and starting to caramelize, about 5 minutes. Then add the 3 cloves Garlic Cloves, minced, and 1 whole Red Bell Pepper, diced, cooking for another 2-3 minutes until the vegetables are tender and fragrant.
Stir occasionally to prevent burning. The onions should be soft and slightly golden—this adds a natural sweetness to balance the spices. If the garlic starts to brown too quickly, reduce the heat slightly to prevent bitterness.
Step 3: Add Spices and Simmer
Stir in the 2 tbsp Chili Powder, 1 tsp Ground Cumin, 1 tsp Smoked Paprika, and 0.25 tsp Cayenne Pepper. Cook for 1-2 minutes until the spices are fragrant. Then add the 2 cans Canned Crushed Tomatoes, 1 can Kidney Beans (drained and rinsed), 1 can Black Beans (drained and rinsed), 1 tsp Salt, and 0.5 tsp Black Pepper.
Pour in the 1 cup Beef Broth and bring the mixture to a simmer. Let it cook, uncovered, for 30-40 minutes, stirring occasionally, until the flavors have melded together and the chili has thickened slightly. You want it to be hearty and rich, not too thin.
Step 4: Finish and Serve
Taste and adjust the seasoning as needed. If it’s too thick, add a bit more Beef Broth. If it’s too thin, let it simmer for a few more minutes to reduce. Serve hot, garnished with your choice of toppings such as chopped onions, shredded cheese, or sour cream.
The chili should be comforting and satisfying, with a deep, developed flavor. Let it rest for 10-15 minutes before serving to allow the flavors to settle. This recipe makes 4 servings, perfect for a family dinner or meal prep.
👨🍳
Pro Tips For Making Good Housekeeping Chili
BROWN THE MEAT: Take your time browning the Ground Beef – it’s worth the extra few minutes to get a good sear, which adds depth to the chili. I learned this the hard way—rushing this step resulted in a bland flavor.
SOFTEN THE ONIONS: Cook the Onion until it’s translucent and starting to caramelize before adding the Garlic Cloves, as this prevents the garlic from burning and gives the chili a sweeter base. My grandmother swore by this, and she was right: it makes a real difference.
SKIP OVERCROWDING: Cook the Ground Beef in batches if necessary, to avoid overcrowding the pan, which can lead to steaming instead of browning. This isn’t the prettiest method, but it’s the tastiest.
USE QUALITY TOMATOES: Choose high-quality Canned Crushed Tomatoes, as they are a crucial component of the chili’s flavor profile. I was skeptical until I tried it, but the difference is noticeable, especially when using the Red Bell Pepper.
Essential Equipment for This Dish
Essential Cooking Vessel
A large Dutch oven is the workhorse for this recipe, providing even heat distribution and plenty of room for browning meat and simmering chili. I prefer a 5-quart Le Creuset for its durability and heat retention. If you don’t have a Dutch oven, a heavy-bottomed pot works too.
Cutting Tools
Having the right knives makes prep work easier. A sharp chef’s knife is essential for dicing the onion and red bell pepper. I use a 8-inch Wüsthof Classic for most chopping tasks. You’ll also need a cutting board—bamboo or plastic works well.
Measuring Tools
Accurate measurements matter in chili. Use a digital kitchen scale to measure the ground beef precisely. For spices, I rely on stainless steel measuring spoons to get the right amounts. Having dry and liquid measuring cups on hand helps with the broth and tomatoes.
Additional Tools
A wooden spoon or silicone spatula is necessary for stirring and scraping the pot. If you’re using canned beans, a can opener is a must. For serving, consider having topping bowls ready for garnishes like shredded cheese or sour cream. 🔥
Optional Equipment
If you want to get fancy, a slow cooker can be used after browning the meat and cooking the vegetables. Transfer everything to the slow cooker and cook on low for 6-8 hours. An immersion blender can help thicken the chili if you prefer a thicker consistency.
Storage Containers
For leftovers, have airtight containers ready. I like using glass containers with snap-on lids for refrigerator storage. For freezing, quart-sized freezer bags or containers work well. Label them with the date so you know when you stored the chili. ❄️
Nutrition Facts
Servings 4
Amount Per Serving
Calories 320kcal
% Daily Value
Total Fat 18g23%
Saturated Fat 6g30%
Cholesterol 60mg20%
Sodium 550mg24%
Total Carbohydrate 20g7%
Dietary Fiber 6g21%
Sugars 4g
Protein 25g50%
Percent Daily Values are based on a 2,000 calorie diet. Your daily values may be higher or lower depending on your calorie needs.
Frequently Asked Questions
1
Can I make this chili recipe in a slow cooker?
Yes, you can adapt this recipe for a slow cooker. After browning the meat and cooking the vegetables, transfer everything to the slow cooker and cook on low for 6-8 hours or high for 3-4 hours. This allows the flavors to meld together beautifully.
2
How can I adjust the heat level in this chili recipe?
To adjust the heat, modify the amount of cayenne pepper or add diced jalapeños to taste. For a milder version, omit the cayenne pepper entirely. You can always add more heat when serving with hot sauce.
3
Can I freeze leftover chili?
Absolutely! Let the chili cool completely, then portion it into airtight containers or quart-sized freezer bags. It freezes well for up to 3 months. When you’re ready to eat it, thaw overnight in the refrigerator and reheat gently on the stovetop or in the microwave.
4
What are some recommended toppings for this chili?
Popular toppings include shredded cheese, sour cream, chopped onions, and diced avocado. You can also add a sprinkle of fresh cilantro for extra flavor.
I'm Tyler Parker, and I've been cooking since my Aunt Linda handed me a whisk at age eight in her cramped Portland, Oregon kitchen—she swears I made the lumpiest gravy ever tasted in 2003, but she ate it anyway. The smell of her rosemary-garlic roast still drags me back to that rainy afternoon when she taught me to crush herbs with the heel of my hand. Over the past 17 years I've burned, under-salted, and over-fermented more dishes than I can count, but the breakthrough came in 2016 when my Thanksgiving turkey caught fire; the skin blackened, yet the meat stayed juicy—family fought over the smoky slices and I realized perfection is overrated. These days I live in Denver with my wife Carla, our daughter Olive (age 5), and a rescue mutt named Pickle who parks himself by the stove for dropped carrots. When I'm not tinkering with green-chile recipes, I'm skiing knee-deep powder or restoring a beat-up '72 Mustang in the garage. My lucky charm is a chipped blue Pyrex bowl I snagged at a yard sale for fifty cents—every batch of pancakes tastes better in it, or so I tell myself while flipping at sunrise.