
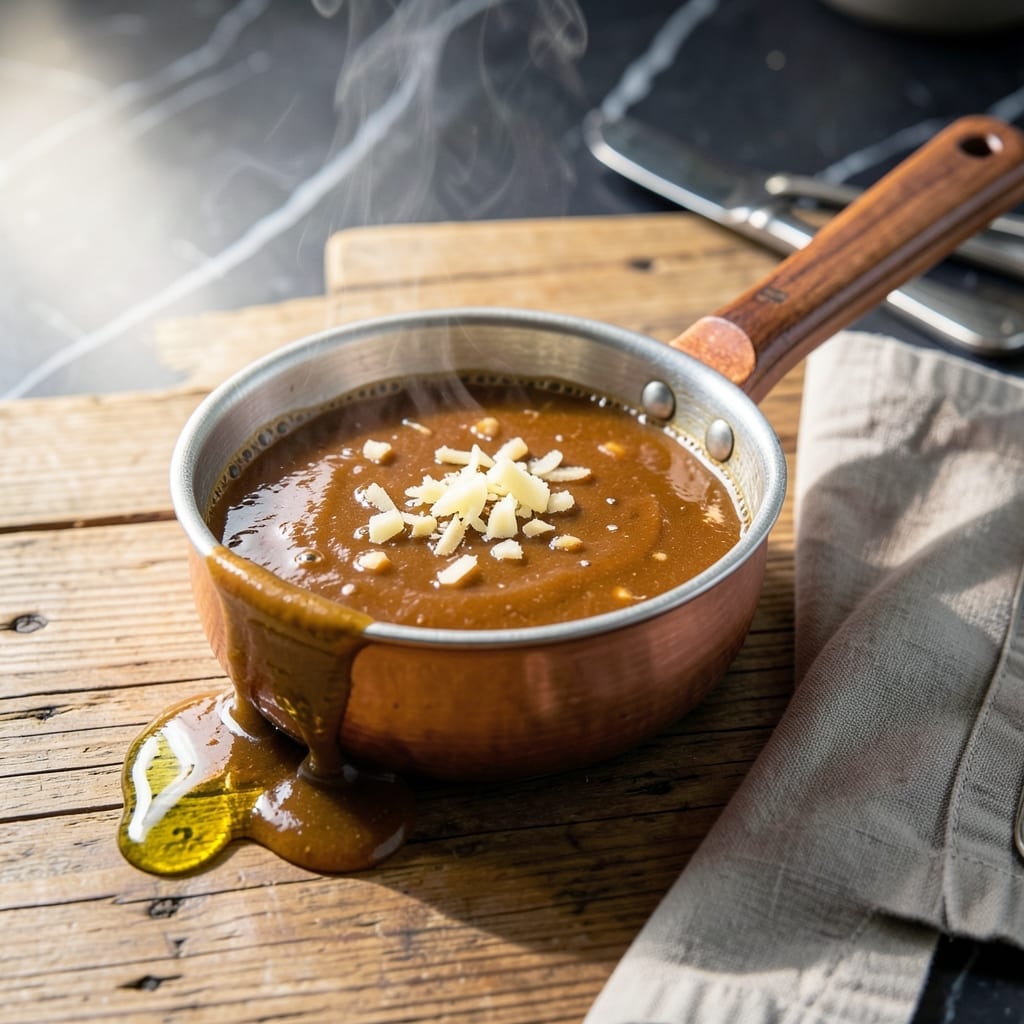
This versatile sauce brings authentic Japanese steakhouse flavor to your kitchen with minimal effort. The combination of sweet, savory, and umami notes creates a perfect balance for grilling and dipping.
I developed this recipe to capture the exact taste of restaurant-style hibachi sauce using simple pantry staples. The key is balancing soy sauce, butter, and a touch of garlic for depth without overpowering the dish.
What you’ll get is a smooth, rich sauce that clings to vegetables, meats, and rice. It keeps well in the fridge for up to 2 weeks, making it ideal for meal prep.
Use it as a finishing drizzle, marinade, or dipping sauce. Here’s how to make this essential condiment.
Ingredients for Hibachi Sauce
Nine pantry staples create that signature sweet-savory steakhouse flavor you crave.
| Ingredient | Amount | Notes |
|---|---|---|
| Soy Sauce 🥢 | ½ cup | Low-sodium for balance control |
| Unsalted Butter 🧈 | ½ cup | Melted, for creaminess |
| Garlic Cloves 🧄 | 3 cloves | Minced for depth |
| Granulated Sugar 🍚 | 2 tbsp | Balances salt and umami |
| Rice Vinegar 🍶 | 2 tbsp | Adds subtle tang |
| Mirin 🍷 | 2 tbsp | Sweet rice wine essential |
| Sesame Oil 🫒 | 1 tsp | Toasted, for aroma |
| Ground White Pepper 🌶️ | ¼ tsp | Milder than black pepper |
| Ginger Root 🌿 | 1 tsp | Freshly grated preferred |
The soy sauce base needs to be good—Kikkoman or Yamasa are my go-tos. Butter quality matters here; skip the margarine (it separates). European-style unsalted gives it that extra richness. Most grocery stores carry mirin in the Asian aisle, but Amazon or H-Mart have better prices if you’re making this often. Fresh ginger and garlic are non-negotiable for that authentic depth.
No mirin? 1 tbsp sugar + 1 tbsp water + 1 tsp vinegar works in a pinch. Out of rice vinegar? Apple cider vinegar at half the amount. Want it thicker? Simmer 2 extra minutes. The sesame oil is strong—toasted only, not raw. For a smokier vibe, add a pinch of smoked paprika, but keep it subtle.
Sauce thickens as it cools. Store in a jar with a tight lid—stays perfect for 2 weeks in the fridge. Freeze in ice cube trays for up to 3 months (thaw overnight in the fridge). Shake before using; the butter may separate slightly.
Why You’ll Love This Recipe
- Five-Minute Mix: I melt the butter, toss in minced garlic, and stir in the rest—done before the rice finishes.
- Umami Bomb: The soy and sugar hit that sweet-salty spot, while rice vinegar keeps it from being cloying.
- Drizzle on Everything: I slather it on steak, shrimp, even veggies, and it never fails to impress.
- Fridge Staple: Leftovers keep for a week, so I always have a flavor boost ready when cravings strike.
Step-by-Step Instructions for Hibachi Sauce
This method ensures every batch delivers that signature sweet-savory balance with minimal effort.
Step 1: Bloom Aromatics in Melted Butter
In a small saucepan, melt the 0.5 cup Unsalted Butter over medium-low heat. As soon as it’s fully liquid but not browned, add the 3 cloves Garlic Cloves (minced) and 1 tsp Ginger Root (grated).
Cook for 1-2 minutes, stirring constantly, until the mixture becomes fragrant and the garlic turns just pale golden at the edges. Here’s the thing—you don’t want the garlic to brown or it’ll turn bitter. The butter should foam slightly but never smoke.
Step 2: Build the Umami Base
Pour in the 0.5 cup Soy Sauce, 2 tbsp Granulated Sugar, 2 tbsp Rice Vinegar, and 2 tbsp Mirin. Stir well to dissolve the sugar completely—this usually takes 30-45 seconds of gentle stirring.
I’ve found that low-sodium soy sauce gives you better control over the saltiness, especially since the sauce reduces. The mixture should be bubbling gently at the edges but not at a rolling boil. This is where the magic starts to happen as the flavors begin to meld.
Step 3: Simmer and Thicken
Reduce the heat to low and let the sauce simmer for 8-10 minutes. You’ll notice it darkening slightly and becoming more glossy as it thickens enough to coat the back of a spoon.
Stir occasionally to prevent sticking, especially as it reduces. The sauce should reduce by about one-third. Don’t rush this step with higher heat—you want a gentle simmer that allows the flavors to concentrate without burning the sugars.
Step 4: Finish with Sesame Oil and Pepper
Remove the saucepan from heat and stir in the 1 tsp Sesame Oil and 0.25 tsp Ground White Pepper. The sesame oil adds that distinctive nutty aroma that makes this sauce unmistakably hibachi-style.
Let the sauce cool for 5 minutes before using—it’ll thicken slightly more as it cools. The final consistency should be pourable but still cling to food. Taste and adjust seasoning if needed, though with these exact measurements, you shouldn’t need to.
Pro Tips For Making Hibachi Sauce
- Mince Garlic Finely: I learned this the hard way—big garlic chunks make the sauce bitter and ruin the smooth texture. Press or mince it to about 1/16-inch pieces so it melts into the butter evenly.
- Low and Slow: Keep the heat at medium-low after melting the butter to avoid scorching the garlic. Burnt garlic turns bitter fast, and you’ll have to start over.
- Dissolve Sugar First: Stir the sugar into the warm butter before adding liquids—this prevents grainy texture. Sounds weird, but it works: the sugar needs a head start to melt completely.
- Rest Before Serving: Let the sauce sit for 5 minutes off heat before using. This lets the flavors meld, and the vinegar mellows out—your future self will thank you.
Common Mistakes When Making This Recipe
Overheating the Butter
Never let the butter brown when melting it for this sauce. I always use medium-low heat and pull it off immediately when foaming starts. Browned butter adds a nutty flavor that competes with the delicate balance of soy and mirin. 🔥
Skipping the Simmer
Rushing the 8-10 minute simmer results in a thin, watery sauce that won’t cling to your food. The reduction time is crucial for developing that signature glossy texture and concentrating the umami depth.
Using Raw Garlic
Always mince your 3 garlic cloves and cook them in the butter first. Adding raw garlic directly to the sauce creates harsh, bitter notes that overpower the sweet-savory balance. Cook just until fragrant, never browned.
Wrong Vinegar Choice
Rice vinegar is non-negotiable here—its mild acidity complements without overpowering. I tried apple cider vinegar once and the sharpness threw off the entire flavor profile. Stick to rice vinegar for authentic results.
Over-Sweetening
The 2 tbsp sugar might seem light, but it’s perfectly balanced with the soy’s saltiness. I’ve seen recipes call for ¼ cup or more—this makes the sauce taste like dessert rather than the savory condiment it should be. 💡
Ignoring the Rest
Let the sauce rest for 5 minutes after cooking. This allows the flavors to meld completely and the texture to reach its ideal consistency. Serving it straight from the pan means missing out on the full depth of flavor.
Nutrition Facts
Frequently Asked Questions
Can I use salted butter instead?
It’s better to use unsalted butter to control the salt content. If you only have salted, reduce the soy sauce by 1 tbsp to balance the flavor.
What can I substitute for mirin?
Mix 1 tbsp sugar with 1 tbsp water and 1 tsp vinegar as a quick substitute. This mimics mirin’s sweet-tangy profile in a pinch.
How long does it keep in the fridge?
Stored in an airtight container, it stays fresh for up to 2 weeks. For longer storage, freeze in ice cube trays for 3 months.
Is this sauce gluten-free?
Regular soy sauce contains wheat. Use tamari instead for a gluten-free version. Check all other ingredient labels to be sure.

- 6 Egg Cake Recipe with Oil: Light as Air With Buttery Moisture - October 4, 2026
- 4 Bean Casserole Recipe: One-Pan Heartiness With Smoky Paprika Depth - October 4, 2026
- 3-Ingredient Keto Mug Cake Recipe: Microwave Magic in 2 Minutes - October 4, 2026