
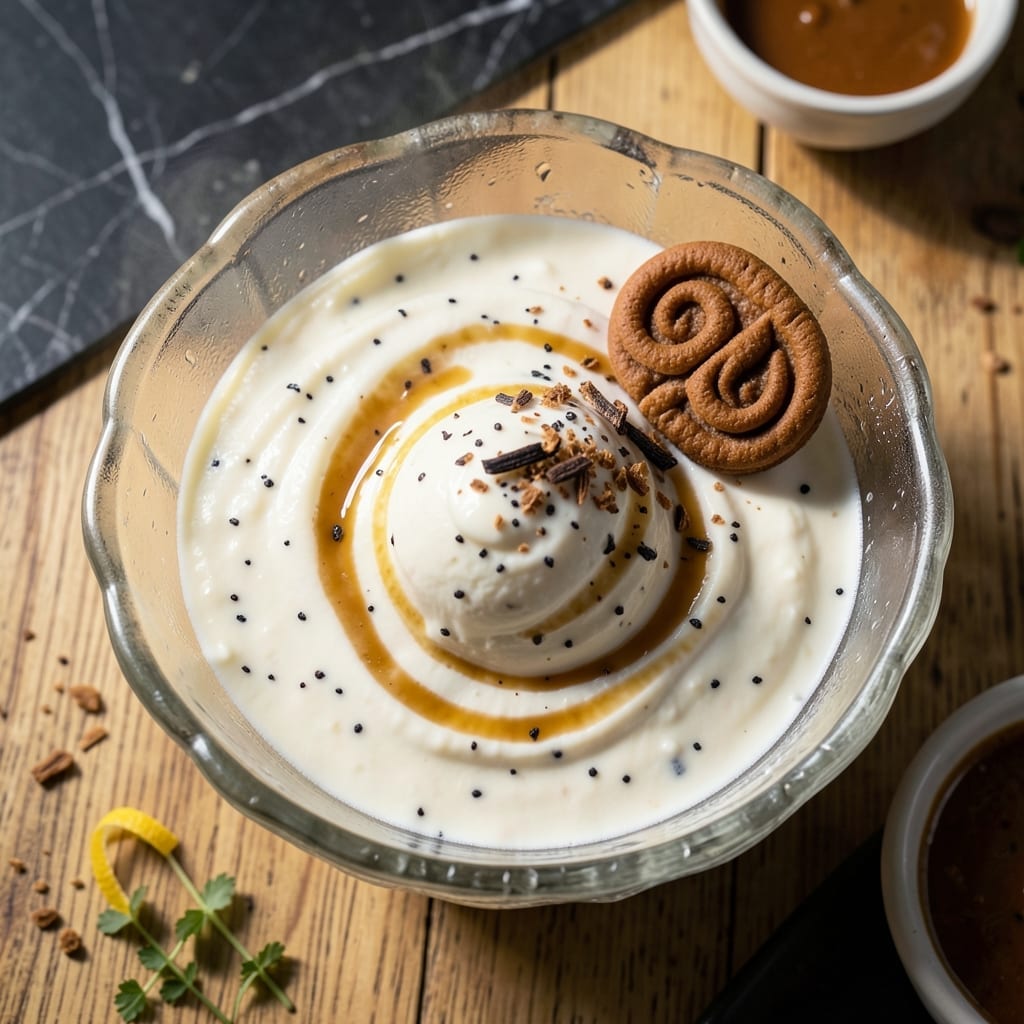
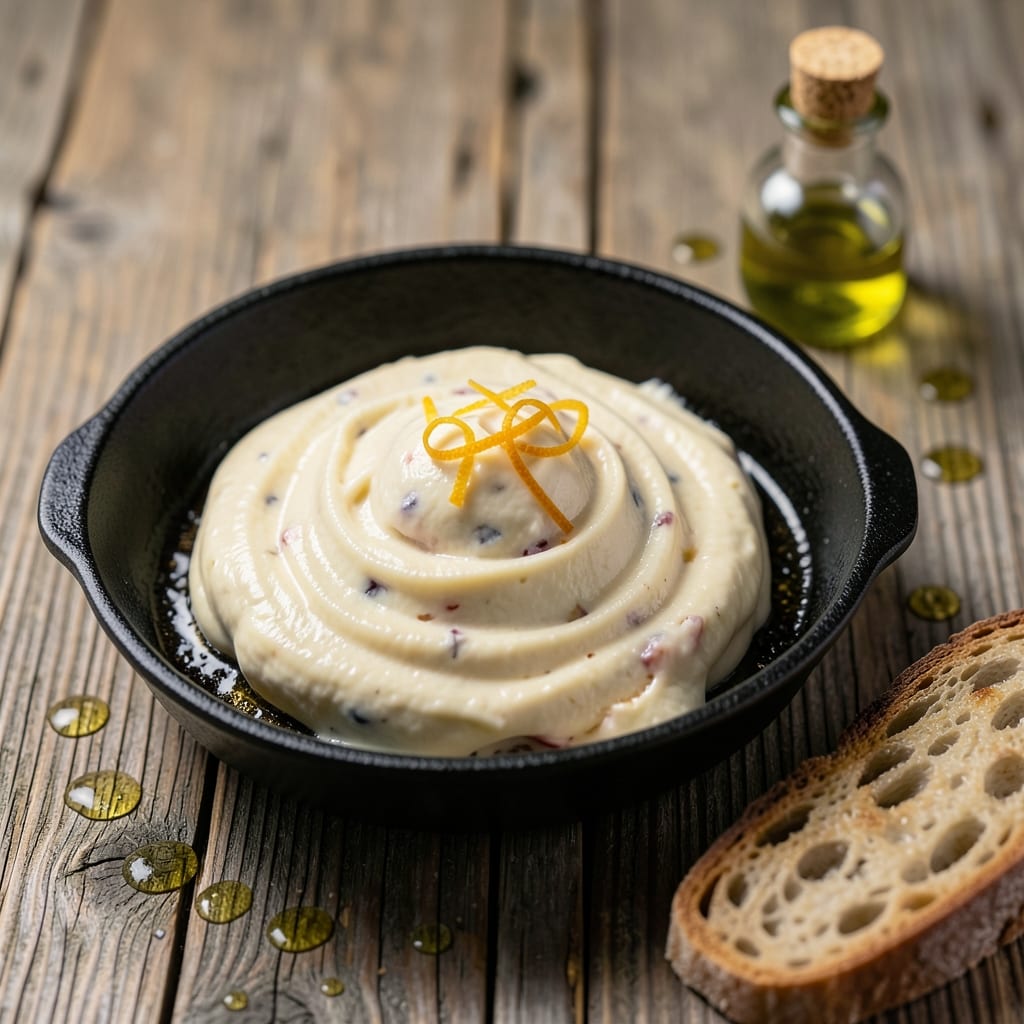
There’s nothing quite like homemade ice cream fresh from the churn. This recipe delivers perfectly smooth results every time, with a rich, creamy texture that store-bought versions can’t match.
Using an ice cream maker ensures consistent velvety results. The process is straightforward: prepare your custard, chill it thoroughly, then let the machine work its magic.
Ingredients for Homemade Ice Cream Recipe for Ice Cream Maker
Rich custard base plus a few pantry staples yields velvety homemade perfection.
| Ingredient | Amount | Notes |
|---|---|---|
| Heavy Whipping Cream 🥛 | 2 cups | Cold, at least 36% fat |
| Whole Milk 🥛 | 1 cup | Cold, full-fat preferred |
| Granulated Sugar 🍚 | ¾ cup | Fine white sugar |
| Large Egg Yolks 🥚 | 6 whole | Room temperature, pasteurized if preferred |
| Vanilla Bean 🌿 | 1 whole | Split and scraped |
| Pure Vanilla Extract 💧 | 1 tbsp | For enhanced flavor |
| Table Salt 🧂 | ¼ tsp | Fine grain, balances sweetness |
| Unsalted Butter 🧈 | 2 tbsp | Melted, for richness |
| Rock Salt 🧂 | 1 cup | For ice cream maker |
| Ice Cubes ❄️ | 4 cups | Crushed for churning |
[recipeingredientscaler]
The dairy quality is paramount here. Heavy cream with at least 36% fat ensures that signature smoothness, while whole milk prevents iciness. Organic Valley or local dairy brands are reliable for richness. Egg yolks should be fresh—pasteurized if you’re concerned about raw eggs. Look for vanilla beans with plump, moist pods at Whole Foods or specialty grocers.
Swapping whole milk for half-and-half adds richness without changing the texture too much. No vanilla bean? Pure vanilla extract at double the amount works, though the visual appeal of speckles is lost. For a lighter version, 2% milk can be used, but expect a slightly icier result. Sugar substitutes like honey or maple syrup alter the texture, so stick with granulated for best results.
The custard base keeps in the fridge for 2-3 days before churning. Once churned, store ice cream in an airtight container with parchment pressed directly on the surface to prevent ice crystals. Consume within 1 week for peak texture, though it remains safe for 2-3 months if properly stored.
Why You’ll Love This Recipe
- One Bowl Wonder: I just dump the cream, milk, sugar, and yolks in a bowl, whisk, and let the machine do the rest.
- Vanilla Bean Magic: The real vanilla bean makes it taste like a fancy parlor—rich, deep, and worth every scrape of the pod.
- Crowd Pleaser: Birthday parties, Sunday treats, or just because—everyone from my picky nephew to my coffee-loving dad asks for seconds.
- Freezer Friendly: I always make a double batch. Honestly, it lasts weeks in the freezer, and it’s even better after a night’s rest.
Step-by-Step Instructions for Homemade Ice Cream
This method delivers velvety smooth results with professional technique and attention to detail.
Step 1: Infuse and Heat the Dairy Base
In a medium saucepan, combine the 2 cups Heavy Whipping Cream, 1 cup Whole Milk, and the seeds from the 1 whole Vanilla Bean (include the pod for maximum flavor). Heat over medium heat until the mixture reaches a gentle simmer—small bubbles will form around the edges.
This slow heating process allows the vanilla to fully infuse into the dairy while preventing scorching. Watch carefully and stir occasionally to ensure even heating. The cream should never boil vigorously, as this can cause separation and affect texture.
Step 2: Temper the Egg Yolks with Sugar
In a separate bowl, whisk together the 6 whole Large Egg Yolks and 0.75 cup Granulated Sugar until the mixture turns pale yellow and slightly thickens. This is your custard base, which will thicken the ice cream and give it that signature richness.
Slowly pour about 1 cup of the hot cream mixture into the egg yolks while whisking constantly. This tempering process prevents the eggs from scrambling when they meet the hot liquid. Continue whisking until fully combined and smooth.
Step 3: Cook the Custard to Perfect Consistency
Return the tempered egg mixture to the saucepan with the remaining cream. Cook over medium-low heat, stirring constantly with a wooden spoon or silicone spatula, until the custard thickens enough to coat the back of the spoon. This should take 8-10 minutes.
To test for doneness, run your finger through the custard on the spoon—if it leaves a clean path that holds its shape, it’s ready. Remove from heat immediately and stir in the 0.25 tsp Table Salt and 2 tbsp Unsalted Butter until fully melted. Then strain through a fine-mesh sieve to remove the vanilla pod and any cooked egg bits.
Stir in the 1 tbsp Pure Vanilla Extract for an extra layer of vanilla flavor. Chill the custard in the refrigerator for at least 4 hours or overnight until completely cold.
Step 4: Churn in the Ice Cream Maker
Pour the chilled custard into your ice cream maker and churn according to the manufacturer’s instructions. Most machines take 20-25 minutes to reach a thick, soft-serve consistency. The custard should look like fluffy, pale yellow soft-serve when done.
While churning, prepare your ice cream maker with the 1 cup Rock Salt and 4 cups Ice Cubes if using a traditional bucket-style machine. The rock salt lowers the freezing point of the ice, allowing the mixture to freeze properly as it churns.
Step 5: Freeze to Firm Perfection
Transfer the churned ice cream to a lidded freezer-safe container. Press plastic wrap directly onto the surface to prevent ice crystals from forming. Freeze for at least 4 hours or until firm enough to scoop.
The final texture should be smooth, creamy, and hold its shape when scooped. For best results, let the ice cream sit at room temperature for 5-10 minutes before serving to soften slightly. This homemade ice cream keeps well for up to 1 week in an airtight container.
Pro Tips For Making Homemade Ice Cream Recipe For Ice Cream Maker
- Temper the eggs: Slowly whisk a cup of the hot cream mixture into the egg yolks before combining everything—this keeps them from scrambling. I learned this the hard way after ruining two batches.
- Use full-fat dairy: Skip the low-fat milk or light cream; the high fat content in whole milk and heavy whipping cream is what gives your ice cream that rich, creamy texture.
- Chill the base: Let the custard cool completely in the fridge (at least 4 hours, overnight is better) before churning. Warm mixtures churn into icy, sad excuses for ice cream.
- Scrape the bean: Split the vanilla bean lengthwise and scrape out every last speck—those tiny black flecks pack serious flavor, and store-bought extract just doesn’t compare.
Make-Ahead Tips for Leftovers
⏰ Week Before
Start by gathering your ingredients and tools. Check your pantry for staples like sugar, vanilla extract, and heavy cream, and make a shopping list for any missing items. If you’re using fresh fruit, berries, or mix-ins like chocolate chips or nuts, buy them now so they’re on hand. 2-3 days before churning, prep any infusions (e.g., vanilla beans or citrus zest) to let flavors meld. Pro tip: Chill your ice cream maker’s bowl in the freezer for at least 24 hours before use—this ensures it’s fully frozen and ready for action! 💡
🥘 Day Before
Prep your ice cream base the night before to streamline the process. Whisk together your egg yolks, sugar, and flavorings (like vanilla or cocoa powder), then heat the dairy (milk, cream) until warm. Temper the eggs by slowly adding the hot dairy, then cook the custard until it thickens slightly. Strain, cool, and refrigerate the base overnight—this deepens the flavors and ensures a smoother texture. If using alcohol (like rum or coffee liqueur) for a softer scoop, add it now. 🎯
🍦 Day Of
Give your chilled base a quick stir and taste-test for sweetness or flavor adjustments. Pour it into your pre-frozen ice cream maker and churn according to the manufacturer’s guidelines (20-30 minutes is typical). In the last 5 minutes, add mix-ins like crushed cookies or swirls of caramel. Transfer to a lidded container and freeze for at least 4 hours to firm up. ✨
✨ Last-Minute Tasks
Just before serving, let the ice cream sit at room temperature for 5-10 minutes to soften slightly for easier scooping. Garnish with fresh fruit, sprinkles, or a drizzle of hot fudge. Serve immediately for the creamiest texture!
Nutrition Facts

- 6 Egg Cake Recipe with Oil: Light as Air With Buttery Moisture - October 4, 2026
- 4 Bean Casserole Recipe: One-Pan Heartiness With Smoky Paprika Depth - October 4, 2026
- 3-Ingredient Keto Mug Cake Recipe: Microwave Magic in 2 Minutes - October 4, 2026