
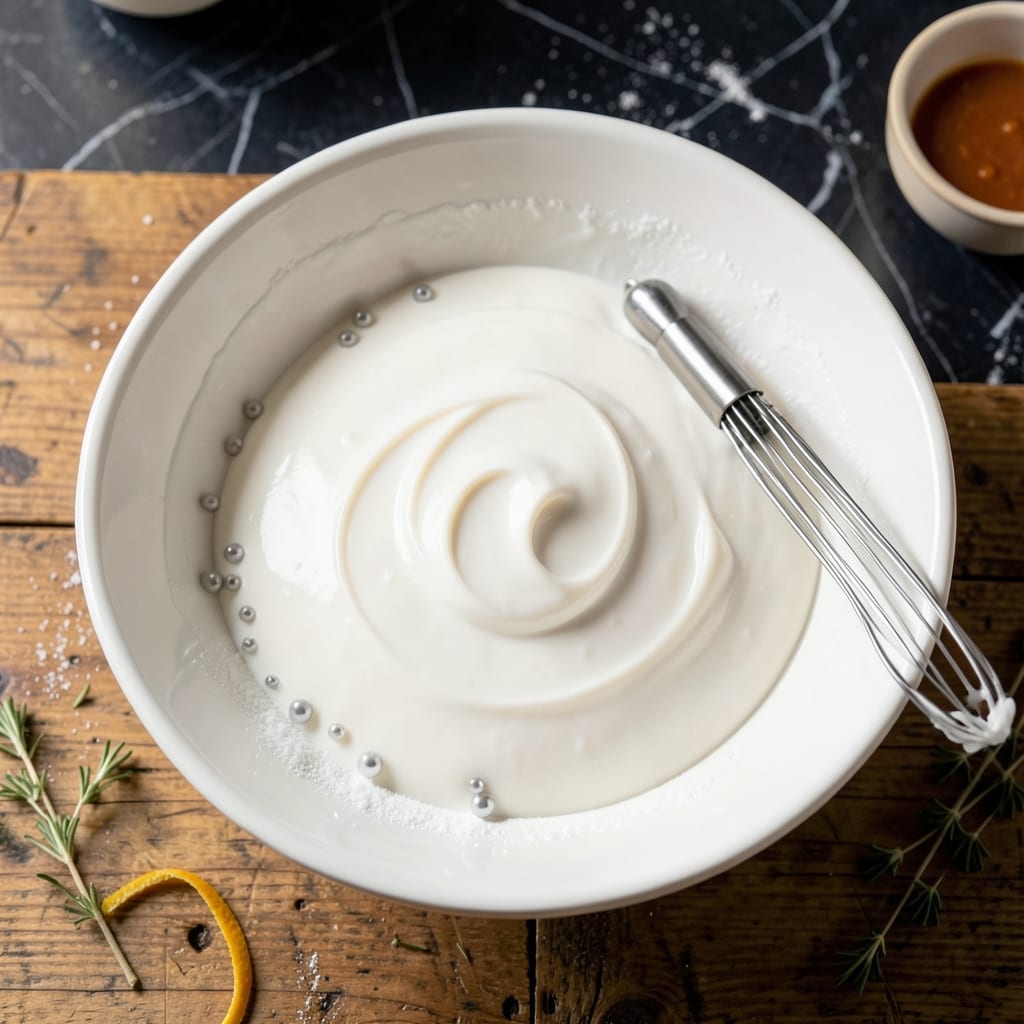
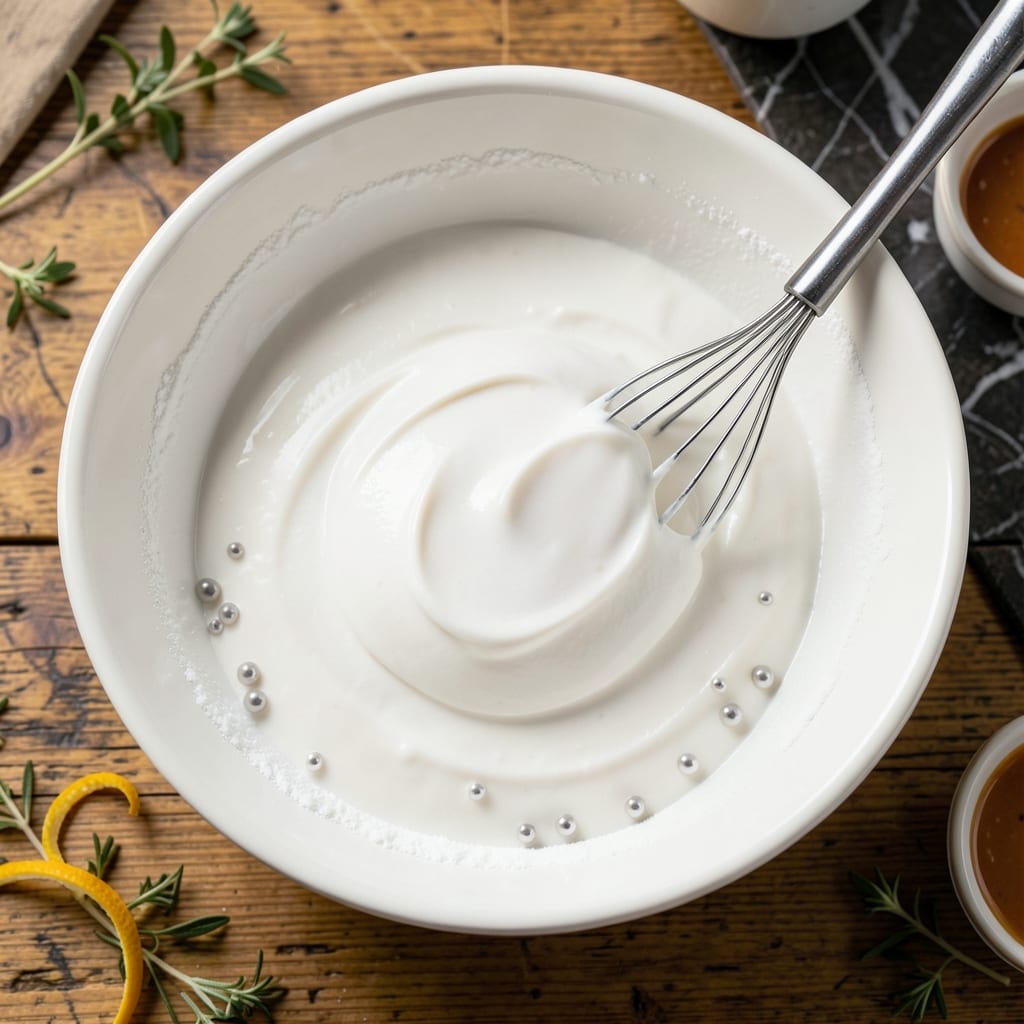
This structural icing transforms gingerbread construction into an edible architecture project. Its firm set provides the stability needed to build walls and roofs that hold their shape for hours.
With just 3 ingredients and 10 minutes of prep, this recipe creates a smooth, pipeable paste that dries rock-hard. The pure white finish makes every decoration pop.
Ingredients for Icing Recipe for a Gingerbread House
Three simple components create a rock-solid edible mortar for gingerbread architecture.
| Ingredient | Amount | Notes |
|---|---|---|
| Powdered Sugar 🍚 | 4 cups | Sifted for smooth texture |
| Egg Whites 🥚 | 3 whole | Room temperature preferred |
| Cream of Tartar 🧂 | ½ tsp | Stabilizes the meringue |
The powdered sugar must be fresh and lump-free—Domino or C&H brands are reliable. Sifting is non-negotiable; even fine granules can clog piping bags. Egg whites at room temperature whip to greater volume, so pull them out 30 minutes before starting. Cream of tartar, found in the baking aisle at any major grocery store, is the secret to stability.
No cream of tartar? Lemon juice or white vinegar at one-third the amount works in a pinch, but may slightly alter flavor. For a vegan version, aquafaba (chickpea brine) replaces egg whites at a 3:1 ratio—1/4 cup brine per white. Avoid substitutions for powdered sugar; granulated won’t dissolve smoothly. The ratios here are precise—don’t scale down or the structure may weaken.
This icing dries completely hard within 2-4 hours, making it ideal for multi-day construction projects. Store unused portions in an airtight container at room temperature for up to 2 days. If it thickens, a few drops of water and vigorous stirring will restore the perfect consistency.
Why You’ll Love This Recipe
- 3-Ingredient Magic: I throw powdered sugar, egg whites, and cream of tartar in a bowl and it’s ready to pipe—no fancy steps.
- Stiff and Strong: This icing dries rock-solid so my gingerbread walls stay up all season without wilting.
- Holiday Workhorse: I use it for snowflakes on the roof, glue for the candy windows, and even touch-ups when the kids get heavy-handed.
Step-by-Step Instructions for Gingerbread House Icing
This method delivers structural integrity with a smooth, glossy finish suitable for architectural details.
Step 1: Sift and Prepare the Dry Component
Begin by sifting the 4 cups Powdered Sugar through a fine-mesh sieve into a large mixing bowl. This step eliminates lumps and aerates the sugar, which is crucial for achieving a silky-smooth icing that pipes cleanly without clogging your decorating tips.
Sifting also prevents graininess in the final product, especially important when creating delicate structural elements. I always tap the sieve gently against my palm rather than stirring with a spoon—this prevents compacting the sugar as it falls through the mesh.
Step 2: Combine Wet Ingredients and Stabilizer
In a separate clean bowl, combine the 3 whole Egg Whites with the 0.5 tsp Cream of Tartar. The cream of tartar acts as a stabilizer, strengthening the protein bonds in the egg whites to create a meringue that holds its shape when piped.
I use room temperature egg whites as they whip up to greater volume than cold ones. The mixture will look slightly frothy at this stage—this is normal and indicates the cream of tartar is beginning to work its magic.
Step 3: Gradually Incorporate Sugar
With a stand mixer fitted with the whisk attachment, beat the egg white mixture on medium speed until soft peaks form. Then, begin adding the sifted Powdered Sugar one cup at a time, allowing each addition to fully incorporate before adding more.
This gradual addition prevents overwhelming the meringue and ensures the sugar dissolves completely. After all the sugar is added, increase the speed to high and beat for 5-7 minutes until the icing forms stiff, glossy peaks that hold their shape when the whisk is lifted.
Step 4: Test and Adjust Consistency
The icing should be thick enough to hold a peak but still pipeable. To test, lift the whisk—if the peak stands straight up with just the tip flopping over slightly, you’ve achieved the perfect consistency for gingerbread house construction.
If it’s too thick, add water 1 teaspoon at a time; if too thin, add more Powdered Sugar 1 tablespoon at a time. Remember that the icing will thicken slightly as it sits, so err on the side of slightly softer rather than stiffer at this stage.
Step 5: Transfer and Begin Construction
Transfer the icing to a piping bag fitted with a small round tip. For structural elements, I use a #3 or #4 tip—small enough for precision but large enough to create strong bonds between gingerbread pieces.
Pipe a generous bead along the edges you’re joining, then press the pieces together firmly. Hold for 30 seconds to allow the icing to set up slightly before releasing. For decorative elements, you can thin a portion of the icing with water 1 teaspoon at a time to create a flooding consistency.
Pro Tips For Making Icing Recipe For A Gingerbread House
- Sift the Sugar: Always sift your powdered sugar first—I learned this the hard way after ending up with lumpy icing that clogged my piping bag.
- Room Temp Egg Whites: Let your egg whites sit out for 10-15 minutes before mixing; they whip up faster and hold peaks better than cold ones.
- Skip the Overmixing: Stop the mixer as soon as stiff peaks form, or you’ll end up with icing that’s too dry to pipe smoothly.
- Add Cream Slowly: Sprinkle the cream of tartar in gradually while mixing—dumping it all in at once can make the icing taste bitter.
Dietary Considerations for This icing recipe for a gingerbread house
Keto-Friendly Options
For a keto-friendly icing, swap powdered sugar with powdered erythritol or monk fruit sweetener. Use heavy cream or coconut cream instead of milk, and add a touch of vanilla or almond extract for flavor. This keeps the icing low-carb while maintaining a smooth, pipeable texture.
Gluten-Free Modifications
Most icing recipes are naturally gluten-free, but always check labels on powdered sugar and flavorings for hidden gluten. Use cornstarch or arrowroot powder as a thickener if needed. For extra assurance, opt for certified gluten-free ingredients.
Allergen-Free Alternatives
To avoid common allergens, replace milk with dairy-free alternatives like almond, oat, or coconut milk. For nut allergies, use sunflower or soy milk. If egg whites are used (e.g., royal icing), try aquafaba (chickpea brine) as a vegan, allergen-free substitute.
Vegetarian Modifications
Traditional icing is often vegetarian, but if using gelatin-based decorations, switch to agar-agar or pectin. For a vegan version, replace butter with coconut oil or vegan margarine and use plant-based milk.
Low-Sodium Tips
Reduce sodium by using unsalted butter and omitting added salt. If vanilla extract contains sodium, opt for salt-free vanilla powder or homemade extract. This keeps the icing flavorful without excess sodium.
Nutrition Facts

- 6 Egg Cake Recipe with Oil: Light as Air With Buttery Moisture - October 4, 2026
- 4 Bean Casserole Recipe: One-Pan Heartiness With Smoky Paprika Depth - October 4, 2026
- 3-Ingredient Keto Mug Cake Recipe: Microwave Magic in 2 Minutes - October 4, 2026