
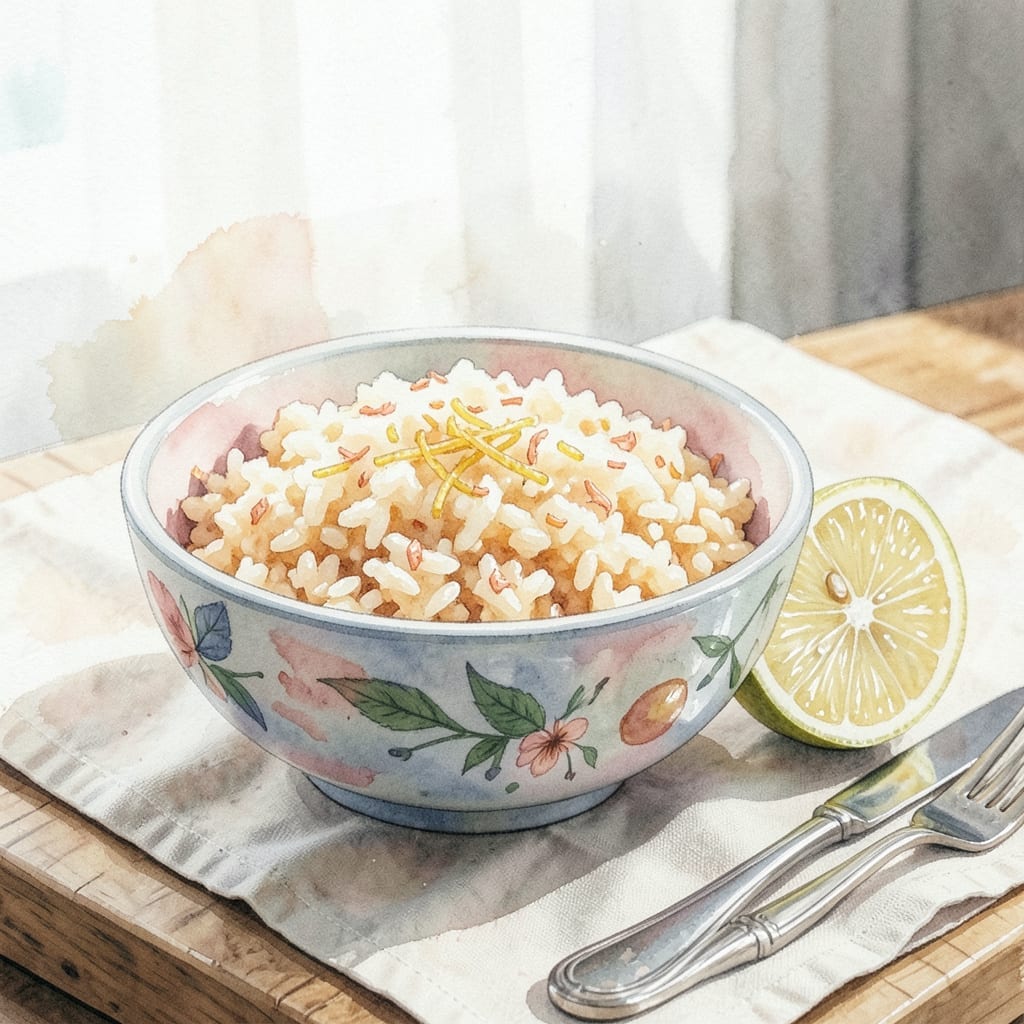
I’ve made my share of mushy, sad rice in the Instant Pot, but this method changed everything. Fluffy, separate grains every time with almost no effort.
The trick is the perfect water-to-rice ratio and a quick pressure cook cycle. I also add lemon zest for a bright pop of flavor that makes this rice anything but boring.
It pairs with literally everything—curries, stir-fries, or just a simple protein. The citrus notes wake up the whole dish without overpowering it.
Set it, forget it, and come back to perfect rice that’s ready faster than takeout. This is the side dish I make at least twice a week.
Ingredients for Instant Pot Rice Recipe – Love and Lemons
Simple, bright ingredients that turn basic rice into something special. You likely have most already.
| Ingredient | Amount | Notes |
|---|---|---|
| Long-Grain White Rice 🍚 | 1 ½ cups | Rinsed until water runs clear |
| Water 💧 | 1 ¾ cups | Filtered or tap is fine |
| Lemon Zest 🍋 | 1 tbsp | From 1 large lemon |
| Lemon Juice 🍋 | 2 tbsp | Freshly squeezed preferred |
| Olive Oil 🫒 | 1 tbsp | Extra-virgin for richness |
| Sea Salt 🧂 | 1 tsp | Fine grain preferred |
| Garlic Powder 🧄 | ½ tsp | Optional for depth |
| Onion Powder 🧅 | ½ tsp | Optional for depth |
| Fresh Parsley 🌿 | ¼ cup | Chopped, for garnish |
| Black Pepper 🌶️ | ¼ tsp | Freshly ground preferred |
| Bay Leaf 🍃 | 1 whole | Optional for aroma |
The rice is the star here—long-grain white gives you those separate, fluffy grains. I grab mine from Trader Joe’s or the bulk bins at Whole Foods (cheaper and less packaging). The lemon matters too: look for ones that feel heavy for their size, with vibrant yellow skin. Zest before juicing—way easier. And don’t skip rinsing the rice (removes excess starch, prevents mush).
No fresh parsley? Cilantro or chives work great. Out of lemon? Lime zest and juice bring a similar brightness. If you’re using brown rice, bump the water to 2.25 cups and cook for 22 minutes. The garlic and onion powders are optional but add a subtle depth that’s worth the extra minute. Skip the bay leaf if you’re not into herbal notes.
Leftover rice keeps 4-5 days in the fridge, freezes for 3 months. I portion it into containers for quick lunches—microwave with a splash of water to steam it back to life. The citrus flavor mellows over time, so add extra zest if reheating.
Why You’ll Love This Recipe
- Set and Forget: I just toss everything in the Instant Pot and walk away—no stirring, no watching the pot.
- Bright Citrus Kick: The lemon zest and juice make this rice taste fresh and zingy, way better than plain white rice.
- Meal Prep Hero: It pairs with everything from grilled chicken to roasted veggies, and it keeps well for days.
- Budget Stretch: A big batch costs pennies, and honestly, it feels like a fancy side dish without the price tag.
Step-by-Step Instructions for Instant Pot Rice
This method delivers perfectly fluffy grains with vibrant citrus flavor every single time.
Step 1: Rinse and Prepare the Rice
Place the 1.5 cups long-grain white rice in a fine-mesh strainer and rinse under cold water until the water runs completely clear. This removes excess starch that can make your rice gummy.
I always give it a final shake to remove any lingering water droplets. While the rice drains, gather your remaining ingredients—this ensures everything is ready when you need it. Proper rinsing is the secret to separate, fluffy grains.
Step 2: Sauté Aromatics in the Instant Pot
Set your Instant Pot to the Sauté function and add the 1 tbsp olive oil. When it shimmers, add the 1 tbsp lemon zest, 0.5 tsp garlic powder, 0.5 tsp onion powder, and 1 whole bay leaf.
Cook for 1-2 minutes until fragrant—you’ll notice the citrus oils releasing their bright aroma. This blooming step intensifies the flavors before the liquid goes in. Be careful not to let the spices burn.
Step 3: Pressure Cook the Rice
Add the drained rice, 1.75 cups water, 2 tbsp lemon juice, 1 tsp sea salt, and 0.25 tsp black pepper to the pot. Stir gently to distribute the rice evenly in the liquid.
Secure the lid, set the valve to Sealing, and cook on High Pressure for 3 minutes. It will take about 10 minutes to come to pressure before the cooking time begins. The rice will absorb all the liquid and steams perfectly in its own flavorful broth.
Step 4: Release Pressure and Rest
When the cooking time ends, let the pressure release naturally for 10 minutes, then quick-release any remaining pressure. This natural release prevents the rice from becoming mushy by allowing it to finish cooking gently.
Open the lid carefully, tilting it away from you to avoid the steam. The rice should be tender with all liquid absorbed. If you see any remaining water on top, simply stir it in—it will absorb as the rice rests.
Step 5: Fluff and Garnish
Use a fork to fluff the rice, breaking up any clumps. The grains should be separate and light. Remove and discard the bay leaf at this point.
Sprinkle the chopped 0.25 cup fresh parsley over the top and gently fold it in. Let the rice sit covered for 5 minutes to allow the parsley to soften slightly and the flavors to meld together before serving.
Pro Tips For Making Instant Pot Rice Recipe – Love And Lemons
- Rinse the Rice: Always rinse your long-grain white rice until the water runs clear—it removes excess starch so your grains stay separate and fluffy, not gummy.
- Toast First: Sauté the rice in olive oil for 2 minutes before adding liquid. I learned this the hard way—it adds a nutty depth that balances the lemon’s brightness.
- Use Fresh Zest: Skip the pre-grated lemon zest; it’s often dry and bitter. Freshly grate the peel right before cooking for that vibrant, aromatic punch.
- Wait 10 Minutes: After cooking, let the rice sit in the Instant Pot for a full 10 minutes with the lid on. Sounds tedious, but it guarantees the grains absorb all the lemony flavor.
Dietary Considerations for instant pot rice recipe – love and lemons
Naturally Vegan
This dish is inherently plant-based, making it perfect for vegan diets. The long-grain white rice and citrus-infused seasonings contain no animal products whatsoever. I often serve it alongside veggie curries or tofu stir-fries for a complete meal. 🌱
Gluten-Free Friendly
All ingredients in this recipe are naturally gluten-free, as long as you use certified gluten-free rice to avoid cross-contamination. Brands like Lundberg or Nishiki are safe choices. Always check labels if celiac disease is a concern.
Allergen Considerations
The only potential allergen here is sulfites in dried spices, though most people tolerate them fine. For those with sensitivities, use fresh garlic and onion instead of powders. The citrus and herbs are universally safe for most dietary restrictions.
Low Sodium Option
To reduce sodium, cut the sea salt to ½ tsp or use a salt-free seasoning blend. The lemon zest still provides plenty of flavor. I find the dish still tastes vibrant with less salt, especially when paired with well-seasoned main dishes.
Diabetic Friendly
With 45g carbs per serving, this fits into diabetic meal plans when portioned appropriately. Pair it with protein and non-starchy veggies to balance blood sugar. The fiber in brown rice (if used) slows absorption, though it requires adjusted cook times. 💪
Nut-Free and Dairy-Free
This creation contains no nuts or dairy, making it safe for those with tree nut, peanut, or lactose allergies. The olive oil provides healthy fats without any allergenic concerns. It’s one of the most universally safe side dishes in my rotation.
Nutrition Facts
Frequently Asked Questions
What’s the best rice-to-water ratio?
Use 1.5 cups rice to 1.75 cups water for perfect fluffiness. This ratio prevents mushiness while ensuring full absorption.
Can I use brown rice instead?
Yes, but increase water to 2.25 cups and cook for 22 minutes. The texture will be chewier.
Why does my rice turn out mushy?
Over-stirring or skipping the rinse causes excess starch. Always rinse until water runs clear and let pressure release naturally for 10 minutes.
How long can I store leftovers?
Keep in the fridge for 4-5 days or freeze for 3 months. Reheat with a splash of water to restore moisture.

- 6 Egg Cake Recipe with Oil: Light as Air With Buttery Moisture - October 4, 2026
- 4 Bean Casserole Recipe: One-Pan Heartiness With Smoky Paprika Depth - October 4, 2026
- 3-Ingredient Keto Mug Cake Recipe: Microwave Magic in 2 Minutes - October 4, 2026